Mold-Resistant Paint Additives: Do They Keep Paint Looking Fresh in Showers?
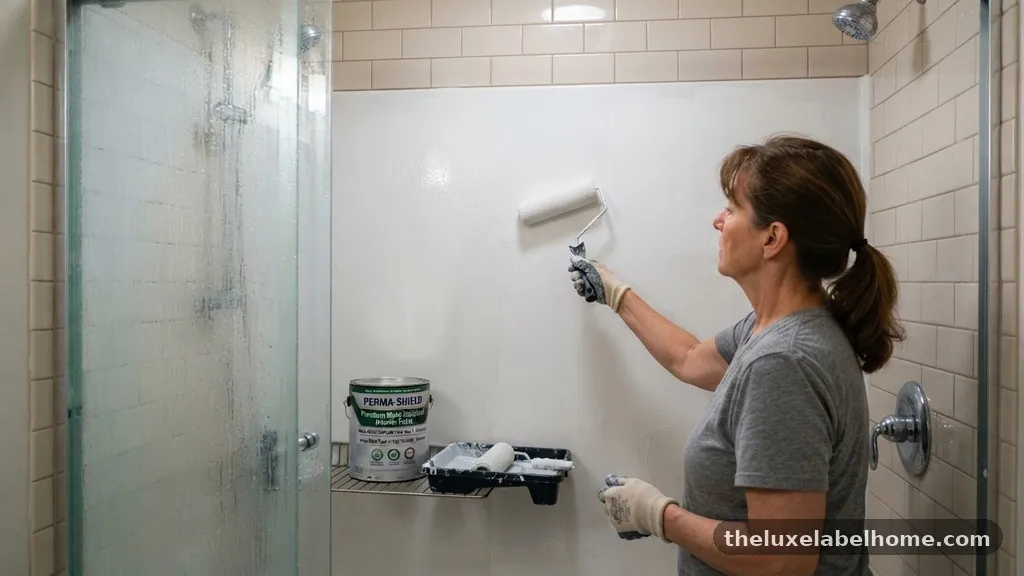
Mold-Resistant Paint Additives are often marketed as a quick fix for bathroom humidity, but their effectiveness depends heavily on your existing ventilation and surface preparation. These chemical agents, when mixed into standard latex paints, work to inhibit the growth of fungi and mildew on painted surfaces.
While they offer a layer of defense against dampness, they are not a substitute for proper air circulation or structural repairs. Understanding how these substances interact with your wall finish can help you decide if they are worth the extra cost for your next renovation project.
The short answer to whether these additives keep surfaces looking fresh is yes, but only as a preventative measure. They do not magically erase existing mold or fix underlying leaks behind your drywall. If you are starting with a clean, properly primed surface, an additive will significantly delay the appearance of dark, unsightly spots that often plague high-moisture rooms.
However, if your bathroom lacks a functional exhaust fan, the constant condensation will eventually overwhelm even the most chemically enhanced paint. Think of these products as a shield for your walls rather than a cure for a ventilation problem.
Understanding How Additives Function in Paint
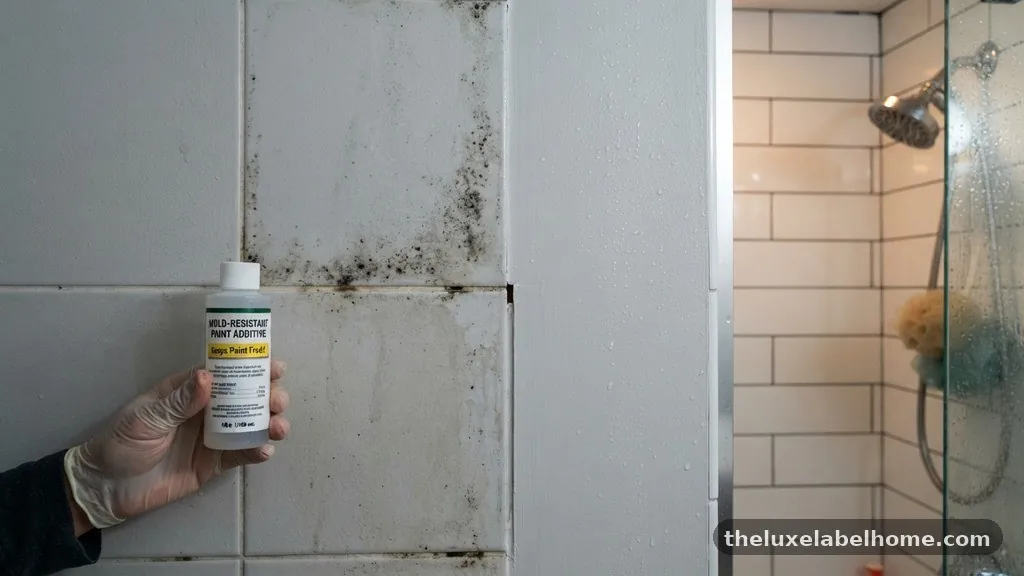
Most mold-resistant paint additives function by releasing biocides into the paint film as it cures. These biocides are designed to kill microscopic spores before they can establish a colony on your walls.
They essentially create a hostile environment for organic matter that would otherwise thrive on the moisture trapped in a shower area. Once the paint has dried, the active ingredients remain dormant until they are triggered by high humidity levels.
These chemicals are typically formulated to be compatible with water-based latex paints. When you stir them into your gallon of paint, they disperse throughout the liquid, ensuring that every brushstroke contains a uniform level of protection.
This is vital because if the distribution is uneven, you will end up with “weak spots” where spores can gain a foothold. Consistency during the mixing process is the primary factor in how well the finished wall will resist future growth.
The Role of Moisture and Ventilation
Even with the best additives, water is the primary enemy of a fresh-looking bathroom. High humidity levels create the perfect breeding ground for mold and mildew, especially on ceilings and corners where steam tends to settle.
If you do not have adequate ventilation, your walls will remain damp for hours after a shower. This extended exposure to moisture can cause the paint binder to soften, which eventually reduces the effectiveness of the added biocides.
Proper ventilation is the foundation of any long-term solution for bathroom walls. A high-quality exhaust fan should be rated for the cubic footage of your room to ensure it actually removes the steam.
Without this, you are essentially asking your paint to do the work of an HVAC system. While the additives will certainly help, they are designed to handle incidental moisture rather than a constant, dripping environment.
Comparing Additives to Pre-Mixed Mold-Resistant Paint
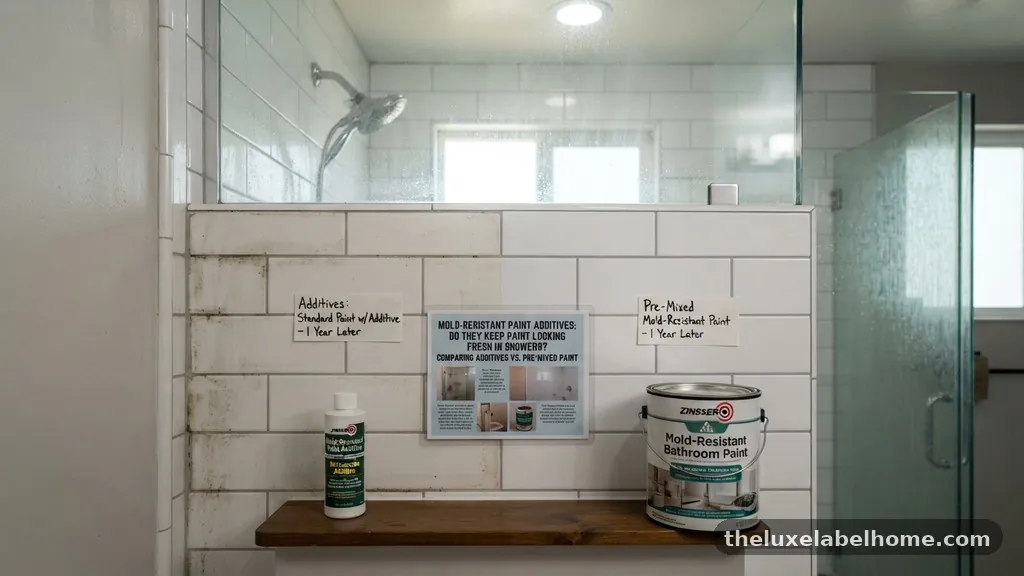
Many homeowners wonder if they should buy a pre-mixed product or add an agent to their favorite color. Pre-mixed mold-resistant paints are formulated by manufacturers to have a specific chemical balance that is tested for durability.
These paints often include advanced resins that are naturally more resistant to water absorption than standard wall paints. Buying a pre-mixed option usually ensures a more stable, long-lasting finish.
On the other hand, using an additive gives you the freedom to choose any color or brand of paint you prefer. If you have a specific aesthetic goal that requires a unique color, an additive is your only real choice.
You must be careful to follow the manufacturer’s mixing instructions precisely to avoid ruining the paint’s consistency. Using the wrong ratio can lead to a streaky finish or a paint that fails to cure properly on your walls.
| Feature | Pre-Mixed Paint | Paint Additive |
|---|---|---|
| Chemical Stability | High (Factory Tested) | Moderate (User Dependent) |
| Color Selection | Limited | Unlimited |
| Ease of Use | High (Ready to apply) | Lower (Requires mixing) |
| Cost Efficiency | Higher upfront | Lower per project |
Surface Preparation Before Application
You cannot simply paint over existing mold and expect an additive to fix the problem. If there is already visible growth, the spores have likely penetrated the porous surface of the drywall or plaster.
Applying paint directly over this will only lock the mold in, allowing it to continue growing beneath the new layer of paint. You must kill the existing colony and remove it entirely before you even think about opening a can of paint.
Start by cleaning the area with a solution designed to neutralize fungal growth. A mixture of bleach and water is a common household remedy, but many professionals prefer specialized enzymatic cleaners that break down the root structure.
Once the surface is clean, allow it to dry completely for at least 24 to 48 hours. If the wall is still damp when you paint, you are setting yourself up for failure, as the moisture will prevent the paint from adhering properly.
Choosing the Right Finish for Bathrooms
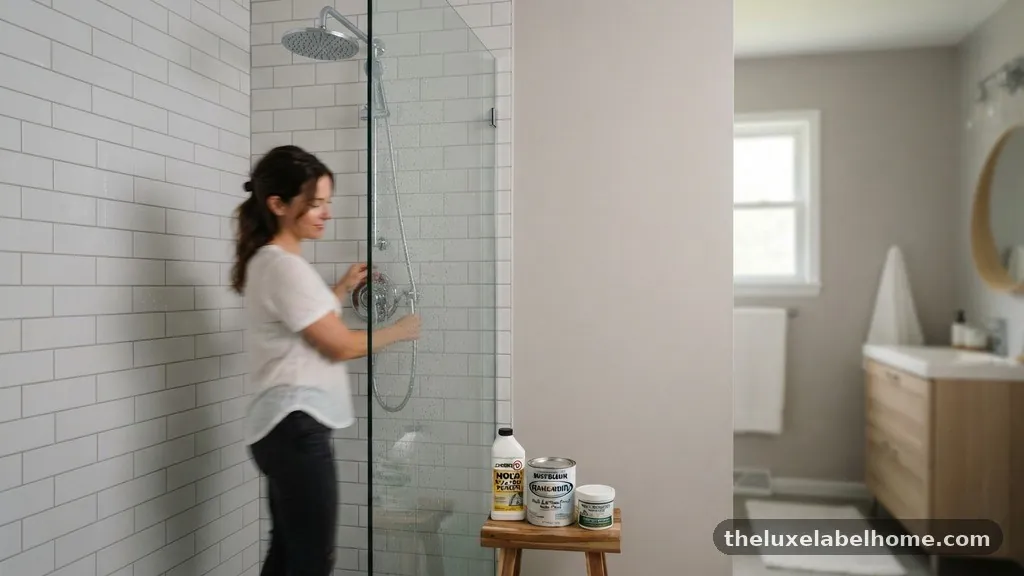
The sheen or finish of the paint you choose plays a massive role in how well it resists water. Flat or matte paints are generally poor choices for bathrooms because their porous surface traps moisture and debris.
A semi-gloss or high-gloss finish is much smoother, which makes it harder for water droplets to cling to the wall. These surfaces are also significantly easier to wipe down when they do get dirty.
When you combine a glossier finish with a quality mold-resistant additive, you create a dual-layer defense. The gloss acts as a physical barrier, while the chemical additive acts as a biological barrier.
This combination is the gold standard for high-humidity areas like shower enclosures. If you prefer a flatter look, look for “satin” finishes that are specifically labeled for high-moisture interiors, as these offer a middle ground between durability and style.
The Importance of Proper Priming
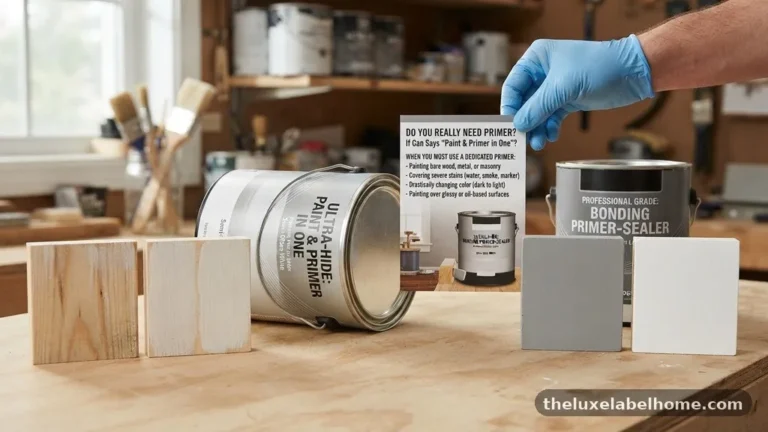
Even the most expensive paint will flake or peel if it is not applied over a high-quality primer. In a bathroom, you need a primer that seals the surface of the drywall, preventing moisture from soaking into the paper backing.
Many modern primers are now infused with their own antimicrobial agents, which provides a secondary layer of protection beneath your topcoat. This is an essential step that many DIYers skip in their rush to get to the color phase.
Applying a moisture-resistant primer creates a smooth, uniform base that allows the finish paint to bond tightly to the wall. If there are any pinholes or gaps in the drywall mud, the primer will fill them, ensuring there is no place for moisture to hide.
Taking the time to prime properly ensures that the additives in your topcoat can perform at their peak. You can find more information on wall surface maintenance through the Environmental Protection Agency’s guidance on mold.
Common Mistakes to Avoid During Painting
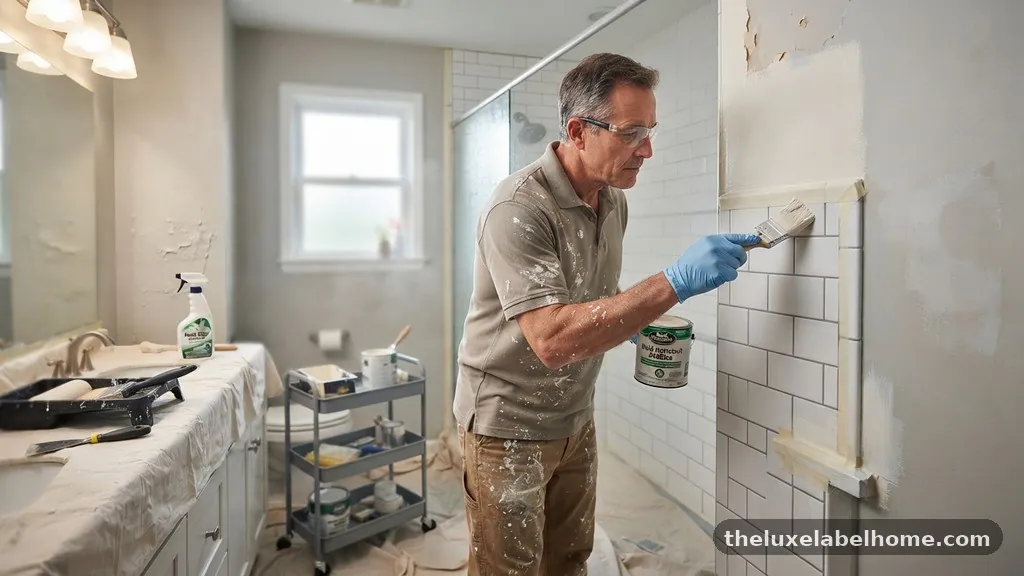
One of the most frequent errors is not allowing enough drying time between coats. In a humid bathroom, paint takes longer to cure than it would in a dry living room.
If you apply the second coat too quickly, you trap moisture between the layers, which can lead to blistering or peeling later on. Always check the manufacturer’s recommendation for recoat times, and then add a few extra hours to be safe.
Another mistake is failing to paint the edges and corners properly. These are the areas where condensation is most likely to pool, yet they are often the spots where brushwork is rushed.
Use a high-quality brush to ensure these areas are fully sealed. If you leave a gap in the paint film, even a microscopic one, you are giving mold an opening to enter the wall cavity.
Maintenance Strategies for Long-Term Freshness
Keeping your bathroom looking fresh isn’t just about the initial paint job; it’s about how you treat the space afterward. Wipe down your walls with a soft cloth after particularly long, hot showers to remove excess condensation.
This simple habit prevents water from sitting on the surface long enough to penetrate the paint. It takes only a minute but can add years to the life of your finish.
You should also check your bathroom for subtle signs of failure, like small bubbles or peeling edges. If you catch these early, you can often touch them up without needing to repaint the entire wall.
Regularly inspect the caulking around your tub and shower, as this is often where moisture leaks originate. If the caulk is failing, no amount of mold-resistant paint will keep your walls looking pristine.
- Run the exhaust fan for at least 20 minutes after bathing.
- Wipe condensation off shower walls and ceilings with a squeegee.
- Inspect grout lines and caulk annually for signs of wear.
- Use only mild, non-abrasive cleaners on your painted surfaces.
- Ensure your bathroom door is left open when not in use to improve airflow.
The Financial Investment of Mold-Resistant Solutions
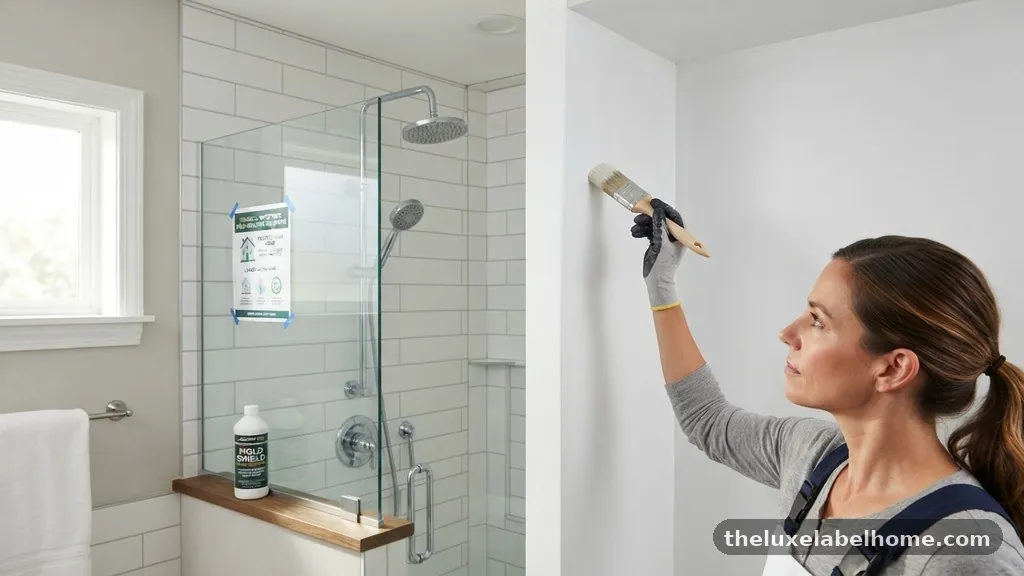
Investing in these additives is generally a cost-effective way to protect your home. While a standard gallon of paint might cost a certain amount, adding a small bottle of mold-inhibiting agent usually adds only a modest percentage to your total project cost.
Given the high price of professional mold remediation, this is a very small insurance premium to pay. It is significantly cheaper to prevent the problem than it is to fix a full-blown infestation later.
However, do not fall into the trap of thinking that the most expensive product is always the best. Many mid-range additives perform just as well as the high-end boutique brands.
Look for products that list their active ingredients clearly and have positive reviews from professional contractors. You are paying for the chemical protection, so ensure you are getting a product that has a proven track record in residential settings.
Evaluating Results Over Time
How do you know if your investment in mold-resistant paint additives is actually working? The most obvious sign is the absence of dark spots or fuzzy growth on your walls after several months.
In a high-traffic bathroom, you should expect to see a noticeable difference within the first year compared to a room painted with standard, untreated paint. If you notice a faint, musty smell, it is a sign that moisture is still trapped somewhere, even if the walls look clean.
Keep a record of when you painted and what products you used. If you find yourself having to touch up the same corner repeatedly, the issue likely isn’t the paint.
It is probably a structural issue, such as a lack of insulation in that specific wall or a persistent leak in the plumbing. Use your observations to troubleshoot the environment rather than just blaming the quality of the paint.
Frequently Asked Questions
Does anti-mold paint actually work?
Yes, it works as a preventative measure by inhibiting the growth of spores on the surface of the paint. It does not kill existing mold or fix structural issues like leaks or lack of ventilation.
How long does mildew-resistant paint last?
Most additives are designed to remain effective for several years, provided the paint film is not damaged. The lifespan is largely dictated by how well you maintain the room’s humidity levels.
What is the best way to clean mold-resistant walls?
Use a soft cloth with a mild, non-abrasive detergent and warm water. Avoid harsh chemicals or scrub brushes, as these can wear down the protective finish and make the surface more prone to future growth.
Can I add too much additive to the paint?
Yes, adding too much can ruin the paint’s ability to dry or bond correctly. Always follow the manufacturer’s specific ratio instructions to ensure the paint remains durable and effective.
Does paint finish affect mold growth?
Absolutely, as more porous finishes like flat or matte paint absorb moisture more easily. Semi-gloss or high-gloss paints create a smoother surface that is much more resistant to moisture and easier to clean.
Conclusion
Mold-Resistant Paint Additives are a valuable tool for anyone looking to keep their bathroom walls clean and free of growth. By integrating these agents into your painting process, you provide a necessary layer of protection against the inevitable moisture of a shower environment. Remember that these products are most effective when paired with proper ventilation and a high-quality, moisture-resistant paint finish.
If you are planning to update your space, start by addressing any existing moisture issues and ensuring your surfaces are properly primed. Once you have a clean, dry foundation, the addition of an antimicrobial agent will help maintain that fresh, professional look for years. Take the time to monitor your bathroom’s humidity, and you will find that your walls remain beautiful and resilient against the daily rigors of steam and water.