How Long Must Bathroom Paint Cure Before You Can Safely Take a Shower?
Determining exactly how long must bathroom paint cure before you can safely take a shower requires balancing your desire for a clean space with the chemical reality of drying resins. While many homeowners are tempted to use their facilities as soon as the walls feel dry to the touch, rushing the process often leads to long-term issues with adhesion and mold.
By understanding the difference between drying and curing, you can protect your investment and ensure your new finish holds up against the inevitable humidity of a steamy environment. This article provides the specific timelines and environmental factors you need to consider before turning on the water again.
The Recommended Waiting Period
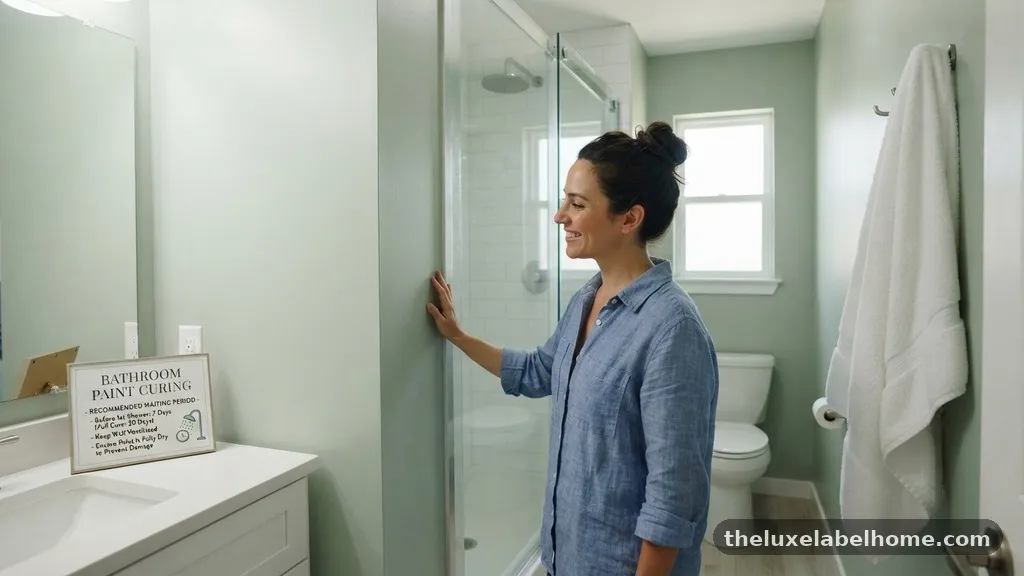
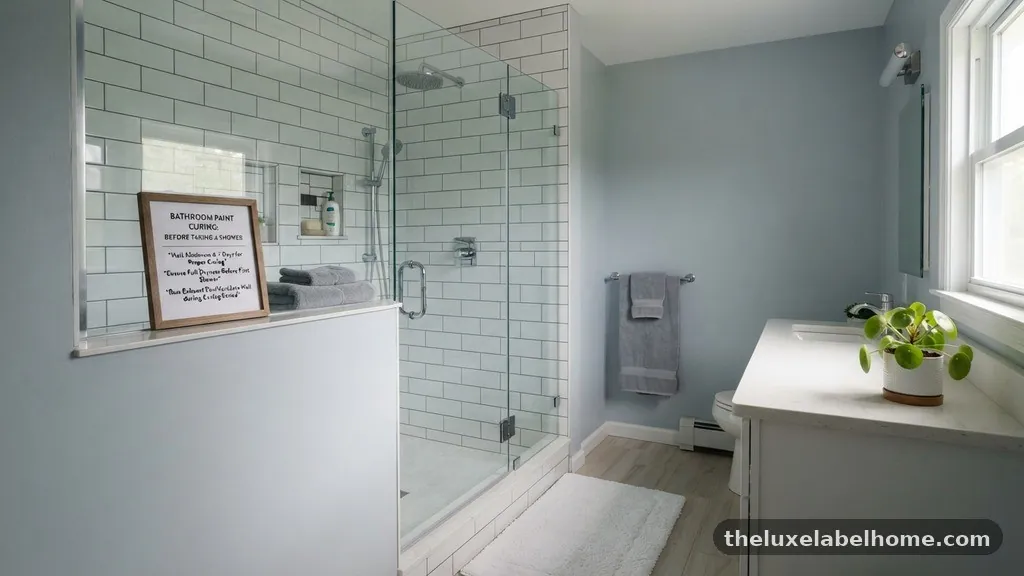
If you are wondering how long must bathroom paint cure before you can safely take a shower, the short answer is at least 24 to 48 hours. While the paint may feel dry to the touch in as little as two hours, the chemical cross-linking that makes the film durable takes significantly longer.
High-quality acrylic latex paints, which are standard for bathrooms, are particularly sensitive to moisture during this initial window. Introducing steam too early can cause the paint to soften, leading to bubbling, blistering, or water streaks that ruin your hard work.
Waiting a full two days is the safest bet for most modern formulations. If you live in an area with high ambient humidity or if your bathroom lacks a powerful exhaust system, you should extend this window to 72 hours.
Rushing the process might seem like a minor convenience, but moisture trapped behind a partially cured layer of paint is the primary cause of premature peeling. By giving the coating sufficient time to harden, you ensure that it becomes a true barrier against the water vapor that naturally fills the room during your daily routine.
Drying Versus Curing
Many people confuse the surface drying time with the full curing process, which can lead to disastrous results in a moisture-rich zone. Drying refers to the evaporation of solvents and water from the paint, allowing it to become tack-free.
This stage usually happens quickly, often within a few hours, depending on the temperature and airflow in the room. You might be able to press your finger against the wall without leaving a mark, which gives a false sense of security.
Curing, however, involves a chemical transformation where the polymer chains in the paint bind together to create a solid, protective shield. This process is much slower and continues long after the paint appears dry to the naked eye.
In a bathroom, this chemical hardening is essential because the paint must resist the physical impact of water droplets and the chemical stress of constant humidity. If you interrupt this phase by showering, you are essentially asking the paint to repel water before it has the molecular structure to do so.
Environmental Factors Affecting Cure Time
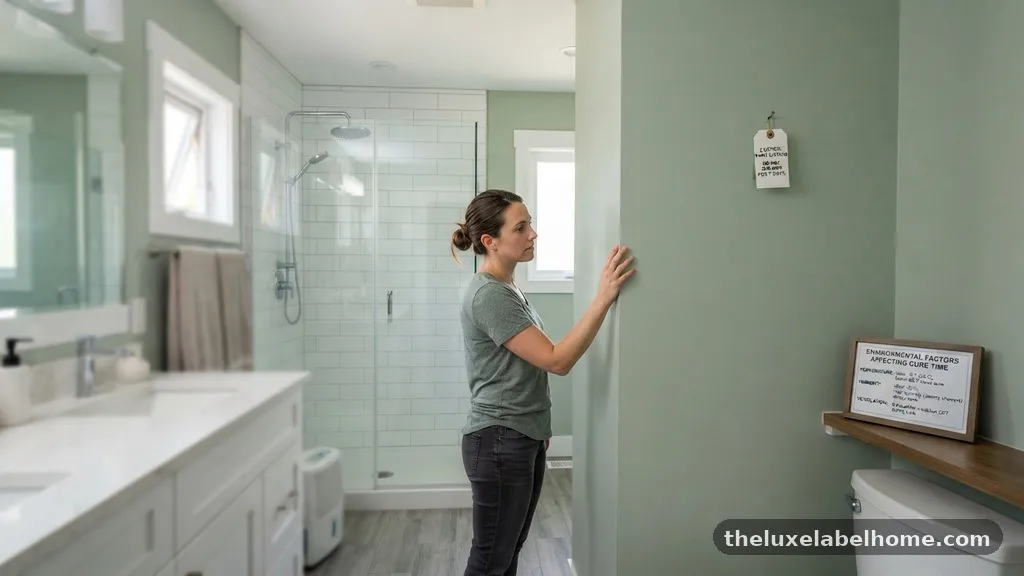
The speed at which your walls harden depends heavily on the conditions inside your house. Temperature is a major variable, as chemical reactions generally proceed faster in warmer environments.
If your bathroom stays below 65 degrees Fahrenheit, the curing process will slow down significantly, potentially adding an extra day to your wait time. Conversely, a warmer room helps the solvents escape more efficiently, though you should avoid using space heaters that might create uneven drying patterns.
Humidity levels are the most critical factor for bathroom projects. Because you are painting in a room specifically designed to manage water, the air is likely to retain moisture longer than in a bedroom or hallway.
If the humidity in your home is above 50%, the paint will struggle to release its internal moisture. You can use a dehumidifier to lower the ambient air content, which will help speed up the transition from a wet application to a fully cured, durable finish.
The Role of Ventilation
Proper airflow is the single most effective tool you have for ensuring a successful paint job. Even if you are waiting the required 48 hours, the paint needs a constant supply of fresh air to cure properly.
Keep your bathroom fan running continuously for the first 24 hours after application. If you don’t have an exhaust fan, open the door and use a portable fan to circulate air across the surface of the walls.
Do not point a high-powered fan directly at the wall, as this can cause the paint to dry too quickly on the surface while remaining wet underneath. Instead, aim for gentle, indirect circulation that moves the air around the room.
This helps transport the moisture away from the walls and out of the space. Think of it as creating a consistent environment that allows the paint to harden uniformly rather than trapping a layer of humidity against the fresh finish.
Signs Your Paint Is Ready
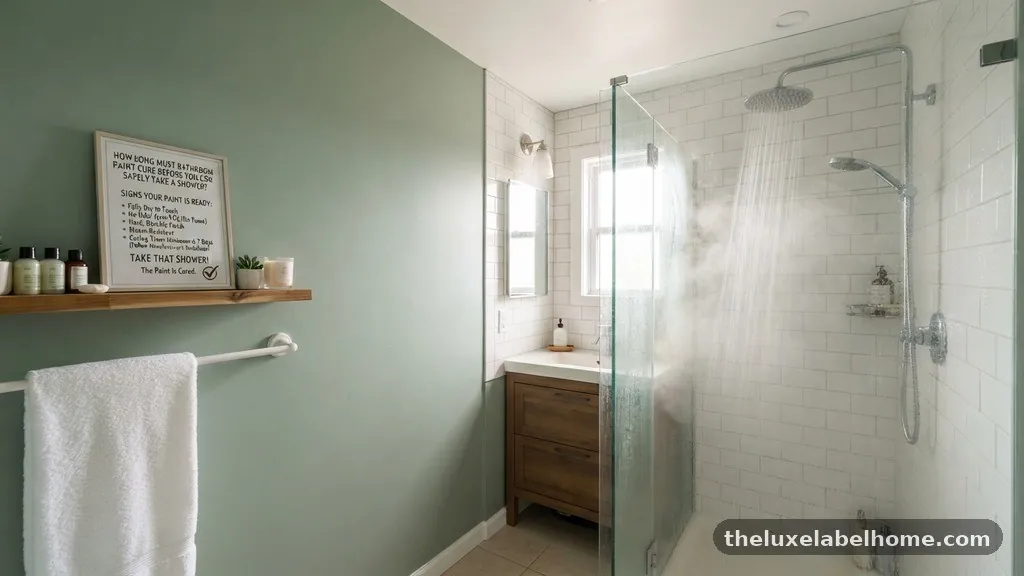
It can be difficult to tell if a finish is truly ready for high humidity just by looking at it. One of the best ways to gauge progress is to perform a gentle touch test in an inconspicuous area, such as behind the door or near the baseboard.
If the paint feels soft, tacky, or slightly rubbery, it has not finished curing. A fully cured surface should feel hard and smooth, similar to the existing trim or cabinetry in the room.
Another indicator is the smell of the paint. While many modern paints are low-VOC, they still emit a faint odor as they cure. If you can still smell the paint lingering in the air, it is a sign that volatile components are still evaporating.
Once the odor is completely gone and the surface feels firm, you are likely safe to proceed with a shower. If you are still unsure, it is always better to wait an extra twelve hours rather than risk damaging the finish.
Comparing Common Paint Types
Not all coatings behave the same way when exposed to moisture. Choosing the right product is just as important as the time you allow for curing.
You can find detailed technical specifications for various coatings from resources like the American Coatings Association to understand how different resins react to environmental stresses. The following table illustrates the general curing characteristics of common paint types used in residential settings.
| Paint Type | Typical Cure Time | Moisture Resistance |
|---|---|---|
| Standard Interior Latex | 24-48 Hours | Moderate |
| Bathroom-Specific Acrylic | 24-36 Hours | High |
| Oil-Based Enamel | 48-72 Hours | Very High |
| High-Gloss Enamel | 48-96 Hours | Excellent |
Steps to Prepare for Painting
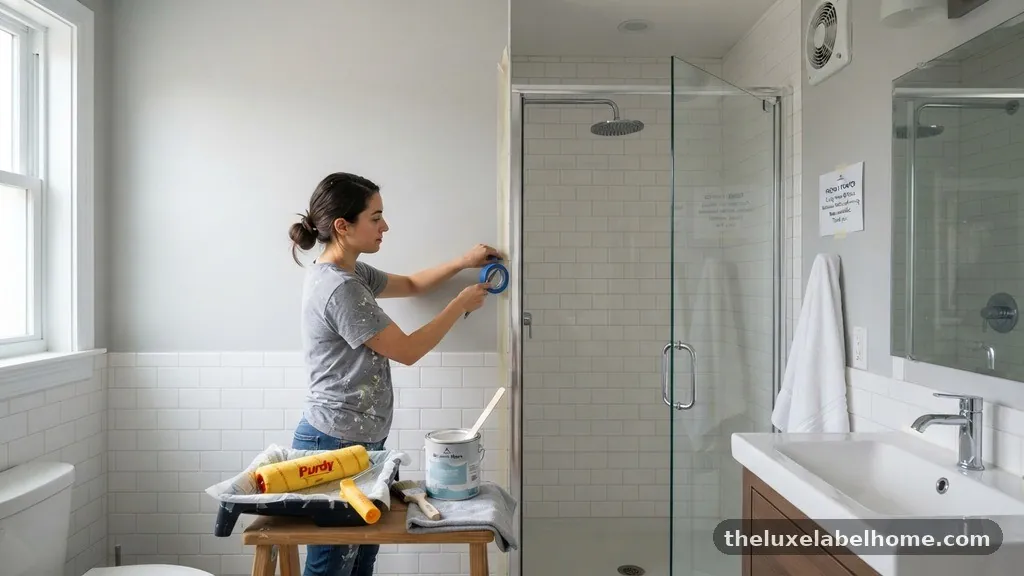
Your success depends on the work you do before you even open the paint can. Bathrooms are notorious for having soap scum, hairspray residue, and body oils on the walls.
If you paint over these contaminants, the finish will never adhere properly, regardless of how long you let it cure. Always clean the walls with a mild detergent and water, then rinse thoroughly and allow them to dry completely before you begin.
Applying a high-quality primer is also essential for a durable bathroom finish. A moisture-resistant primer creates a sealed surface that prevents the topcoat from soaking into the drywall or absorbing moisture from the air.
If you are painting over a semi-gloss or high-gloss finish, be sure to scuff-sand the surface first to provide “tooth” for the new paint. This preparation ensures that the bond between the wall and the paint is strong enough to withstand the stress of a steamy shower.
Common Mistakes to Avoid
Many homeowners inadvertently sabotage their projects by trying to “help” the paint dry. One of the most common errors is using a hairdryer or a heat gun to speed up the process.
This creates a skin on the surface of the paint that prevents the deeper layers from outgassing, leading to long-term issues like cracking or peeling. Let the paint dry naturally at a steady, moderate temperature.
Another frequent mistake is painting during a period of extreme weather. If it is raining or extremely humid outside, the moisture content in your home will be naturally higher, which drastically slows down the curing process.
Try to schedule your painting project during a dry, temperate spell. If you must paint during a humid season, ensure your HVAC system is running efficiently to keep the indoor climate as dry as possible.
Maintaining the Finish Long-Term
Once your paint has fully cured and you have resumed taking showers, your maintenance habits will determine how long the finish lasts. Always run the bathroom exhaust fan during your shower and for at least 15 to 20 minutes afterward.
This simple habit prevents the buildup of excess moisture that can slowly degrade even the best paint jobs. If you don’t have a fan, keep the door open and use a squeegee to wipe down the shower walls to minimize evaporation.
Periodically inspect your walls for signs of stress, such as small cracks or areas where the paint appears to be losing its sheen. If you notice water spots, address them immediately by cleaning the area and ensuring the room is well-ventilated.
Taking care of minor issues early prevents the need for a full repaint. A well-maintained bathroom finish can last for many years if you are diligent about moisture management.
Checklist for a Successful Project
To ensure you have covered all the bases before you start, keep this checklist in mind. Following these steps will give you the best chance at a professional, long-lasting result.
- Clean the walls thoroughly to remove soap, dust, and grease.
- Apply a high-quality, moisture-resistant primer.
- Use a bathroom-specific paint that contains mildew-resistant additives.
- Wait the full 48 hours before exposing the walls to steam.
- Keep the bathroom door open during the curing window.
- Run an exhaust fan or dehumidifier to pull moisture from the air.
- Check the surface for tackiness before resuming your normal shower routine.
Frequently Asked Questions
Can I take a cold shower instead of a hot one?
While a cold shower produces significantly less steam than a hot one, it still introduces moisture into the air. It is best to avoid using the bathroom for any type of bathing for the first 24 hours. After that, a cold shower is safer than a hot one, but you are still risking the integrity of the uncured paint if the humidity rises too high.
Does the number of coats change the cure time?
Yes, applying multiple coats increases the amount of liquid that needs to evaporate from the wall. If you apply a second or third coat, you should reset your clock. Each layer adds depth to the film, meaning it takes longer for the moisture to escape from the base layer through the subsequent coats. Always allow the manufacturer’s recommended time between coats, then add the full cure time after the final application.
What happens if I accidentally get water on the wall?
If you splash a small amount of water on the wall during the curing phase, gently blot it dry with a clean, soft cloth immediately. Do not rub the area, as this can smear the paint or leave a texture mark. If the water has sat long enough to cause a bubble or a streak, you may need to wait for it to dry completely and then lightly sand and touch up that specific spot.
Is there a way to speed up the curing process?
The best way to speed up the process is to optimize the environment, not to force the paint. Keep the temperature around 70 degrees and maintain good airflow. Using a fan to move air around the room is much more effective and safer than using heat. Avoid using chemicals or additives that claim to speed up drying, as these can negatively impact the final durability of the paint.
Can I use a space heater to dry the paint faster?
It is generally not recommended to use a space heater in a small, enclosed bathroom. High, localized heat can cause the paint to dry unevenly, which creates internal stress in the film and leads to cracking. It is much better to maintain a consistent, room-temperature environment with good ventilation. If you must use a heater, keep it at a low setting and far away from the walls to ensure safe, even drying.
Conclusion
Understanding how long must bathroom paint cure before you can safely take a shower is essential for protecting your home and your hard work. By waiting at least 48 hours and ensuring the room is properly ventilated, you create the conditions necessary for the paint to form a durable, moisture-resistant barrier. While the temptation to get back to your normal routine is high, the extra day of patience prevents the frustration of peeling, bubbling, and premature mold growth.
Prioritize proper surface preparation and consistent airflow throughout the curing process. These steps are just as important as the wait time itself.
By following these guidelines, you ensure that your bathroom remains a clean, beautiful, and functional space for years to come. If you have questions about your specific paint brand, always check the technical data sheet provided by the manufacturer for their exact recommendations.