How to Paint Walls Without Leaving Visible Roller Lap Marks
Achieving a professional-looking finish when painting walls without leaving visible roller lap marks requires more than just picking up a brush and bucket. These unsightly lines occur when you paint over a section that has already begun to dry, creating a thick, overlapping ridge of pigment.
Understanding the science of a wet edge is the most critical step in ensuring your paint remains uniform across the entire surface. By managing your speed, tool selection, and technique, you can transform your interior spaces into flawless, streak-free environments that look like the work of a seasoned professional.
Mastering the Wet Edge Technique
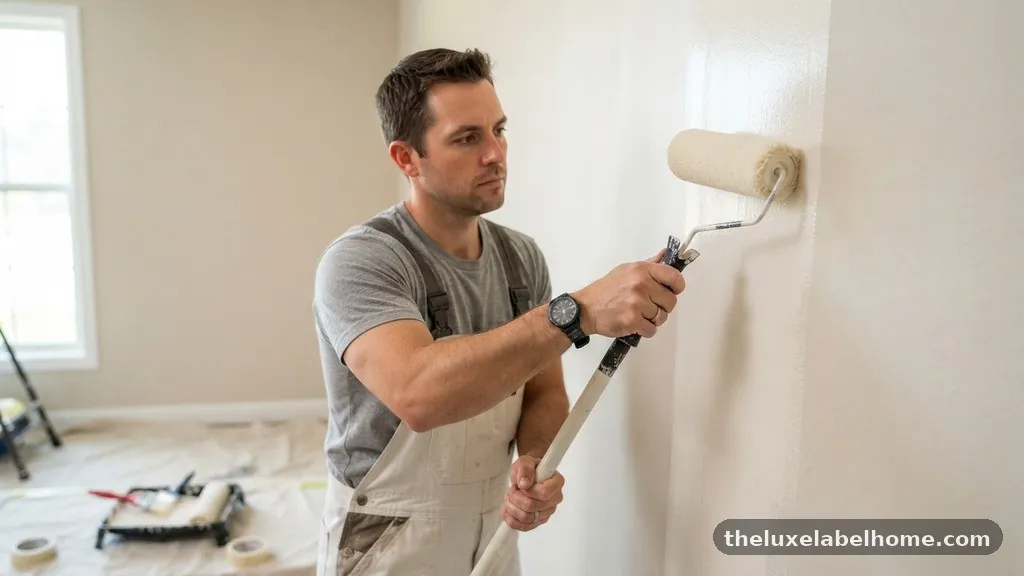
The secret to painting walls without leaving visible roller lap marks lies entirely in the concept of the wet edge. As you apply paint, the material begins to settle and lose moisture the moment it touches the drywall.
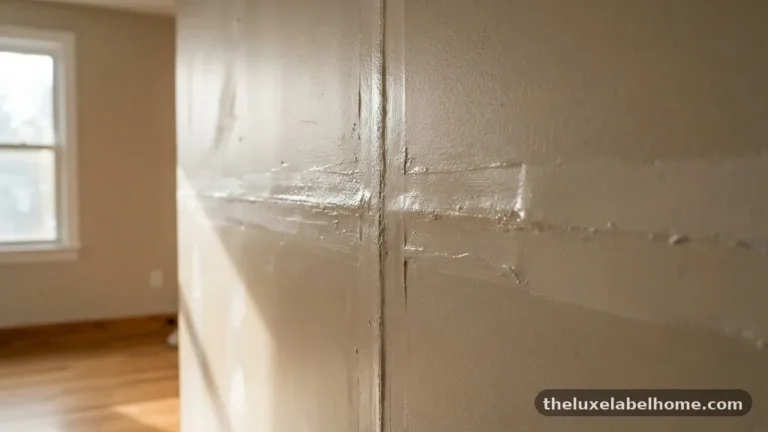
If you return to a section after the paint has lost its initial fluidity, your roller will drag through semi-solid material. This friction creates those heavy, raised lines known as lap marks that are difficult to hide once the wall cures.
To maintain a wet edge, you must keep your momentum consistent throughout the application process. Instead of painting a small square and waiting for it to dry, work in vertical strips that cover the entire height of the wall.
By overlapping each new stroke into the previous one while both are still wet, the two applications meld together into a single, cohesive layer. This constant forward motion ensures that you aren’t fighting against the clock or the drying speed of your chosen finish.
Selecting the Right Roller Cover
The tool you choose is just as important as your physical technique. A cheap, low-quality roller cover will shed fibers, hold too little paint, or fail to distribute it evenly across the surface.
You should prioritize high-density synthetic covers that hold a significant volume of liquid without dripping. The nap length is another factor to consider, as it dictates how much paint reaches the wall.
For smooth, interior drywall, a 3/8-inch nap is generally the industry standard for an even finish. If you are dealing with textured surfaces, you might need a 1/2-inch or even a 3/4-inch nap to ensure the paint reaches deep into the crevices.
Regardless of the texture, always ensure the cover is free of lint before you begin. You can use masking tape to pull off loose fibers, which prevents them from becoming embedded in your fresh coat and creating textured imperfections that look like streaks.
The Importance of Proper Paint Loading
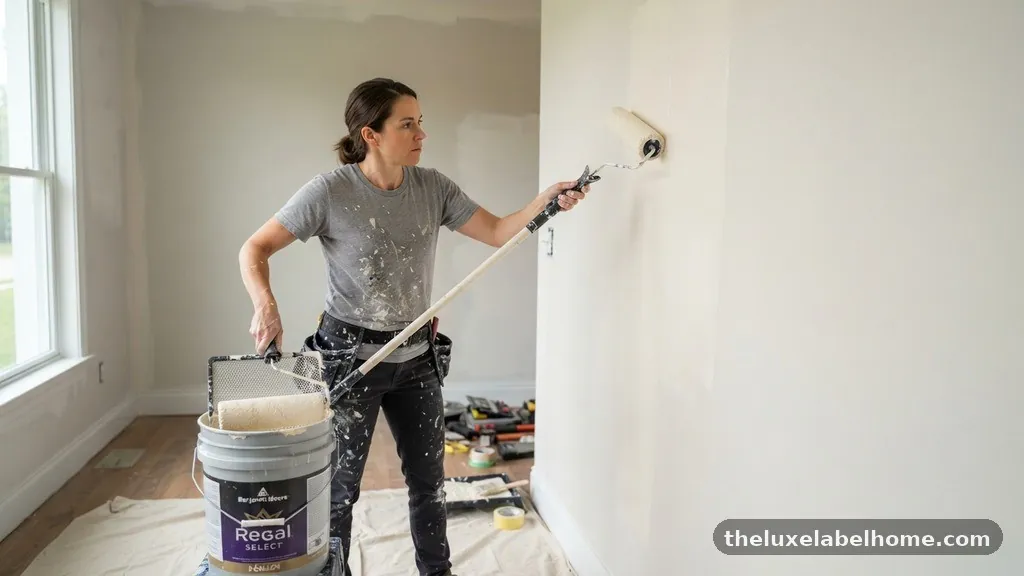
Many DIY painters fail because they use too little paint on their roller, leading to a “dry roll” that leaves thin, patchy areas. When you don’t have enough material on the roller, you are forced to press harder against the wall, which pushes the paint out unevenly. A properly loaded roller should be heavy but not dripping, allowing the weight of the tool to do the work rather than your arm strength.
Dip your roller into the tray and roll it back and forth on the textured ramp until the cover is fully saturated. You want the paint to penetrate the fabric completely, not just coat the surface.
If you hear a high-pitched, sticky sound while rolling, it is a clear sign that you are running out of material and need to reload. Maintaining a consistent, generous amount of paint on the roller is essential for a smooth, uniform application that hides previous layers.
Essential Tools for a Professional Finish
Beyond the roller, your setup should include specific tools that make the process more manageable. A sturdy extension pole is non-negotiable, as it allows you to maintain a consistent angle of pressure across the entire height of the wall. Without one, you are likely to change your arm angle as you move from the bottom to the top, which inevitably leads to variation in paint thickness and visible lap marks.
Recommended Painting Equipment
| Tool | Purpose | Benefit |
|---|---|---|
| Extension Pole | Reach | Maintains consistent pressure |
| High-Density Cover | Application | Reduces streaks and lint |
| Deep Tray | Loading | Ensures proper saturation |
| Angled Sash Brush | Cutting-in | Prevents boxy corners |
Using an angled sash brush for “cutting in” the corners and edges is also necessary. You should complete the edges of the wall first, but keep the paint wet until you reach those areas with the roller. If you cut in the entire room and let it dry before rolling the main surface, you will end up with a “picture frame” effect where the edges look different from the center.
Managing Environmental Factors
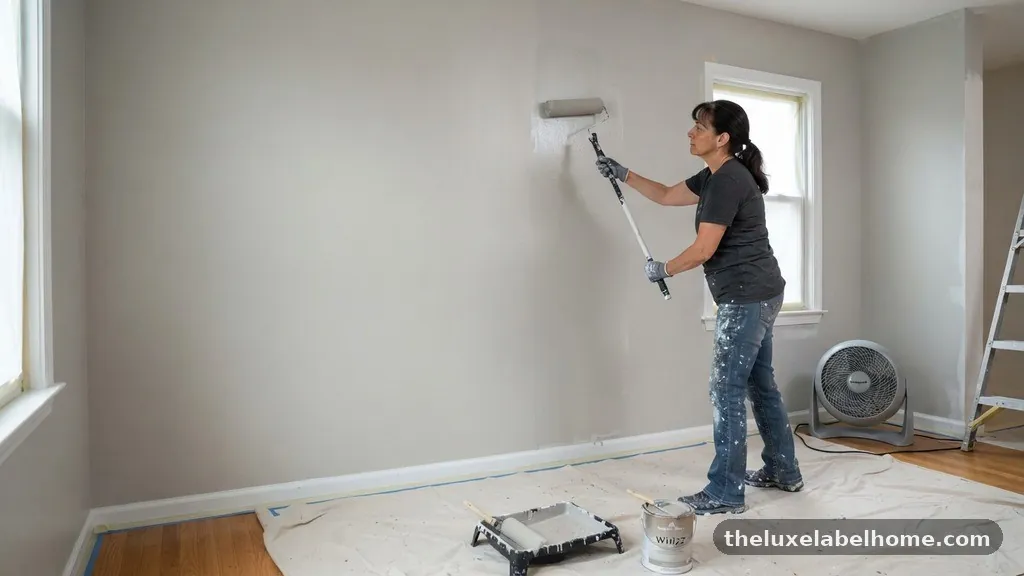
The environment in your home plays a massive role in how quickly your paint dries. High temperatures, low humidity, and direct sunlight all accelerate the evaporation of water from water-based paints.
If the room is too hot, the wet edge you are trying to maintain will disappear in minutes, making it nearly impossible to avoid streaks. Many professionals suggest using a humidifier or closing blinds to keep the room cool while working.
Airflow is another variable that often goes overlooked. While ventilation is important for fumes, a strong draft from an open window or a ceiling fan will dry your paint unevenly.
Try to minimize air movement in the room while you are actively painting. If the paint dries too fast, consider adding a paint extender or “floetrol” to the mix, which keeps the material workable for a longer duration and helps it level out smoothly.
The W-Pattern Rolling Technique
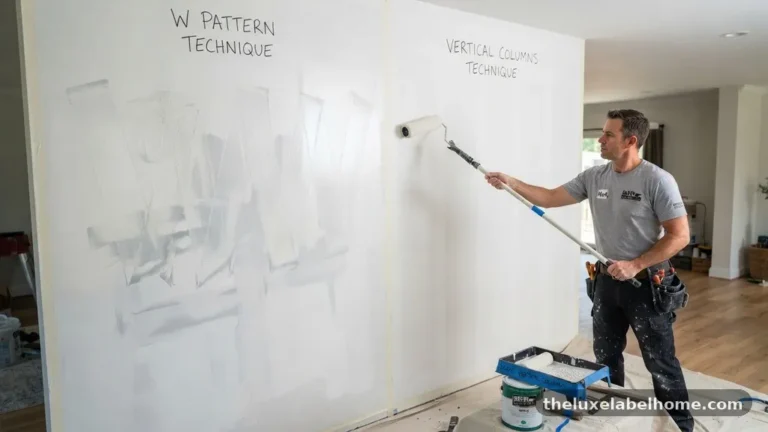
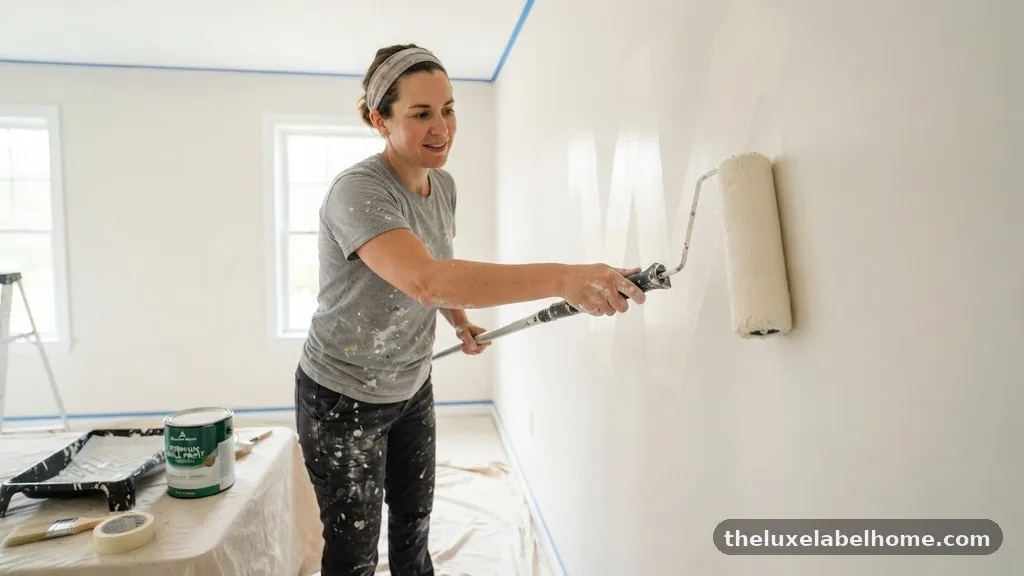
When applying paint to the wall, the direction and shape of your strokes matter significantly. Many beginners simply roll in straight vertical lines, which can lead to missed spots and thick paint buildup at the edges of each stroke. Instead, use a “W” or “M” pattern to distribute the paint evenly across a three-foot section before filling it in.
Start by rolling a large W shape on the wall, then fill in the gaps without lifting the roller. This technique ensures that paint is distributed randomly, breaking up any potential patterns that the roller might leave behind.
Once the area is covered, finish with a light, vertical “lay-off” pass. This final stroke should be done with very little pressure, moving from the ceiling to the floor, to smooth out any heavy lines or ridges created during the initial application.
Preparing the Surface Correctly
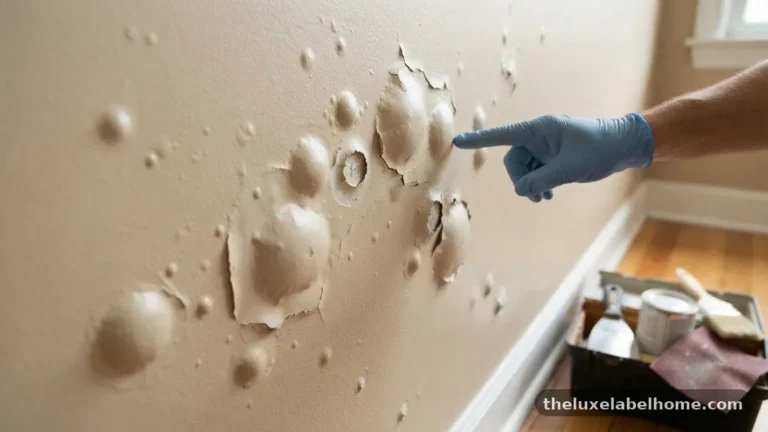
You cannot achieve a professional finish on a wall that hasn’t been properly prepped. If your drywall has patches, holes, or rough texture, these imperfections will show through the paint regardless of your rolling technique.
Always sand your repairs until they are perfectly flush with the surrounding surface. Use a primer on any patched areas to seal the drywall, as bare gypsum absorbs paint at a different rate than existing paint.
If you skip the primer, the wall will have uneven suction, causing the paint to dry at different speeds in different areas. This difference in absorption is a major cause of inconsistent finishes, often mistaken for roller lap marks.
Take the time to clean the walls with a damp cloth to remove dust, as even a small amount of debris will get trapped in the paint and ruin the smoothness of your finish. You can find more detailed advice on surface preparation from the National Park Service’s guidelines on historic interiors, which emphasizes the importance of a stable substrate.
Understanding Paint Quality
Not all paints are created equal, and cheaper options often lack the leveling agents necessary to hide lap marks. Premium paints contain higher concentrations of pigments and resins, which allow them to flow and flatten out as they dry. Budget paints often have a higher water content, which causes them to dry faster and leaves more visible texture behind.
If you are a beginner, investing in a high-quality paint will make your life much easier. These products are formulated to be more forgiving, allowing you a longer window to correct mistakes before the finish sets.
Look for paints labeled as “self-leveling” or those with a high solids content. While they may cost more upfront, the time you save and the reduction in the need for a second or third coat often make them a better value in the long run.
Common Mistakes to Avoid
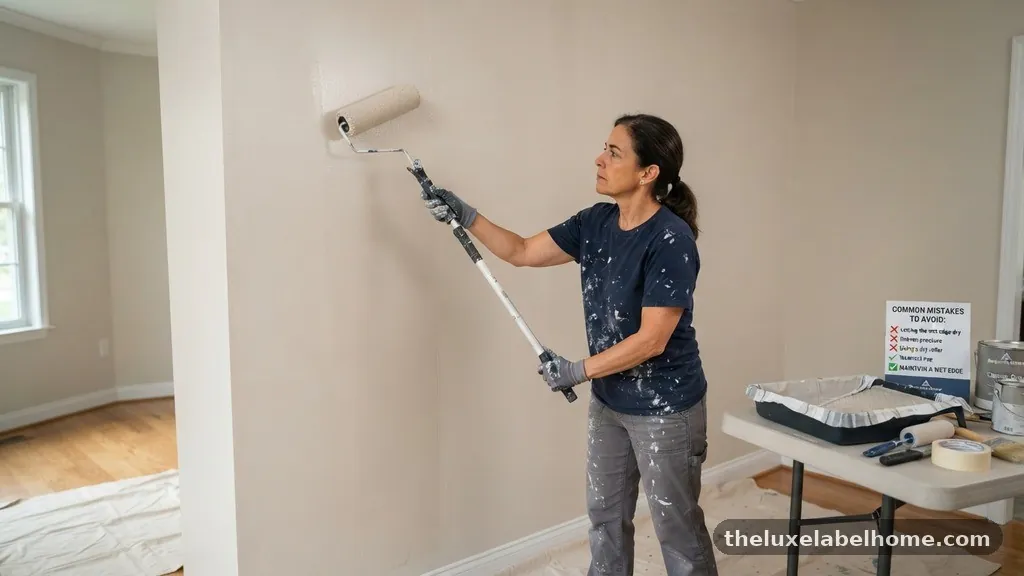
Even with the best tools, certain habits can ruin your finish. One of the most common errors is over-working the paint.
Once you have applied a section and smoothed it out, leave it alone. Going back to touch up a spot that has started to dry is a guaranteed way to create a visible, ugly lap mark.
* Stopping mid-wall: Always finish the entire height of the wall before taking a break.
* Using a dry roller: Reload your roller frequently to ensure a consistent coat.
* Applying too much pressure: Let the weight of the roller do the work; pressing hard creates ridges.
* Ignoring the edge: Don’t let your “cut-in” paint dry before you roll up to it.
Avoiding these pitfalls requires patience and a methodical approach. It is better to move slowly and deliberately than to rush and create errors that require an entire wall to be sanded and repainted.
Frequently Asked Questions
Why can I see streaks even after the paint has dried?
Streaks usually occur because the paint dried before you could blend the edges of your strokes. This is often caused by working too slowly or painting in an environment that is too hot or dry. It can also happen if you didn’t overlap your strokes sufficiently while the paint was still wet.
Can I fix visible lap marks without repainting the whole wall?
Usually, you cannot simply spot-touch lap marks, as the new paint will have a different sheen and texture than the surrounding area. You will likely need to lightly sand the area to remove the ridge and then repaint the entire wall from corner to corner to ensure a uniform appearance.
Does the type of paint finish affect visibility?
Yes, higher-sheen paints like satin, semi-gloss, and gloss are much less forgiving than flat or matte finishes. These sheens reflect light, which makes every ridge, streak, and lap mark stand out. If you are a beginner, starting with a matte or eggshell finish is much easier.
How do I stop the roller from leaving a texture pattern?
To minimize roller texture, ensure you are using the right nap length for your surface and that you are using the “W” pattern for application. Always finish with a light, vertical lay-off stroke to smooth out the surface. Using a high-quality paint with good leveling properties also helps significantly.
How many coats of paint are necessary to avoid streaks?
Two coats are standard for a professional result. The first coat acts as a base, and the second coat provides the uniform color and sheen that hides any minor imperfections or streaks from the initial application. Always ensure the first coat is completely dry before applying the second.
Achieving a Flawless Finish
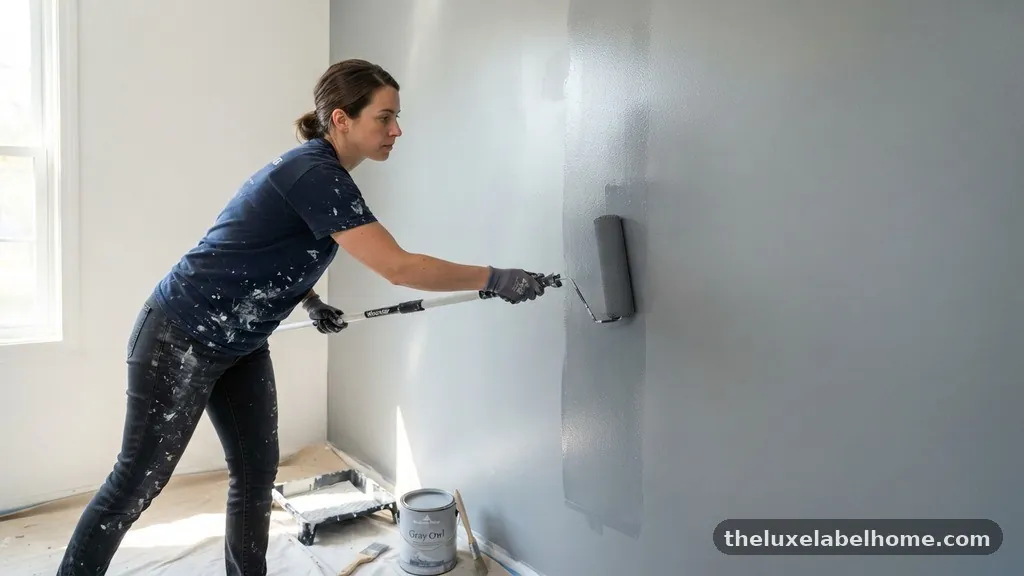
Painting walls without leaving visible roller lap marks is a skill that blends preparation, high-quality materials, and rhythmic technique. By maintaining a consistent wet edge and working in manageable sections, you prevent the paint from setting before you can properly blend your strokes. Remember that the quality of your finish is dictated by the effort you put into the foundation, from sanding the surface to choosing the right roller cover for your specific wall texture.
When you approach the task with patience and the right tools, you eliminate the frustration of visible streaks and uneven lines. If you find yourself struggling, take a step back, assess the room’s temperature, and ensure your roller is fully saturated before your next pass.
With these practices in place, you will find that achieving a smooth, professional-grade wall finish is well within your reach. Consistent application is the key to success, so take your time and enjoy the process of transforming your space.