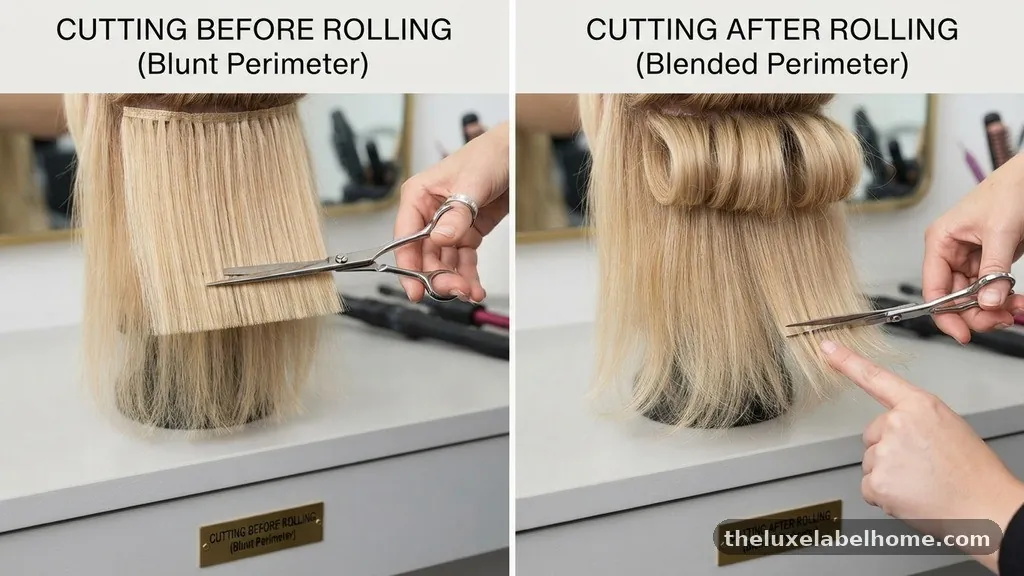
Cutting In Before vs After Rolling: Which Blends the Perimeter Better?
Deciding between cutting in before vs after rolling is a fundamental debate in professional painting that directly impacts the final appearance of your walls. Most professional contractors prefer to cut in first to establish a wet edge, but the “best” method often depends on your skill level and the specific paint formula you are using.
By understanding how these sequences influence the paint film, you can effectively avoid unsightly lap marks and achieve a professional-grade finish. This article examines the technical nuances of both approaches to help you determine which sequence works best for your next interior project.
The Core Difference in Sequence
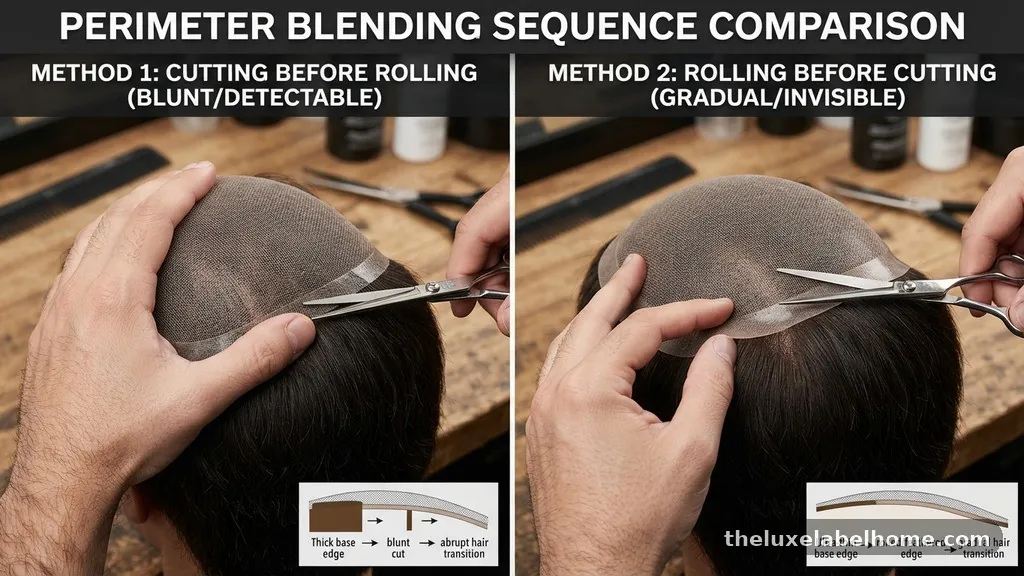
The primary objective when painting any surface is to maintain a wet edge throughout the application process. When you cut in before rolling, you are essentially creating a border that remains slightly damp while you fill in the center of the wall.
This allows the roller to overlap with the freshly applied brushwork, effectively melting the two textures together. If you wait until after rolling, the roller-applied paint begins to dry, making it nearly impossible to blend the brushwork without creating a visible ridge.
Most professional painters advocate for cutting in first because it simplifies the workflow. You establish the boundaries at the ceiling line, corners, and baseboards while the surface is still raw.
Once the perimeter is defined, you can focus entirely on the main wall area without worrying about hitting trim or adjacent walls. This sequence is particularly advantageous when working with fast-drying acrylic latex paints that leave little room for error.
Why Wet Edge Management Matters
The concept of a wet edge is the single most important factor in preventing picture framing. Picture framing occurs when the perimeter of the wall dries differently than the center, resulting in a noticeable halo or color variation.
Because the brush applies paint more heavily than a roller, the cut-in area often has a slightly different sheen or texture if it dries completely before the roller reaches it. By keeping this edge wet, you ensure that the roller’s texture blends into the brushwork.
Maintaining this state requires a strategic approach to your pace and the size of the area you tackle at once. If you cut in an entire room before picking up the roller, the perimeter will inevitably dry, defeating the purpose of the technique.
Instead, you should cut in one wall at a time and immediately follow it with the roller. This keeps the paint film consistent across the entire surface and minimizes the risk of visible lap marks.
Analyzing the Impact on Wall Texture
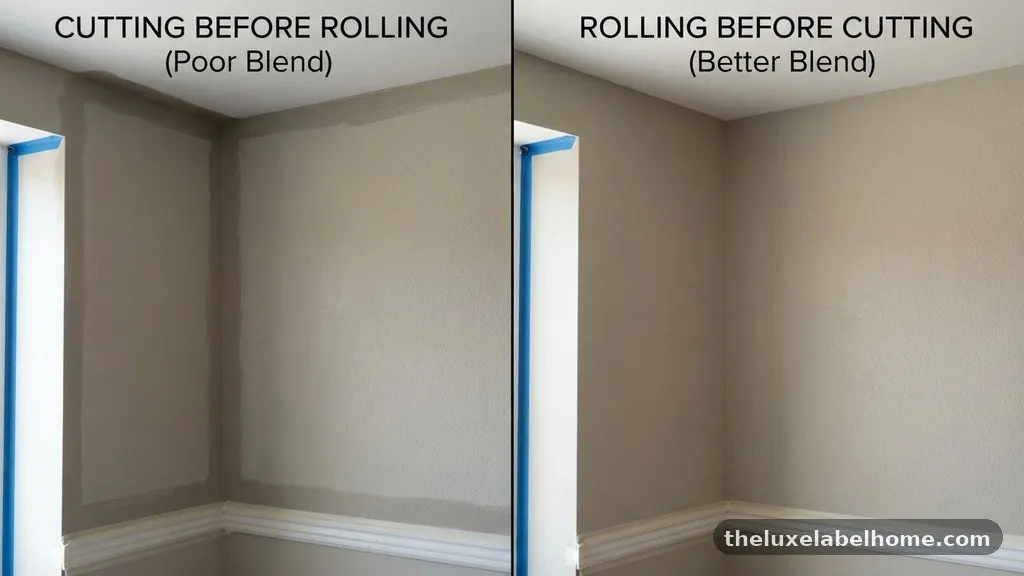
The interaction between your brushwork and the wall texture is a critical element in achieving a seamless finish. Brushes inherently leave a different texture than a roller sleeve, especially when using a thicker nap.
When you cut in after rolling, you are essentially painting over a textured surface with a smooth-finish brush, which creates a sharp contrast. This often results in a “frame” that looks distinct from the stippling effect left by the roller.
If you cut in first, the roller passes over the edges of your brushwork, effectively incorporating the brush marks into the surrounding stippling. This mechanical blending is the secret to a professional look.
The roller sleeve, if chosen correctly for the wall’s porosity, will pick up the excess paint from the brush-applied areas and redistribute it. This creates a uniform appearance where the transition from the corner to the flat wall is virtually invisible.
Choosing the Right Tools for Precision
The success of your cut-in technique depends heavily on the tools you select for the job. An angled sash brush is essential for navigating tight corners and cutting crisp lines along the ceiling or baseboards.
The stiffness of the bristles should match the viscosity of your paint; a high-quality synthetic filament brush works best for most modern water-based coatings. You want a tool that holds enough paint to cover in one pass while offering enough control to keep lines straight.
For the rolling phase, the roller cover you choose must balance the wall’s texture with the desired finish. A 3/8-inch nap is standard for smooth to lightly textured walls, while a 1/2-inch nap may be required for rougher surfaces.
Using a high-quality cover ensures that you aren’t leaving behind excessive lint or uneven paint distribution. You can find detailed technical specifications for various application tools through the Painting and Decorating Contractors of America.
| Method | Best For | Primary Benefit |
|---|---|---|
| Cutting In First | Fast-drying paints | Better blending/wet edge |
| Cutting In Last | Slow-drying/Oil paints | Minimal trim contamination |
| Two-Pass Method | High-contrast colors | Maximum opacity/coverage |
Managing Paint Drying Time
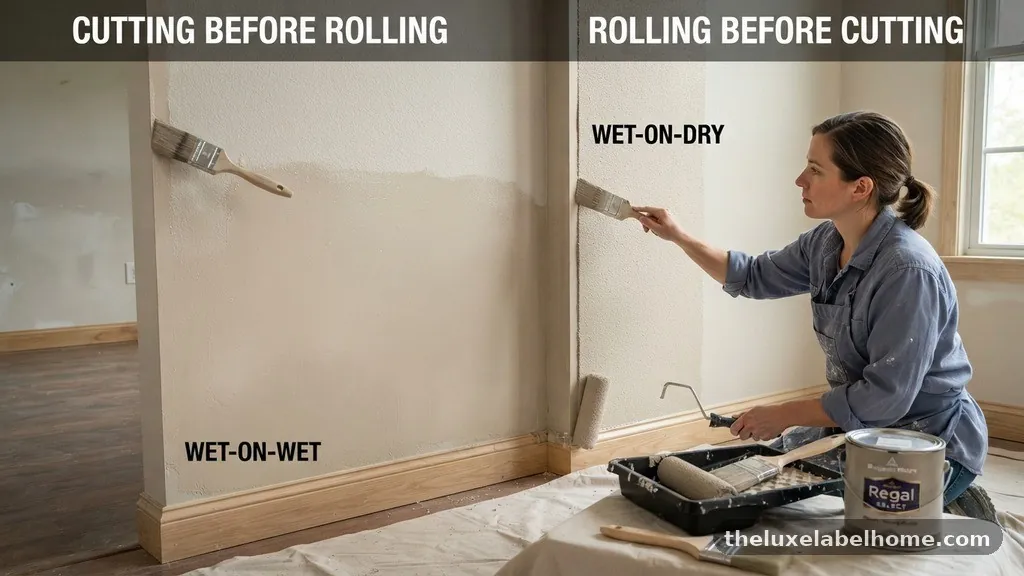
Paint drying time is the invisible hand that dictates your success or failure in the cut-in process. Modern acrylic latex paints are engineered to dry quickly to allow for shorter project timelines, but this speed is a double-edged sword.
If the ambient temperature is high or the humidity is low, the paint film will set almost as soon as it touches the drywall. This makes the “cutting in before vs after rolling” decision far more critical than it was with older, slower-drying oil-based products.
If you find that your paint is drying too fast to blend, you might consider adding a professional paint extender. These additives increase the open time of the paint, giving you a longer window to overlap your wet edges.
However, be careful not to over-dilute the paint, as this can affect the overall durability and sheen consistency of the finish. Always test your technique on a small, inconspicuous area before committing to an entire wall.
Common Mistakes During the Process
Many DIY painters fall into the trap of using too much pressure when cutting in. This forces too much paint into the corners, creating a thick, uneven buildup that is impossible for a roller to blend.
Instead, feather the edge of your brushwork out toward the center of the wall. This thinning of the paint film ensures that the roller doesn’t have to fight against a massive ridge of dried paint.
Another frequent error is failing to maintain a consistent paint application across the entire room. If you stop halfway through a wall, the starting and stopping point will almost always show up as a vertical line.
Always complete the entire length of a wall, including the cut-in and the rolling, before taking a break. This practice maintains a continuous wet edge and prevents the dreaded lap marks that ruin a smooth finish.
- Feathering the edges of your brushwork to avoid thick ridges.
- Completing one wall completely before moving to the next.
- Using an angled brush specifically designed for trim work.
- Matching the roller nap to the specific texture of the wall.
- Keeping the brush loaded with just enough paint to cover.
The Role of Painter’s Tape
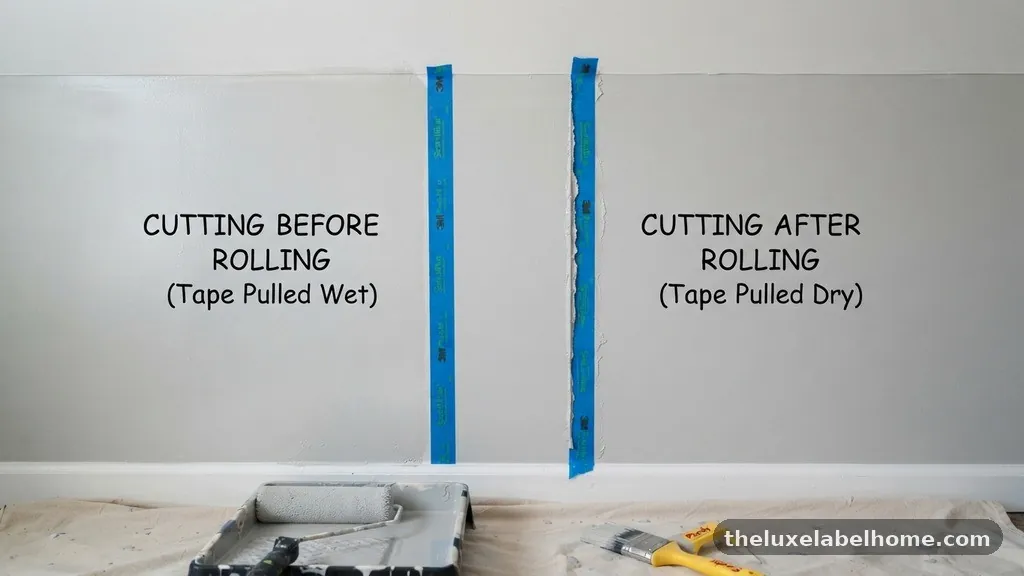
Painter’s tape is often viewed as a crutch for beginners, but it can be a valuable asset when used correctly. If you struggle with a steady hand, applying high-quality tape along the baseboards or ceiling line allows you to cut in with confidence.
However, you must remove the tape while the paint is still slightly tacky. If you wait for the paint to fully harden, you risk peeling the paint film away from the wall.
Some professionals avoid tape entirely because it can create a sharp, unnatural line that looks like a sticker. If you have the skill, freehand cutting provides a more organic transition that blends better with the surrounding wall surface.
If you do choose to use tape, ensure it is pressed firmly against the surface to prevent “bleeding” underneath. A thin line of caulk, painted over, is another method used to ensure a perfectly sharp corner.
Handling Different Wall Textures
Wall texture dictates how much paint your roller will deposit and how quickly it will dry. On a heavily textured surface, the roller will leave tiny gaps that a brush can easily fill, which makes cutting in first even more important.
You need to ensure that the brushwork is worked into the texture so that it doesn’t look like a solid block of color at the corners. Using a slightly heavier hand with the roller can help push the paint into these textured gaps.
For perfectly smooth walls, any inconsistency in your brushwork will be immediately visible. These surfaces require a more delicate touch and a finer-tipped brush.
Because there is no texture to hide behind, you must be extremely precise with your cut-in lines. If you are painting a smooth wall, focus on a very thin, even layer of paint to avoid visible brush marks that might conflict with the roller’s finish.
When Two Passes Are Necessary
Sometimes, the best approach is to cut in and roll the entire room twice. This is particularly common when you are making a drastic color change, such as going from a dark color to a light one.
The first pass acts as a primer, sealing the surface and providing a base for the final coat. Because you are applying two coats, the pressure on your “wet edge” management is slightly reduced.
However, you should still treat each coat as an individual project. Perform the cut-in and roll sequence for the first coat, let it dry completely, and then repeat the process for the second.
This prevents the buildup of too much paint in the corners, which can lead to peeling or cracking over time. Always ensure the first coat is fully cured before starting the second to avoid pulling up the base layer.
Addressing Sheen Consistency
Sheen consistency is the hallmark of a professional paint job. If your cut-in area looks “flatter” or “shinier” than the rolled area, it is usually because the paint was applied at different thicknesses.
This is why keeping the edge wet is so vital; it ensures that the paint film has a uniform density. If you notice a sheen difference, it is often a sign that you have allowed the brushwork to dry too long before rolling.
Lighting conditions also play a huge role in how we perceive sheen. A wall that looks perfect in the afternoon sun might show every imperfection when viewed under artificial overhead lighting.
If you are painting a room with large windows, observe the wall from multiple angles throughout the day. This will help you identify if your blending technique is holding up under different light sources.
Frequently Asked Questions
Is it ever okay to cut in a whole room before rolling?
Generally, no. Cutting in an entire room before rolling is a recipe for visible lap marks and picture framing. The paint at your starting point will dry long before you reach it with the roller, preventing the two applications from blending.
What do professional painters use to get a perfect line?
Most professionals use a high-quality, 2-inch or 2.5-inch angled sash brush. They rely on steady hand control and “feathering” the paint out from the corner rather than using painter’s tape. With enough practice, the brush becomes an extension of the hand, allowing for precision.
Can I cut in twice before rolling to save time?
Cutting in twice before rolling is usually counterproductive. It creates a thick buildup of paint at the corners that will look different from the rolled center. It is much better to cut in and roll one section, then repeat the process for the second coat if necessary.
What is the best way to fix a visible cut-in line?
If you have a visible ridge, you can lightly sand the area with fine-grit sandpaper to smooth out the transition. Afterward, touch up the spot with a small amount of paint, using a light dabbing motion to mimic the roller’s texture. Be aware that this may still be visible depending on the sheen of the paint.
Does the type of paint affect the cutting-in process?
Yes, the viscosity and drying time of the paint are major factors. Thicker, high-quality paints often have a longer “open time,” which makes the cutting-in process more forgiving. Always check the manufacturer’s recommendations for application temperatures and drying times.
Final Thoughts on Painting Sequences
Mastering the balance between cutting in and rolling is an essential skill for anyone looking to achieve a professional finish. By prioritizing the maintenance of a wet edge, you ensure that your brushwork and roller application blend into a single, cohesive film. Whether you are dealing with fast-drying latex or specialized coatings, the principle remains the same: keep the transition area active until the roller can integrate it.
Remember that patience and a methodical approach to each wall will always outperform speed. By following these techniques, you can avoid the common pitfalls of picture framing and uneven textures. If you have questions about specific paint brands or wall conditions, feel free to share your project details for further advice on your next painting endeavor.