How to Keep a Wet Edge When Painting Large Walls in Low Humidity
Managing the moisture content of your paint while working on expansive surfaces is the primary challenge when keeping a Wet Edge When Painting Large Walls in Low Humidity. When air is dry, water evaporates from the paint film almost instantly, causing the paint to become tacky before you can roll the next section.
This rapid drying leads to unsightly lap marks and an uneven finish that ruins the professional look you desire. By adjusting your technique and managing the environment, you can maintain a fluid, workable surface throughout the entire project.
The most effective way to ensure a seamless finish is to slow down the evaporation rate by controlling your environment and using high-quality additives. You should focus on working in smaller, manageable sections and keeping your roller fully loaded at all times. This article explores the essential methods for maintaining that crucial wet edge when the climate is working against you.
Understanding the Mechanics of a Wet Edge
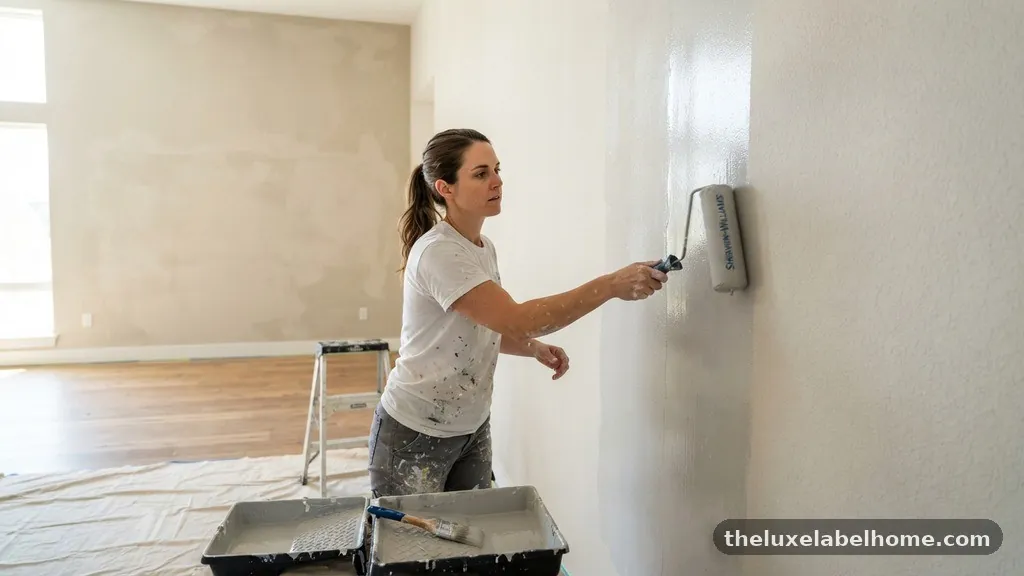
The concept of a wet edge refers to the boundary between the paint you have just applied and the next strip you are about to lay down. To achieve a smooth appearance, the new paint must blend into the previous stroke while both are still in a liquid state. When the air is arid, this window of time shrinks significantly, often to just a few seconds.
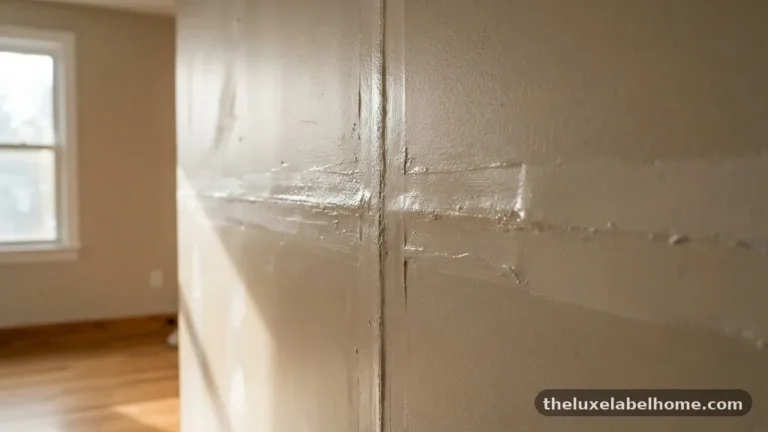
If you fail to overlap these sections while the paint is fresh, the edges begin to set independently. This creates a build-up of material where the two applications meet, resulting in dark, visible bands known as lap marks. These marks are essentially permanent once the paint cures, and they are notoriously difficult to fix without repainting the entire wall.
Optimizing Your Environment
Before you even open a can of paint, you must address the humidity levels in the room. Low humidity is the enemy of a consistent finish, but you can artificially improve the conditions. Running a portable humidifier in the space for several hours before you start painting can significantly raise the ambient moisture.
If you are working in a room with windows, close them tightly to prevent dry exterior air from circulating. You should also turn off any ceiling fans or forced-air heating systems that might be blowing across the wall. These air currents accelerate evaporation, making it nearly impossible to keep a wet edge.
Choosing the Right Paint for Arid Conditions
Not all coatings are designed to handle low-humidity environments. Standard latex or acrylic paints are formulated for average conditions, and they may dry too quickly when the mercury rises or the air is parched. You should look for paints labeled as having a longer open time or those specifically designed for professional results.
Premium paints often contain higher concentrations of resins and high-quality binders that allow the film to remain workable for longer periods. Cheaper, entry-level paints often have higher water content, which evaporates rapidly, causing the paint to drag under the roller. Investing in a higher-end product is one of the most reliable ways to make your job easier.
Using Paint Extenders and Conditioners
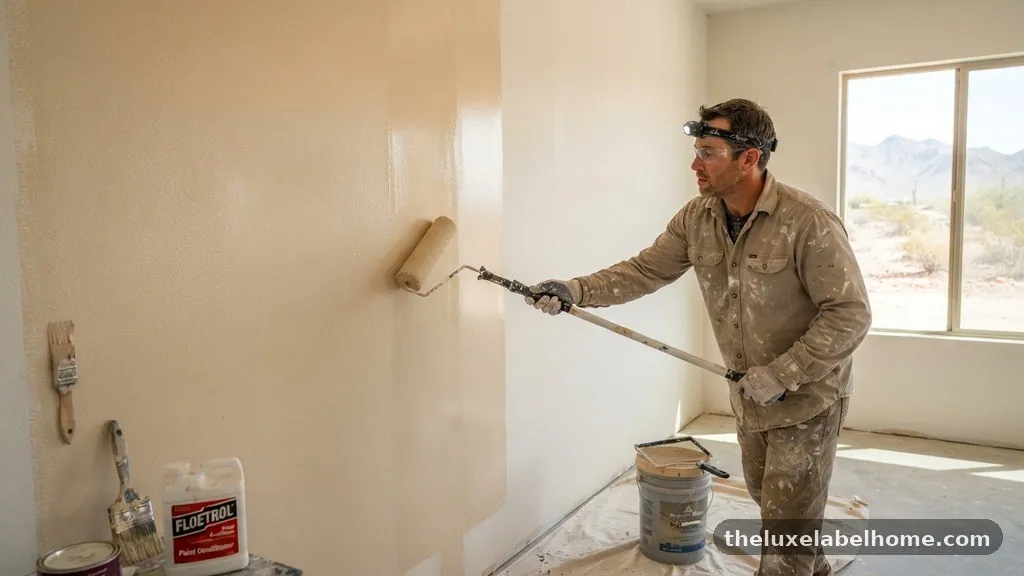
When environmental controls are not enough, professional painters often turn to paint extenders or conditioners. These additives are designed to be mixed directly into your paint to slow down the drying process without compromising the integrity of the finish. They effectively keep the paint fluid for an extra few minutes, which is often the difference between success and failure.
Most major manufacturers provide specific instructions on the maximum amount of conditioner you should add to a gallon of paint. You should follow these guidelines strictly to ensure the paint still cures properly and maintains its durability. Over-diluting the paint can lead to issues with coverage and adhesion, so always measure carefully.
Mastering Your Rolling Technique
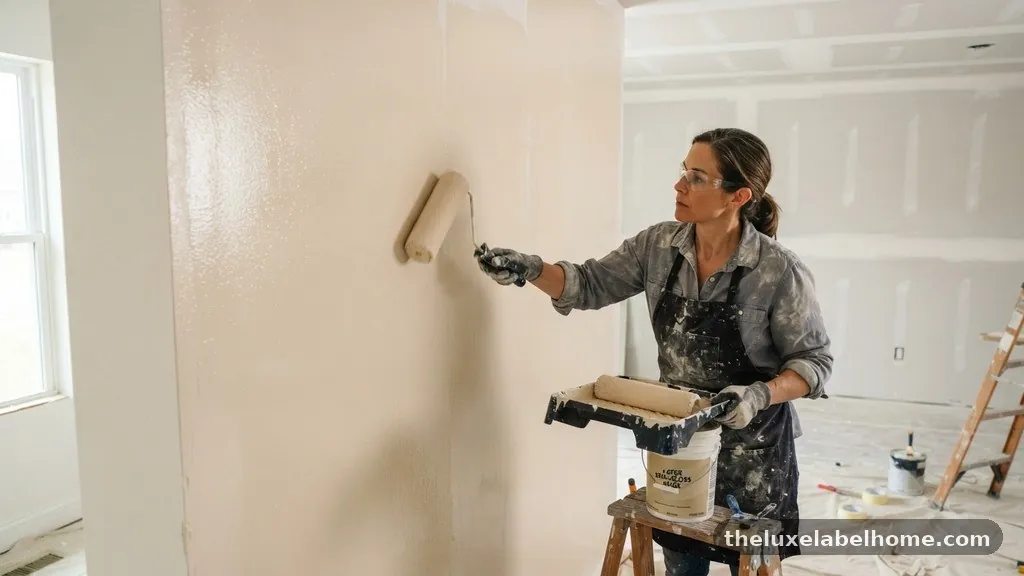
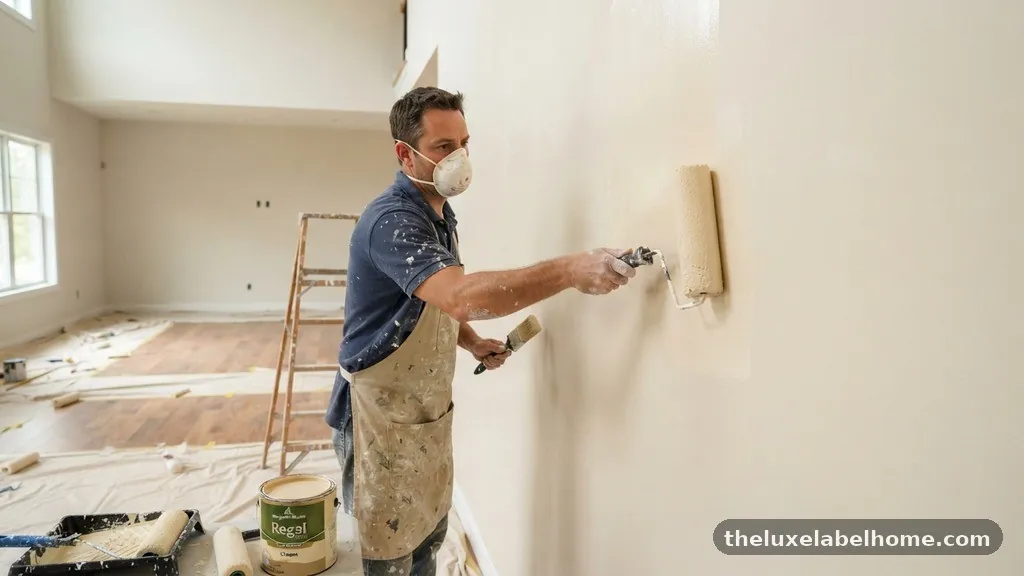
Your technique is just as important as the materials you use. When painting large walls, you must keep your roller constantly loaded with a generous amount of product. A dry roller is the fastest way to lose your wet edge because it pulls material away from the wall rather than depositing it.
Always start your stroke in the wet paint and roll back into the area you have already finished. This “back-rolling” action helps to pull the fresh paint into the existing layer, creating a seamless transition. Never attempt to stretch your paint too far; if you feel the roller starting to drag or make a sticky sound, it is time to reload.
The Importance of Proper Surface Preparation
A porous or dry wall surface will absorb the liquid components of your paint far too quickly, which ruins your ability to maintain a wet edge. This is why a high-quality primer is essential, especially on new drywall or surfaces that have been repaired. A good primer seals the substrate and provides a uniform surface for the topcoat to sit on.
If you are painting over existing paint that is particularly dry or chalky, a light sanding followed by a quality primer will create a better foundation. You can find detailed technical guidance on surface preparation through the American Coatings Association, which outlines how different substrates interact with various coating types. A well-sealed surface ensures that the paint stays on top of the wall rather than soaking into it.
Working in Small, Manageable Sections
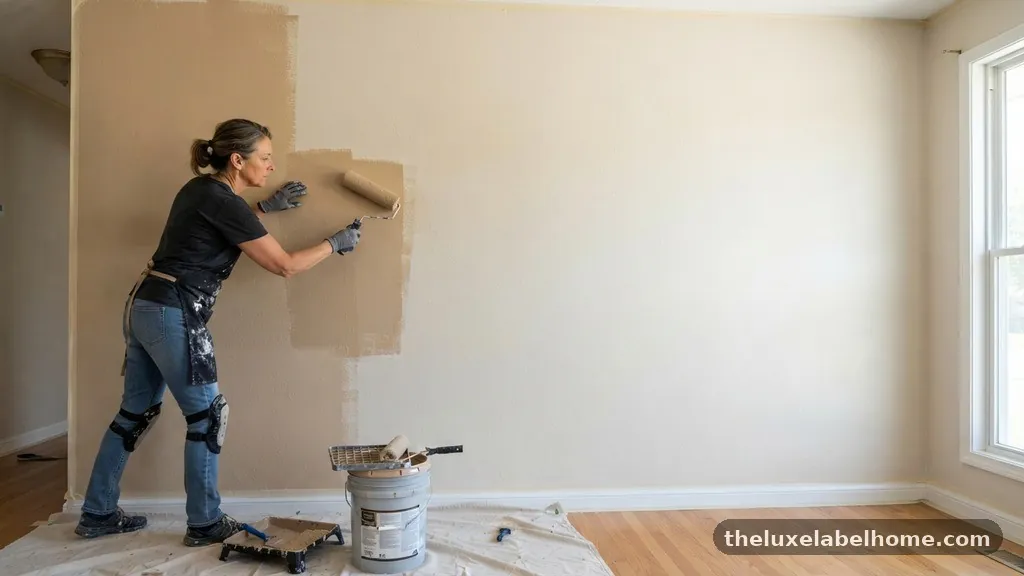
When you are facing low-humidity conditions, you must adjust your workflow to match the drying speed of your material. Instead of trying to paint a full eight-foot-tall section at once, break the wall down into smaller vertical strips. You might find that working in three-foot widths allows you to maintain the wet edge more effectively.
Keep a close eye on the drying rate of the paint as you move along the wall. If you notice the paint is setting faster than you can keep up, reduce the width of your sections even further. It is better to finish the wall in more, smaller steps than to try to cover too much ground and end up with visible lap marks.
Managing Your Tools for Efficiency
Your choice of tools can significantly impact your ability to keep a wet edge. A high-density microfiber roller cover is generally superior for smooth surfaces, as it holds more paint and releases it more evenly than standard covers. You should also ensure that your roller frame is sturdy and that the handle allows for a comfortable, consistent grip.
Keep a clean, damp rag nearby to wipe away any drips or splatters immediately. If you leave splatters on the wall, they will dry in seconds and create texture spots that you will have to sand down later. Keeping your workspace clean is a major part of maintaining the professional finish you are aiming for.
Comparing Methods for Moisture Retention
The following table compares different strategies for keeping your paint workable in dry conditions. Choosing the right combination of these factors is key to avoiding lap marks on large surfaces.
| Method | Effectiveness | Effort Required |
|---|---|---|
| Using a Humidifier | High | Low |
| Adding Paint Extender | Very High | Medium |
| Reducing Section Size | Moderate | High |
| Applying Quality Primer | High | Medium |
Key Considerations for Large Walls
Large walls present unique challenges because of the sheer distance you have to cover. You must maintain a constant pace, as any pause allows the edge to dry. If you are working alone, this can be physically demanding, but it is entirely manageable with the right preparation.
* Keep your paint bucket or tray close to your current position.
* Avoid taking long breaks until you have reached a natural stopping point, such as a corner.
* Use a long extension pole to maintain consistent pressure on the roller.
* Check your lighting periodically to ensure you aren’t missing spots.
* Work from the top down to prevent drips from marring your progress.
Frequently Asked Questions
How long does a wet edge actually last in low humidity?
In conditions with very low humidity, a standard paint might only provide an open time of 30 to 60 seconds. This is why you must work quickly and load your roller frequently. Using a paint extender can extend this window to several minutes, giving you much more breathing room.
Can I paint in 90-degree weather?
While it is technically possible, painting in high temperatures and low humidity is extremely difficult because the paint dries almost instantly. If you must paint in these conditions, do your work in the early morning before the temperature peaks. You should also use significant amounts of paint conditioner to keep the material workable.
What is the best way to fix lap marks after they dry?
Unfortunately, you cannot simply touch up a lap mark. The only effective way to fix them is to lightly sand the area to level out the ridge and then re-roll the entire wall with a fresh coat. This is why maintaining a wet edge during the initial application is so critical.
Do professional painters use different brushes for edges?
Yes, professionals often use high-quality, angled sash brushes for cutting in. They will also use a technique called “laying off,” where they lightly brush over the fresh paint in one direction to ensure a uniform texture. This helps the cut-in areas blend better with the rolled sections.
Should I thin my paint with water?
You should be very careful when thinning paint with water. While it may seem like it helps the paint flow, too much water can reduce the binder content, leading to poor adhesion and a dull finish. Always use a professional paint extender instead of water if you need to increase the open time.
Conclusion
Successfully managing a project in dry conditions requires a combination of planning and disciplined technique. By controlling the environment, using high-quality additives, and maintaining a consistent rhythm with your roller, you can achieve a professional, uniform finish on any size wall. Remember that keeping a wet edge when painting large walls in low humidity is about staying ahead of the drying process rather than trying to fix it after the fact.
Focus on your pace, keep your tools loaded, and do not hesitate to adjust your workflow if the conditions change. With these methods, you will find it much easier to achieve the smooth, high-quality results that define a successful project.