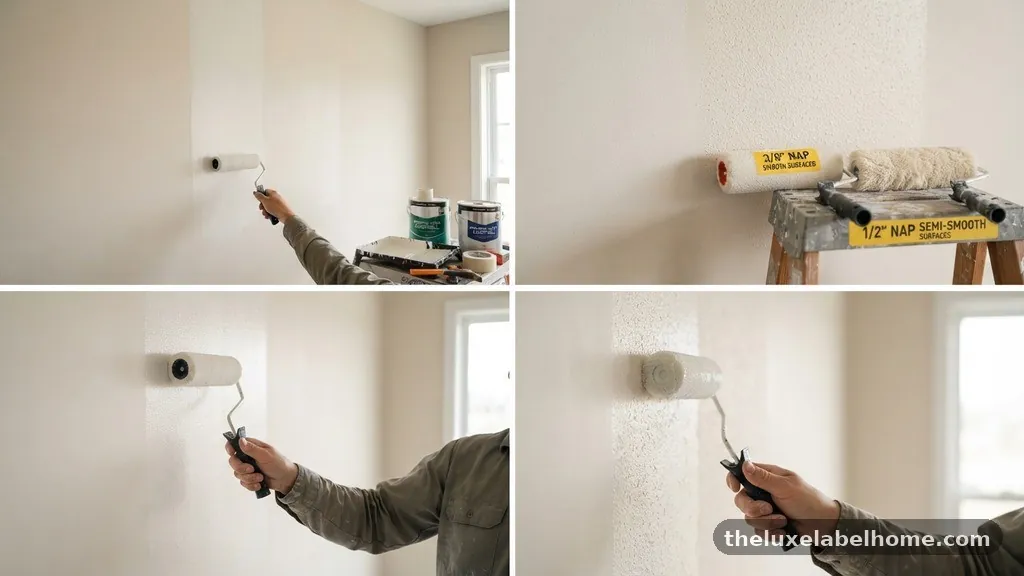
The Mechanics of Roller Nap Thickness
{“title”:”What Roller Nap Thickness (3/8\” vs 1/2\”) Is Best for Smooth Drywall?”}
Choosing the right tool for your interior project is critical, and deciding what roller nap thickness (3/8″ vs 1/2″) is best for smooth drywall often comes down to the specific finish you desire. While it may seem like a minor detail, the length of the fibers on your roller sleeve significantly impacts how paint is laid down, the texture it leaves behind, and how much effort you spend on the job.
Professional painters frequently debate these two sizes because they sit at the threshold of most residential wall applications. Understanding how these measurements interact with your wall surface and paint type will help you achieve a professional-looking result without unnecessary frustration.
For most smooth drywall applications, a 3/8-inch nap is the superior choice. It offers the ideal balance between holding enough paint for efficient coverage and maintaining a refined, low-profile texture. If you use a 1/2-inch nap on perfectly smooth, level five drywall, you risk creating a more noticeable “orange peel” effect that detracts from the sleek look you likely want.
The 3/8-inch nap minimizes the stipple effect, keeping the surface tight and clean. Save the 1/2-inch nap for walls that have slight imperfections or a moderate level of texture, as its extra length helps bridge those gaps.
The nap of a paint roller refers to the length of the fibers covering the roller sleeve. When you dip the sleeve into paint, these fibers act as a reservoir, holding the liquid until you press it against the wall.
A shorter nap holds less paint but releases it in a finer, more controlled pattern. Conversely, a longer nap holds more paint, which is useful when you need to cover significant surface area quickly or when the wall texture is uneven.
Think of the nap as a brush with thousands of tiny bristles. As you roll, the fibers flex and snap back, which creates a slight pattern on the wall known as stipple. A 3/8-inch nap has shorter, stiffer fibers that result in a very subtle, almost invisible stipple.
A 1/2-inch nap is more forgiving but leaves a slightly more pronounced mark. The thickness you choose dictates the final aesthetic of your paint film.
Why 3/8-Inch Wins for Smooth Surfaces
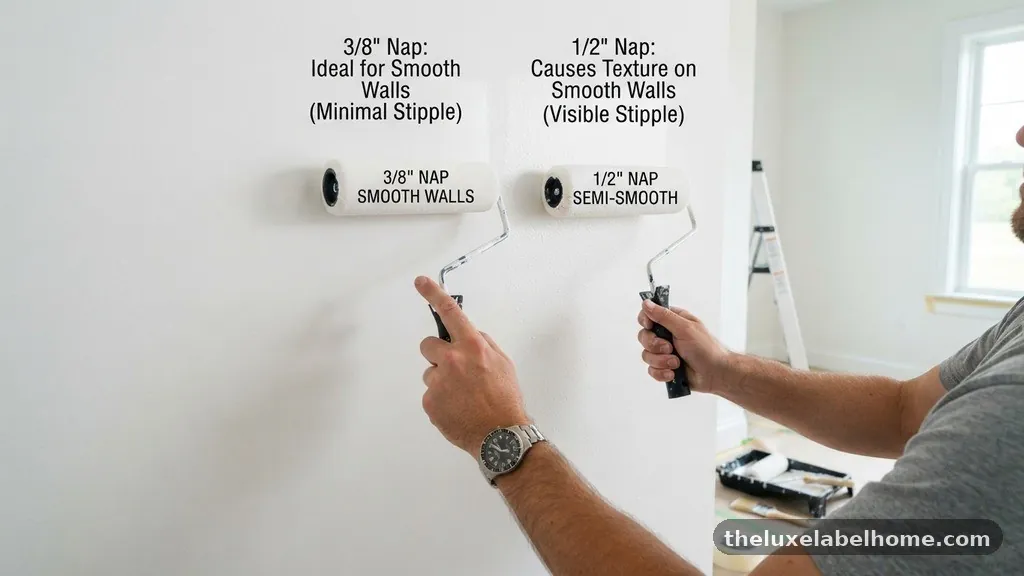
When your drywall is finished to a high standard, you want to preserve that smoothness. Using a 3/8-inch nap is the standard procedure for new construction or recently skim-coated walls.
It provides just enough paint load to ensure even coverage without creating a heavy, textured layer. This specific nap length is excellent for modern interior paints, including eggshell and satin finishes, which tend to look best when applied thinly and evenly.
Using a longer nap on perfectly smooth surfaces is often counterproductive. The extra paint carried by a 1/2-inch nap can lead to sagging or drips if you aren’t careful.
Furthermore, the increased stipple can highlight minor defects in the wall that would otherwise remain hidden under a flatter application. If you have put the work into sanding your drywall to a smooth finish, the 3/8-inch nap is your best tool for maintaining that quality.
When to Consider a 1/2-Inch Nap
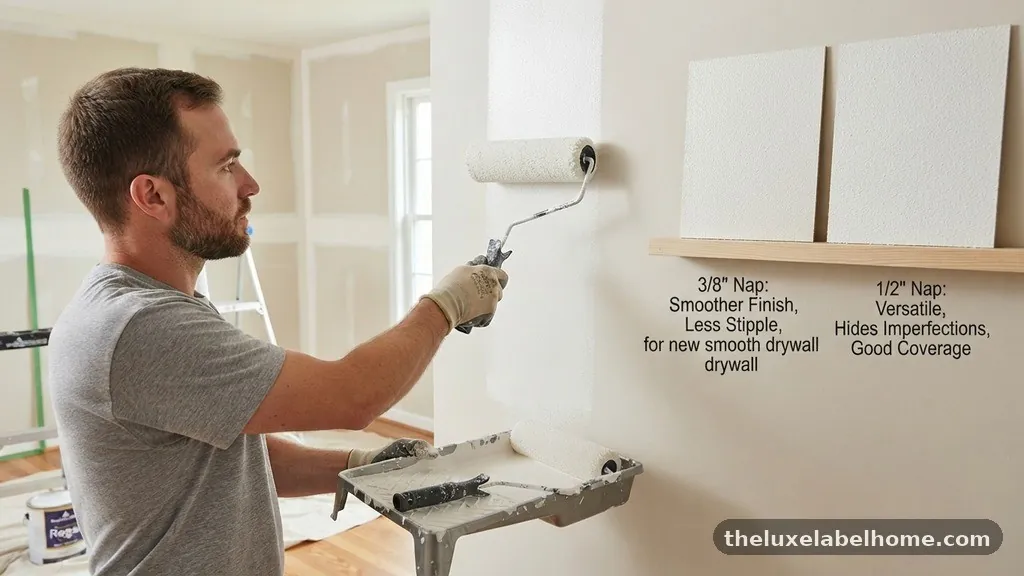
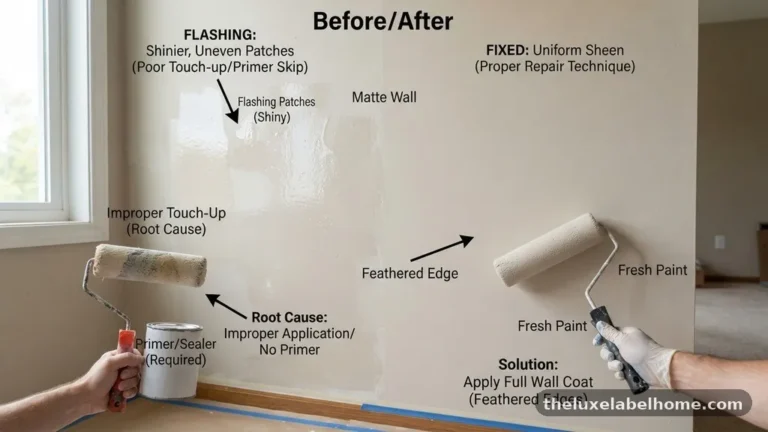
While 3/8-inch is preferred for smooth walls, the 1/2-inch nap has its place in the professional toolkit. You should reach for this size when you are dealing with semi-smooth walls or surfaces that have been repaired with patches.
The extra length of the fibers allows the roller to reach into the tiny valleys of a slightly textured wall. It essentially acts as a filler, ensuring that you don’t end up with “holidays” or missed spots during your first coat.
Another reason to choose a 1/2-inch nap is when you are applying thicker, high-viscosity paints or working with a flat wall paint that hides texture well. Flat finishes are notoriously forgiving, and the slightly heavier application from a 1/2-inch roller can help you achieve full opacity in fewer passes. It is a workhorse tool meant for speed and volume rather than the delicate precision required for glossier, high-sheen surfaces.
Comparing Roller Nap Specifications
To visualize the differences between these two common sizes, refer to the table below. This comparison focuses on how they perform during standard interior painting tasks.
| Feature | 3/8-Inch Nap | 1/2-Inch Nap |
|---|---|---|
| Best Surface | Smooth, Level 4/5 Drywall | Semi-smooth, Repaired Walls |
| Stipple Effect | Minimal/Fine | Moderate/Noticeable |
| Paint Load | Moderate | High |
| Speed | Moderate | Fast |
| Ideal Paint Finish | Satin, Semi-Gloss, Eggshell | Flat, Matte |
The Impact of Roller Sleeve Material
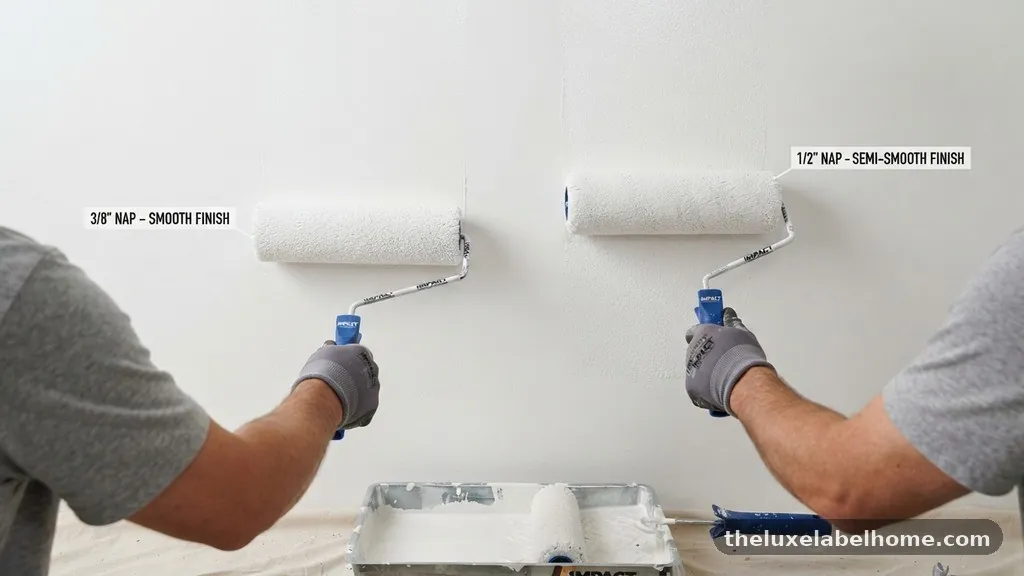
The material of the roller sleeve is just as important as the nap thickness. You can choose between woven fabric, microfiber, or synthetic blends.
Microfiber rollers have become a favorite for smooth drywall because they hold a surprising amount of paint while laying it down with incredible smoothness. When you pair a high-quality microfiber 3/8-inch sleeve with a premium paint, the finish is significantly tighter than what you would get with a standard woven polyester sleeve.
Woven fabric sleeves are durable and great for general-purpose work, but they often leave a more distinct texture. If you are using a 1/2-inch woven sleeve, expect a more pronounced orange peel effect.
If you are aiming for a professional, factory-like finish on your trim or smooth walls, lean toward microfiber. It reduces the risk of lint transfer and provides a superior, non-porous look that is highly desirable in modern interior design.
Managing Paint Load and Application
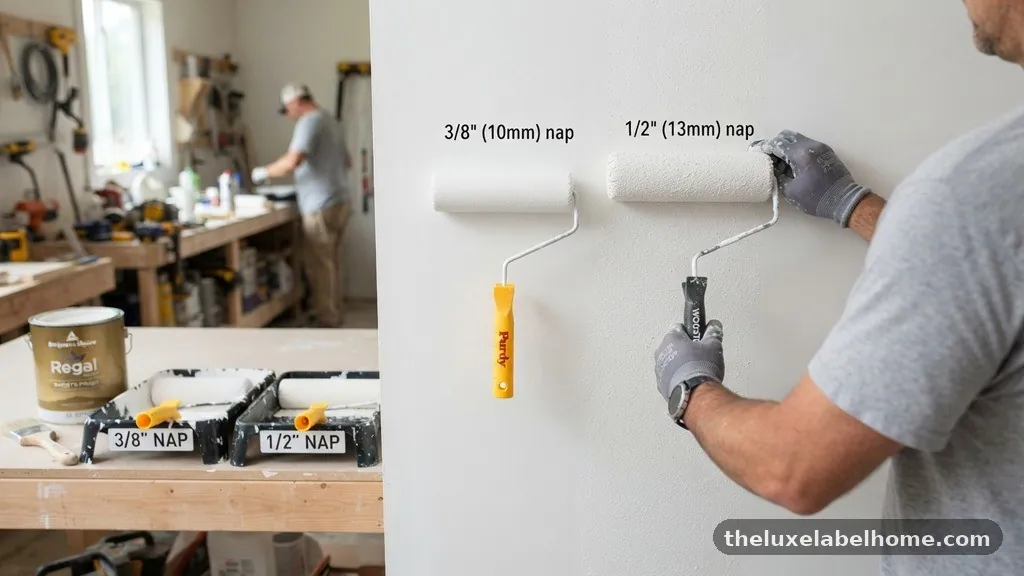
The amount of paint you load onto your roller will change how any nap performs. If you overload a 3/8-inch roller, you may experience excessive splatter, which is a common complaint among DIYers.
Conversely, if you don’t load enough paint, you will struggle with “dry rolling,” where the roller drags against the wall and leaves inconsistent streaks. The goal is to keep the roller fully saturated but not dripping.
Always use a high-quality roller frame to ensure even pressure across the entire width of the sleeve. A cheap, flimsy frame will cause the roller to skip or lean, resulting in uneven paint film thickness.
By maintaining a consistent, moderate pressure, you allow the fibers to do the work of distributing the paint evenly. You can find more information on best practices for interior painting through the National Park Service’s guidelines on historic interior surfaces, which emphasize proper preparation and application techniques.
Addressing Surface Imperfections
No wall is truly perfect, even if it looks smooth to the naked eye. Drywall sanding is an art, and most homeowners will leave behind microscopic ridges or dips.
A 3/8-inch nap is precise enough to follow the contours of your wall without exaggerating these small issues. If you have deep gouges or significant texture from previous paint jobs, you might need to reconsider your approach.
If your wall has substantial imperfections, a 1/2-inch nap might actually be your friend. By applying a slightly thicker film of paint, you can fill in those minor valleys and create a more uniform appearance. However, be aware that this is a trade-off.
You are choosing to obscure texture with paint thickness rather than fixing the wall surface itself. For the best results, always prioritize sanding and priming before you touch a roller to the wall.
Common Mistakes to Avoid
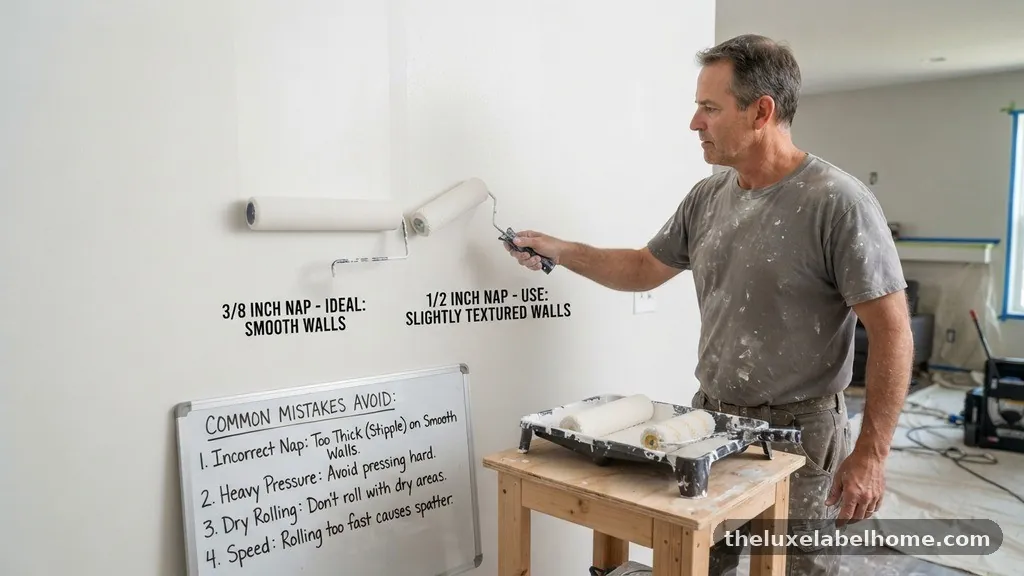
Many beginners make the mistake of choosing a nap that is too long, thinking it will save them time. While a 1/2-inch nap does cover more square footage per dip, the resulting texture can be jarring if you are painting a small room with high-sheen paint.
Another common error is using the same roller for both the primer and the topcoat. Primer is often thicker and needs a different application approach than a finished coat of paint.
Avoid the temptation to use a “heavy nap” (anything over 3/4 inch) for standard drywall projects. Those are meant for rough surfaces like brick, stucco, or heavily textured plaster.
Using a heavy nap on smooth drywall will create an aggressive, unpleasant texture that will be difficult to sand down later. Stick to the 3/8-inch or 1/2-inch range for the best balance of efficiency and aesthetics.
Ensuring a Clean Finish
Roller shed is a frequent frustration when working with new sleeves. Before you start painting, you should always “prep” your roller.
Use a strip of painter’s tape to remove loose fibers from the sleeve before you dip it in the tray. This simple step saves you from having to pick tiny fuzz particles out of your wet paint, which is a tedious and messy process.
Another factor in the quality of your finish is the quality of the paint itself. High-end paints have better leveling properties, meaning they smooth themselves out as they dry.
When you combine a high-quality paint with a 3/8-inch microfiber roller, the paint levels out beautifully, hiding the stipple almost entirely. If you are using budget paint, you might find that the stipple is more visible regardless of your roller choice, so invest in quality materials whenever possible.
Frequently Asked Questions
Does the roller nap size affect how many coats of paint I need?
Generally, a longer nap like 1/2-inch delivers more paint to the wall, which can sometimes provide better coverage in a single pass. However, this doesn’t necessarily reduce the number of coats required for a professional finish. Two thin, even coats are almost always superior to one thick, heavy coat, regardless of the roller nap you choose.
Can I use a 3/8-inch roller on a wall with some texture?
You can, but you may find it difficult to get the paint into the low points of the texture. A 3/8-inch nap is designed for flat, smooth surfaces. If your wall has visible texture, you will likely get better results and faster coverage by moving up to a 1/2-inch or even a 3/4-inch nap, depending on the severity of the texture.
Why does my paint look like it has an orange peel texture?
The orange peel effect is usually caused by using a roller nap that is too long or by applying the paint too thick. If you are using a 1/2-inch nap on a smooth wall, the fibers hold too much paint and create that bumpy, textured look as they release it. Switching to a 3/8-inch or 1/4-inch nap will significantly reduce this effect.
Do I need to change my roller nap when switching from primer to paint?
It is often a good idea. Primers are sometimes thicker or have different chemical compositions than finish paints.
Using a dedicated sleeve for your primer ensures that you don’t contaminate your expensive finish paint with leftover primer residue. Many professional painters use a slightly cheaper 1/2-inch sleeve for priming and a high-quality 3/8-inch microfiber sleeve for the final color coats.
How do I know if my wall is smooth enough for a 3/8-inch nap?
Perform a “flashlight test” by holding a bright light at an angle against your wall. This will highlight any imperfections, ridges, or bumps.
If the wall looks relatively flat and consistent under this harsh light, it is ready for a 3/8-inch nap. If you see significant dips or large patches, you might need to do more sanding or use a slightly longer nap to bridge those gaps.
Conclusion
Selecting the right tool is the difference between a amateur job and a professional finish. For the majority of smooth drywall projects, the 3/8-inch nap is the clear winner, providing the control and fine texture necessary for a polished look. While the 1/2-inch nap serves a vital purpose for walls with more character or repair work, it often introduces unwanted texture on perfectly prepped surfaces.
By considering your specific wall condition, the type of paint you are using, and the material of your roller sleeve, you can ensure that your next project looks exceptional. Remember that preparation and material quality are just as important as the nap size you select. Take your time with the prep, choose a high-quality microfiber sleeve, and you will achieve the clean, smooth walls you are aiming for.