Shellac-Based Primer for Sealing Pet Smells, Smoke, and Sealing Pet Smells
Using a shellac-based primer for sealing pet smells, smoke, and fire damage is often the final, most effective step in a restoration project. While many homeowners reach for standard latex primers, these water-based products frequently fail to block stubborn odors and deep-set stains.
Shellac, a natural resin harvested from the lac insect, creates a non-porous, airtight barrier that physically traps molecules responsible for lingering scents. If you are struggling with persistent pet urine odors or the ghost of a past fire, understanding how to apply this specific type of sealer can save you from replacing expensive drywall or flooring.
Does shellac primer actually stop odors?
Yes, shellac primer is widely considered the gold standard for odor encapsulation. Unlike latex or oil-based primers, which can remain slightly porous even after they dry, shellac creates an impermeable film. This film prevents volatile organic compounds—the chemical components of smoke and pet waste—from migrating through your paint and into the room.
If you have ever painted a room only to find the smell of smoke returning within a few weeks, it is likely because the primer used was unable to bridge the gap between the substrate and the topcoat. Shellac solves this by forming a microscopic seal that effectively locks the odor away permanently.
Why Shellac Outperforms Other Primers
The chemistry behind shellac is what makes it unique in the world of home renovation. Most conventional primers rely on water or mineral spirits as a carrier, which leaves behind a film that can still “breathe” to some extent.
Shellac uses high-grade ethyl alcohol as a solvent, which evaporates rapidly to leave behind a dense, shell-like coating. This density is the primary reason it is so effective at blocking tannins, smoke residues, and biological contaminants.
When you deal with fire damage, you are not just covering up soot; you are dealing with charred materials that have absorbed toxic chemicals. If you simply paint over these surfaces with a standard primer, those chemicals will eventually bleed through the paint as the house expands and contracts with the seasons.
A shellac-based product acts as a chemical barrier that stops the migration of these residues entirely. It is a true sealer, not just a base coat for color.
Preparing Surfaces for Maximum Adhesion
Before you open a can of primer, you must address the physical source of the odor. Shellac is an incredible sealer, but it is not a magic eraser for heavy layers of grime or pet waste.
You should always scrape away loose debris, scrub down walls with a TSP (trisodium phosphate) solution, and ensure the surface is dry before application. If you apply shellac over a thick layer of soot or dried urine crystals, the primer will adhere to the dirt rather than the wall, potentially leading to peeling later.
Proper cleaning is essential for the longevity of your repair. If you are dealing with pet stains on wood subfloors, you must ensure the area is completely free of moisture before priming.
Shellac sticks to almost anything, but it cannot overcome the structural failure of a substrate that has been rotted by years of saturation. Once the surface is clean and thoroughly dry, you create the best possible foundation for the shellac to do its job.
The Role of Alcohol as a Solvent
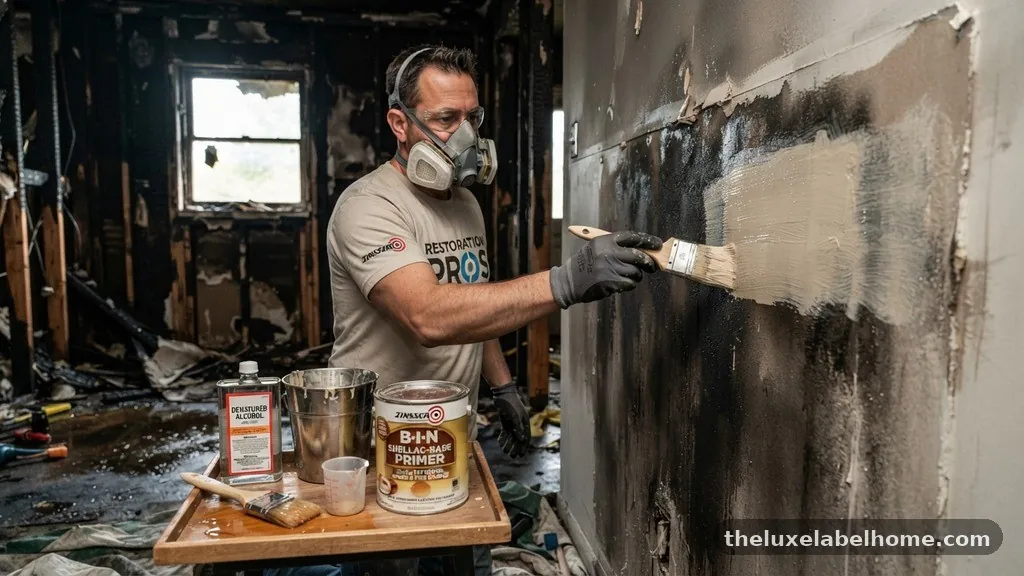
The use of alcohol in shellac-based primers is a double-edged sword. On one hand, the rapid evaporation of the alcohol means the primer is ready for a topcoat in as little as 45 minutes.
This allows you to finish a room in a single day, which is a major advantage when you are dealing with the stress of fire damage remediation. On the other hand, the fumes can be intense, and the liquid is highly flammable, requiring strict adherence to safety protocols during use.
You must ensure adequate ventilation in your workspace at all times. Open windows, use box fans to pull air out of the room, and wear a respirator mask rated for organic vapors.
Because the solvent is alcohol-based, you also need to use specific tools that can handle the chemistry without degrading. Most synthetic brushes will stiffen quickly, so you will need to keep a supply of denatured alcohol on hand to clean your equipment immediately after you finish painting.
Application Techniques for Walls and Ceilings
Applying shellac-based primer requires a different approach than traditional latex paint. Because it is much thinner and dries faster, you need to work efficiently to avoid “lap marks” or uneven buildup.
A high-quality natural bristle brush or a short-nap roller is usually recommended for the best finish. If you are working on a large ceiling, consider using an airless sprayer, though you must be extremely careful to manage the overspray given the flammable nature of the product.
When using a roller, try to keep a “wet edge” at all times. This means you should finish one section before moving to the next, overlapping slightly so the drying edges don’t create a visible ridge.
If you do notice a missed spot, wait for the area to dry completely before trying to touch it up. Trying to brush over a half-dry section will only pull the primer off the wall, leaving you with a sticky, uneven mess that is difficult to sand down.
Comparing Common Sealer Options
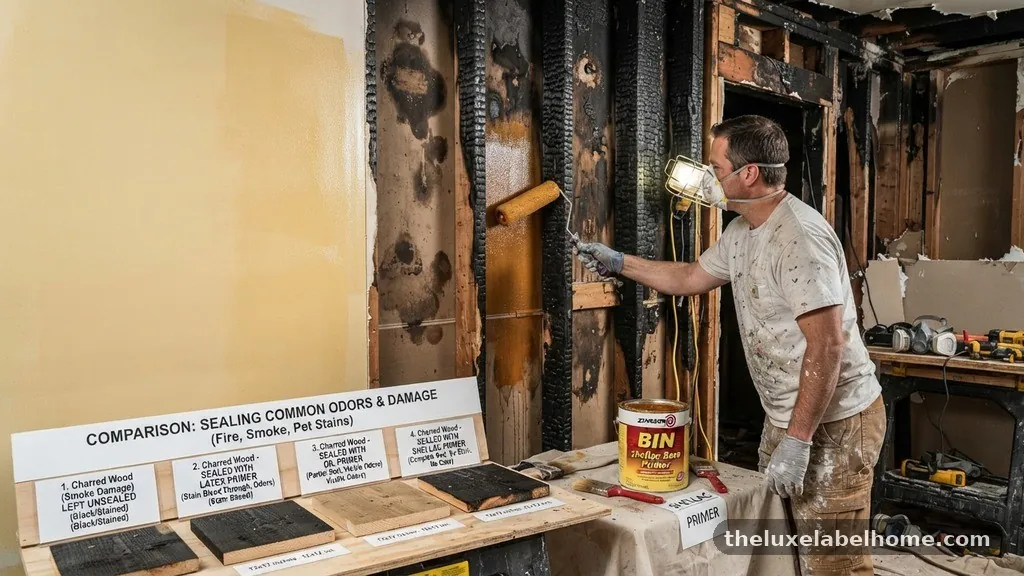
To understand your choices, it helps to look at how various primers compare in terms of their intended use. While shellac is the gold standard for odors, it is not always the cheapest option on the shelf.
| Primer Type | Best Use Case | Odor Blocking | Dry Time |
|---|---|---|---|
| Shellac-Based | Smoke, Pet Urine, Tannins | Excellent | 45 Minutes |
| Oil-Based | General Stains, Sap | Moderate | 8-12 Hours |
| Water-Based | New Drywall, Minor Prep | Poor | 1-2 Hours |
As shown in the table, shellac remains the leader for extreme odor cases. While oil-based primers are effective for general stain blocking, they often take much longer to cure and may not provide the same level of airtight protection against biological odors. For most homeowners, the slight price premium for a shellac-based product is worth the time saved and the certainty that the smell will not return.
Handling Pet Smells in Wood Floors
Pet urine often seeps deep into the pores of hardwood floors or the subfloor beneath carpeting. If you have removed the carpet and found dark, pungent stains on the wood, you are facing a significant challenge.
Simply sanding the wood might not be enough, as the urine salts have likely penetrated deep into the grain. After sanding the floor to remove the surface layer, applying a coat of shellac-based primer is the most reliable way to seal the wood fibers.
Once you have applied the shellac, you can safely install new flooring, such as luxury vinyl plank or engineered hardwood, over the top. This creates a permanent, sealed barrier that prevents any residual odor from “off-gassing” into your home.
Many professional floor refinishers keep shellac-based products as a staple in their kits for this exact reason. It is the only way to ensure that a previous pet owner’s history doesn’t haunt the new floor installation.
Managing Fire Damage and Soot Stains
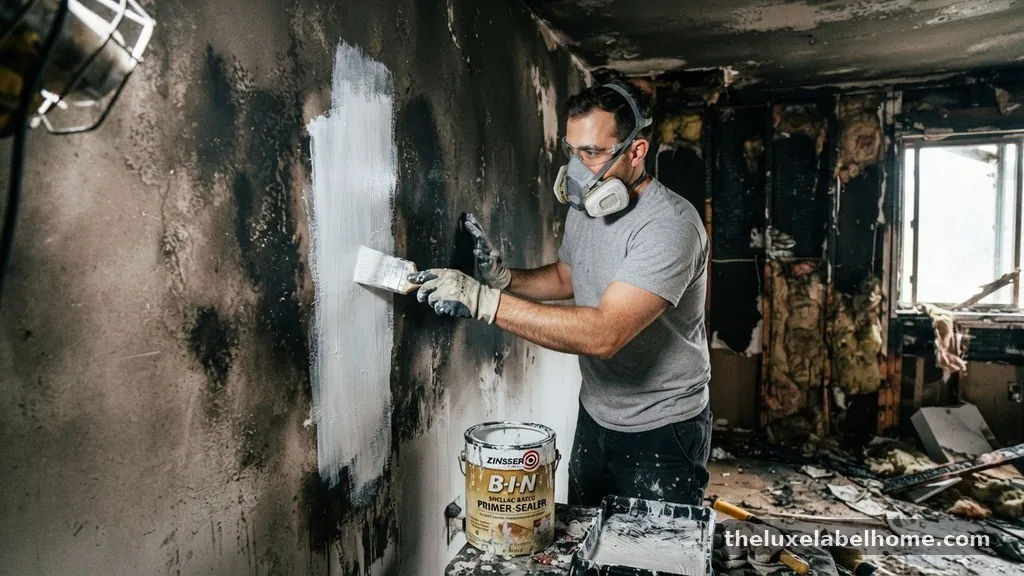
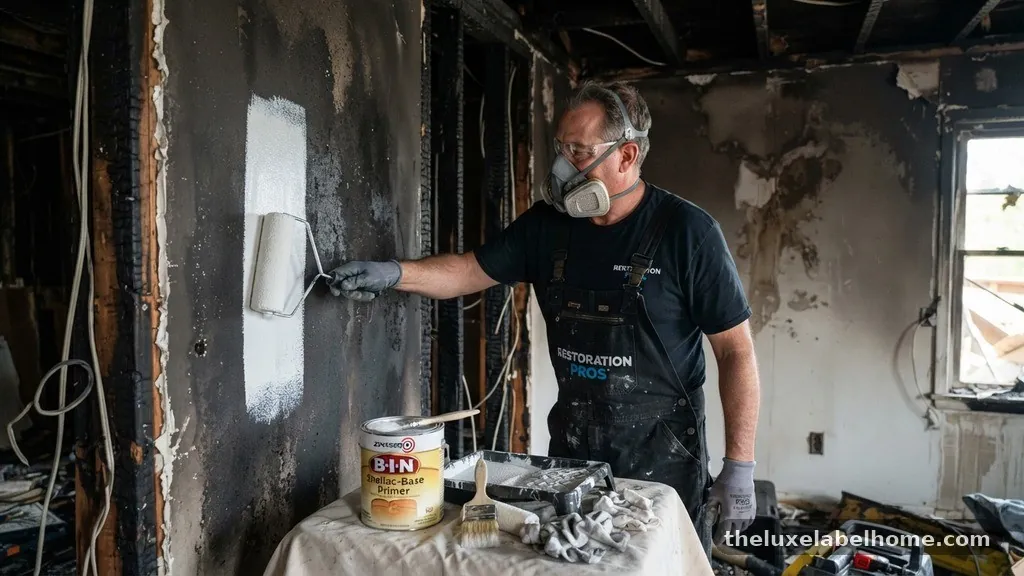
Fire damage presents a unique problem because soot is acidic and greasy. If you try to paint directly over soot, the oil in the residue will eventually bleed through your topcoat, causing yellow or brown discoloration.
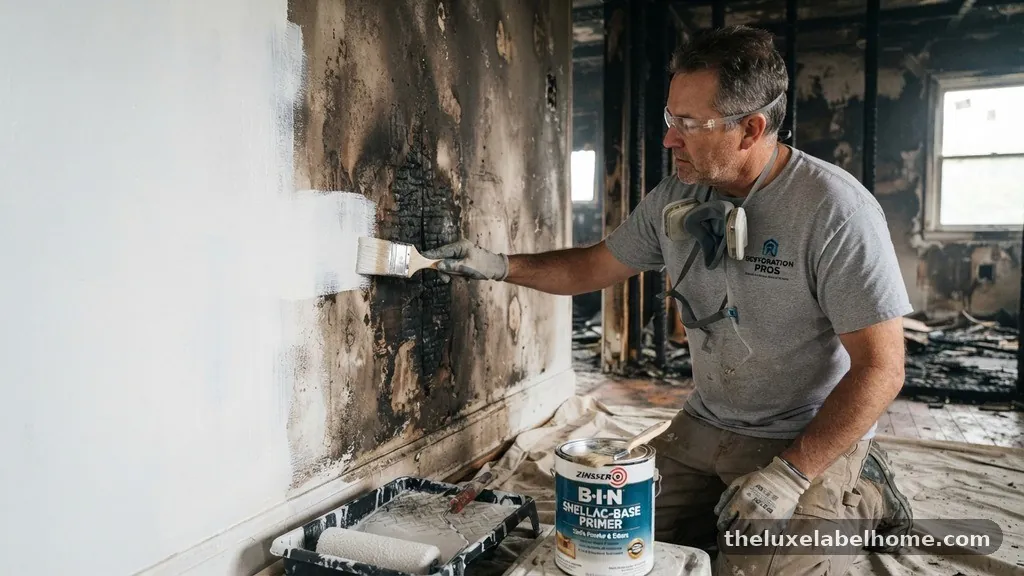
Shellac is one of the few materials that can chemically bond to these residues and prevent them from migrating. Before you begin, you must use a HEPA vacuum to remove all loose ash and soot from the area.
After vacuuming, you may still see a faint shadow of smoke damage on the walls. This is normal and is exactly what the shellac is designed to cover.
By applying a thorough, uniform coat of the primer, you create an opaque barrier that hides the discoloration and seals the chemical odor. If the fire damage was severe, you might need two coats to ensure complete coverage, but usually, one heavy coat is sufficient to stop the smell.
Choosing the Right Tools
Your choice of tools will dictate the quality of your finish and the ease of your cleanup. Because shellac is alcohol-based, it will dissolve many common synthetic rollers and brushes.
You should look for labels that specifically state the product is compatible with shellac or solvent-based finishes. Natural bristle brushes are generally the best choice for manual application, as they hold the product well and provide a smooth, consistent finish.
For cleanup, you will need a supply of denatured alcohol. Never try to use soap and water, as it will simply create a gummy, unusable mess on your brush.
If you are doing a large-scale project, it is often more cost-effective to buy inexpensive disposable brushes that you can throw away after one use. This avoids the need to purchase large quantities of solvent and saves you the time of scrubbing tools in a ventilated area.
Professional Standards for Odor Remediation
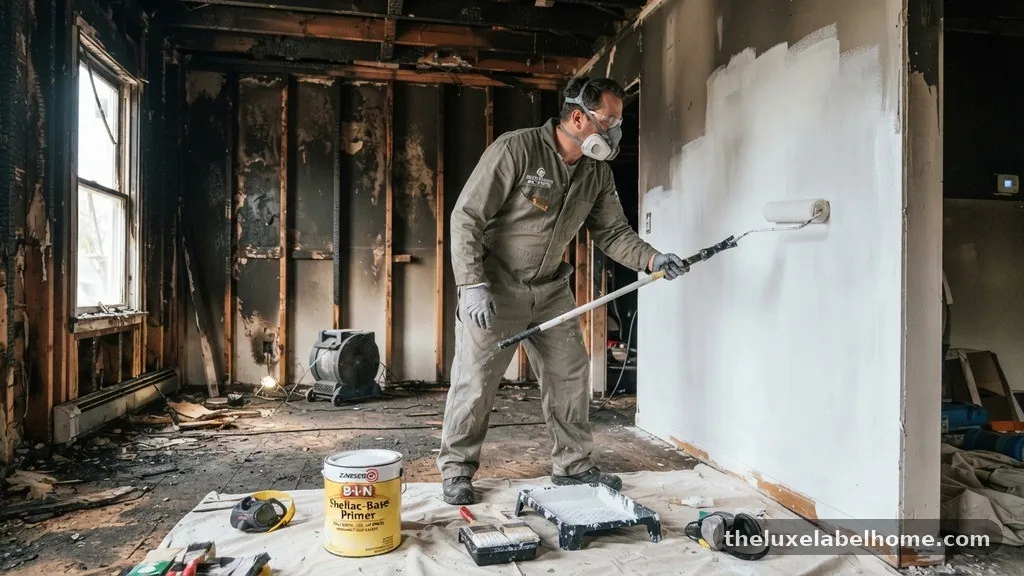
If you are working on a commercial property or a home with extreme damage, you may want to consult the Environmental Protection Agency guidance on indoor air quality to understand the scope of the contamination. While shellac is a powerful tool, it is part of a broader strategy that includes source removal and ventilation. Professionals often use specialized equipment alongside priming to ensure that every corner of the structure is addressed.
* Remove all porous materials that are heavily contaminated, such as old padding or insulation.
* Clean all hard surfaces with professional-grade detergents.
* Apply shellac primer to all affected structural framing, including studs and joists.
* Ensure that all HVAC systems are cleaned to prevent the spread of odors through the vents.
* Check for hidden moisture sources that could cause the shellac to fail in the future.
Following these steps ensures that you are treating the root cause of the problem rather than just masking the symptoms. Shellac is the reliable anchor in this process, but it works best when it is supported by a comprehensive cleaning regimen.
Frequently Asked Questions
Does shellac primer need a topcoat?
Yes, shellac-based primer is intended as a base coat, not a finish. While it dries to a hard, durable surface, it is typically not UV-stable and may yellow over time if exposed to direct sunlight.
Furthermore, it has a distinct smell while wet and a matte finish that is not designed for high-traffic areas. You should always apply a high-quality topcoat of paint to provide the final color and protection for your walls.
Can I use shellac primer over oil-based paint?
Shellac adheres exceptionally well to almost any surface, including old oil-based paints. Because it uses alcohol as a solvent, it “bites” into the existing finish, creating a strong mechanical and chemical bond.
This makes it an ideal transition primer if you are planning to switch from an oil-based system to a modern water-based latex paint. Just ensure the existing paint is clean and free of loose chips before you begin.
Is shellac primer safe for home use?
Shellac is safe when used correctly, but the high alcohol content means you must prioritize ventilation. The fumes are strong and can be overwhelming in small, enclosed spaces without proper airflow.
Once the primer is dry—which usually happens within an hour—the VOCs from the alcohol have largely dissipated, and the surface is generally safe for living areas. Always follow the manufacturer’s safety instructions regarding masks and ventilation.
How do I know if I need a second coat?
If you are covering extreme stains or very dark soot, one coat may not be enough to fully seal the odor. You can test the surface by applying the first coat and letting it dry for at least an hour.
If you can still see the stain or smell the underlying odor, apply a second, lighter coat. In most cases, a single thorough coat is enough to block even the most stubborn pet smells.
Why is my brush stiff after using shellac?
If your brush becomes stiff, it is likely because the alcohol solvent has evaporated from the bristles, leaving the shellac resin to harden. You must clean your brushes immediately with denatured alcohol while the primer is still wet.
If you leave the brush sitting out for even a few minutes during a break, the shellac will begin to set. Keeping a jar of alcohol nearby to dip the brush into during breaks can help prevent this hardening.
Closing Thoughts on Restoration
Using a shellac-based primer for sealing pet smells, smoke, and fire damage is a definitive move toward restoring your home to a livable, fresh state. It is a tool that rewards careful preparation and proper safety measures. By choosing this method, you are opting for a permanent solution rather than a temporary fix, ensuring that the odors of the past remain locked away for good.
Whether you are tackling a small pet accident or a full-scale fire cleanup, the principles remain the same: clean the source, ventilate the space, and seal the surface with a high-quality resin. Once the shellac is dry and you have applied your topcoat, you can move forward with confidence, knowing the structural integrity of your home is protected. Reach out to local hardware professionals if you have specific questions about the products available in your area to ensure you get the best results for your project.