Acrylic Latex vs Enamel Paint for Kitchen Backsplash Areas Behind Sinks: Choosing the Right Finish
Selecting the right finish when comparing acrylic latex vs enamel paint for kitchen backsplash areas behind sinks is essential for long-term durability. Because this specific zone faces constant water splashes, grease, and frequent cleaning, the paint must withstand significant abuse.
While acrylic latex offers ease of application, enamel provides a harder, more resilient barrier against moisture. Understanding these differences helps homeowners decide whether to prioritize a quick refresh or a high-performance, long-lasting protective coating for their kitchen splash zone.
Choosing the Best Paint for High-Moisture Zones
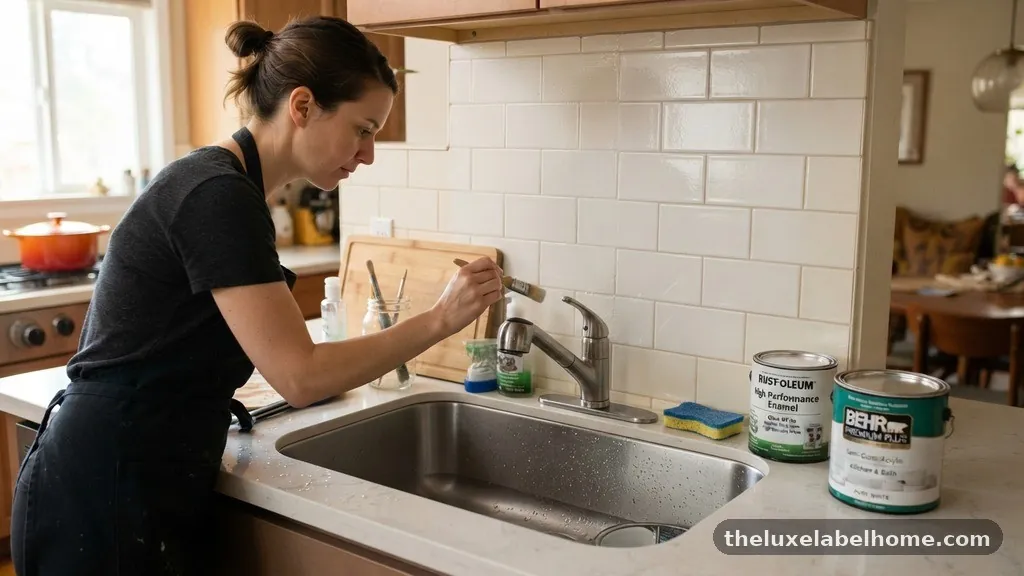
When you evaluate acrylic latex vs enamel paint for kitchen backsplash areas behind sinks, the primary factor is moisture resistance. The area directly behind a kitchen sink is a high-traffic environment where water, soap residue, and steam settle daily.
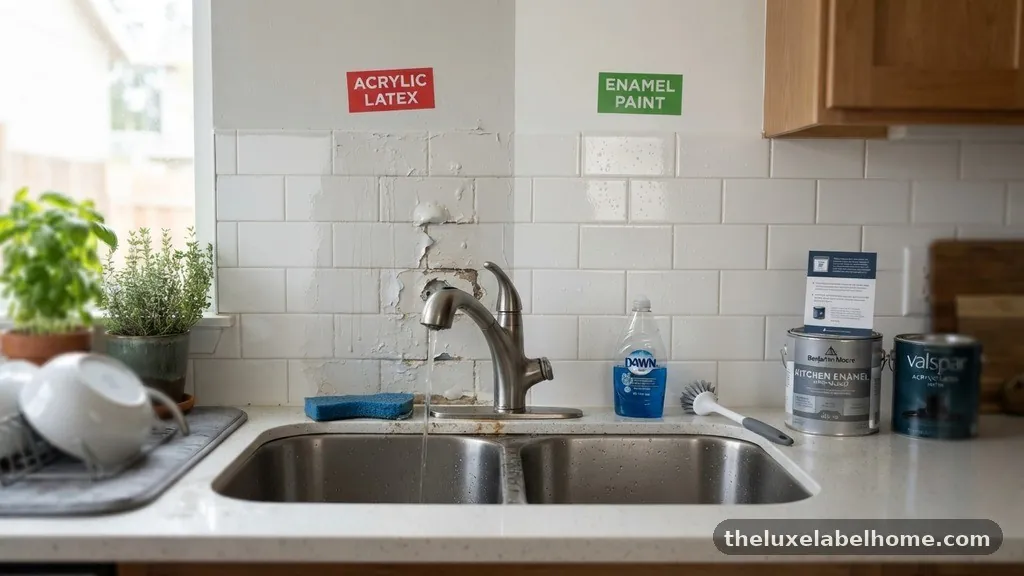
Acrylic latex is a water-based product that has evolved significantly in recent years, but it remains porous compared to traditional enamels. If you choose a standard wall paint, moisture will eventually penetrate the film, leading to softening and potential peeling.
Enamel paints, particularly those designed for cabinetry or trim, form a much tighter molecular structure upon drying. This density provides superior water repellency, which is exactly what you need in a splash zone.
While modern water-based enamels have largely replaced oil-based alkyd enamels in consumer markets, they still retain the “enamel” classification because of their hard, non-porous finish. If you prioritize longevity in a wet area, an enamel-based product is almost always the superior choice.
The Role of Surface Preparation
Regardless of your paint choice, the success of the project hinges on surface preparation. You cannot simply apply paint over a dirty or greasy backsplash and expect it to hold.
Kitchen areas accumulate a thin layer of cooking grease that acts as a release agent for paint. You must use a heavy-duty degreaser, such as trisodium phosphate (TSP), to remove all organic matter before you even think about picking up a brush.
After degreasing, you need to create a mechanical tooth for the paint to grip. Using a fine-grit sanding block, lightly scuff the entire surface of the tile or wall.
This removes the glossy factory finish and ensures the primer can bond effectively. If you skip this step, even the most expensive enamel will eventually peel away from the backsplash when exposed to humidity.
Understanding Bonding Primers
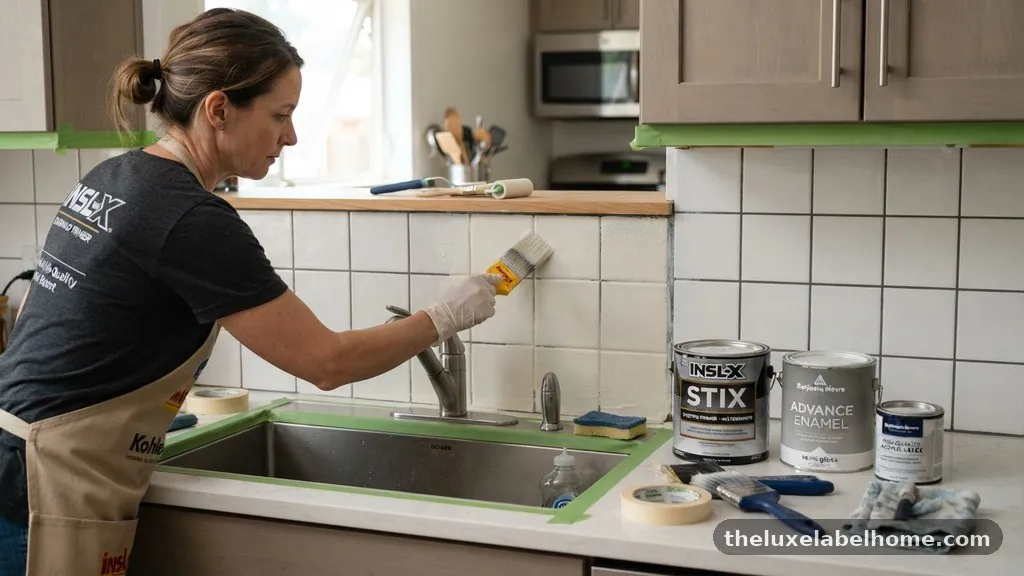
The secret to a permanent finish behind a sink is not just the topcoat, but the bonding primer. Because backsplashes are often made of non-porous materials like ceramic or glass, standard drywall primers will fail.
You need a high-adhesion bonding primer specifically designed to stick to glossy or slick surfaces. These primers contain advanced resins that create a chemical bridge between the substrate and your chosen topcoat.
Once the bonding primer is applied, it must be allowed to reach its full cure time before you apply the finish. If you rush this step, the topcoat will not have a stable foundation. Applying two thin coats of primer is usually better than one thick coat, as it ensures uniform coverage and helps hide any underlying patterns or textures.
Acrylic Latex vs Enamel Paint Performance
To help you decide, we can compare the performance characteristics of these two common types of paint coatings.
| Feature | Acrylic Latex | Enamel (Water-Based) |
|---|---|---|
| Moisture Resistance | Moderate | High |
| Drying Time | Fast | Moderate to Slow |
| Scrubbability | Fair | Excellent |
| VOC Levels | Low | Low to Moderate |
| Ease of Cleaning | Soap and Water | Soap and Water |
The Benefits of Enamel Sheens
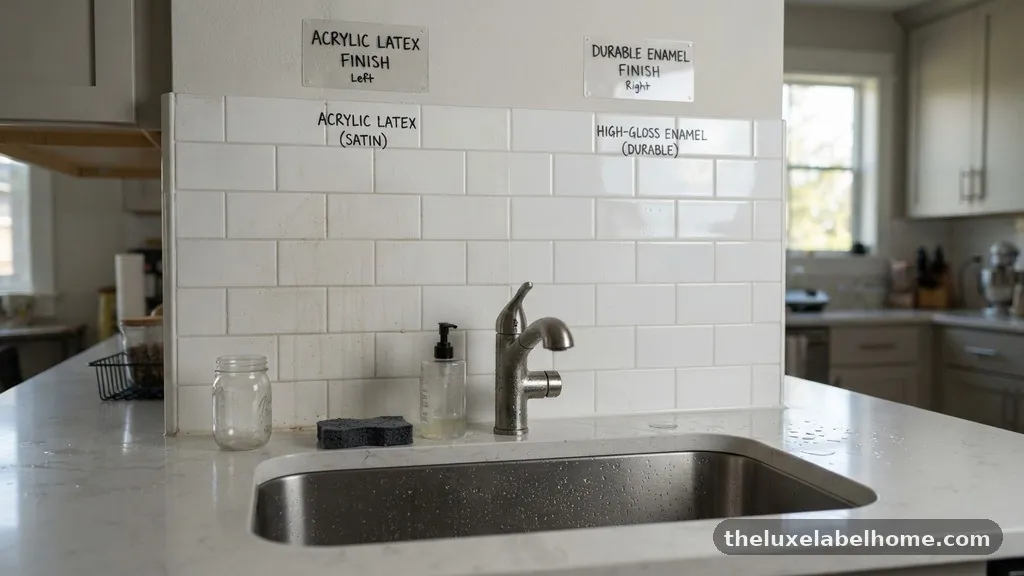
The sheen you select for your backsplash is just as important as the paint type. High-gloss or semi-gloss sheens are preferred for backsplashes because they lack the texture that traps dirt and grease.
A satin finish might look elegant, but it is much harder to wipe clean when spaghetti sauce or sink splash-back dries on it. Enamel paints are specifically formulated to maintain these higher sheens without becoming brittle or chalky over time.
High-gloss durability is the gold standard for areas that require daily scrubbing. When you use an enamel in a semi-gloss or high-gloss finish, you create a surface that is essentially sealed.
This allows you to wipe away grime with a damp cloth without worrying about the paint rubbing off. If you stick with an acrylic latex in a flat or eggshell finish, the paint will likely absorb stains rather than repelling them.
Managing Drying and Curing Processes
One common mistake is confusing drying time with curing time. A paint might feel dry to the touch in two hours, but that does not mean it is ready for the harsh environment behind a sink.
Curing is the chemical process where the resins cross-link to form a hard, water-resistant film. This can take anywhere from two weeks to a full month depending on the humidity and temperature in your kitchen.
During this curing window, you must be extremely careful with the backsplash. Avoid aggressive scrubbing or heavy splashes for at least 14 days.
If the paint is exposed to excess water before it has fully cured, the moisture can be trapped under the surface. This leads to soft spots, bubbles, or long-term peeling that is difficult to repair without stripping the entire area.
Incorporating Mold and Mildew Inhibitors
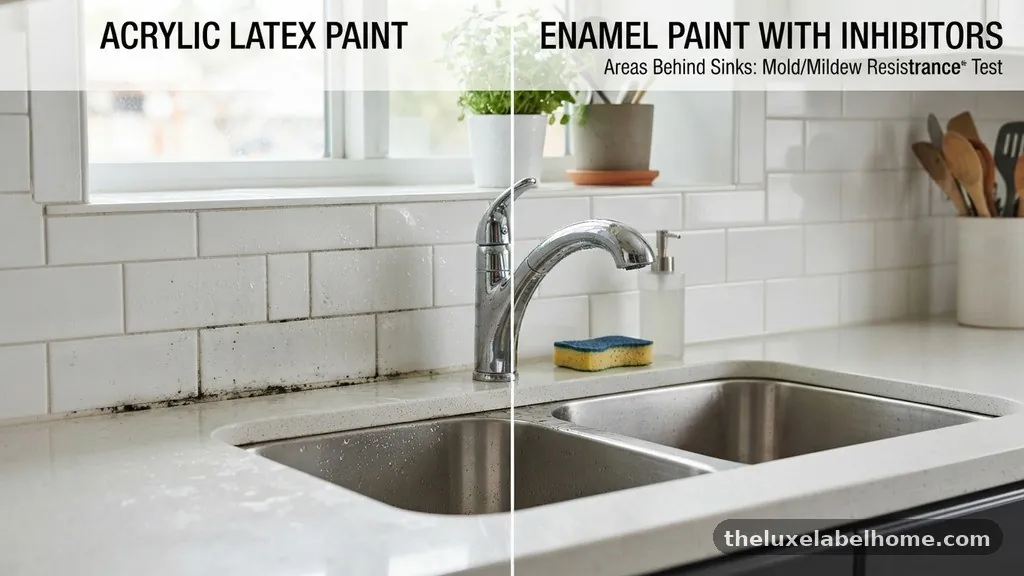
Kitchens are naturally prone to mold and mildew because of the combination of heat and humidity. When choosing your paint, look for products that contain built-in mold and mildew inhibitors.
These additives are essential for any paint used in the splash zone, as they prevent fungal growth from taking hold in the microscopic pores of the paint film. Even if your kitchen is well-ventilated, the area behind the sink is a high-risk zone.
Some high-quality enamels come with these biocides already mixed into the formula. If you are using a standard paint, you can sometimes purchase additives separately, but it is better to choose a paint engineered for kitchens or bathrooms. This ensures the chemical balance of the paint remains intact while providing the protection your walls need.
The Importance of Sealing and Caulk
The transition between your sink, countertop, and backsplash is a critical point of failure. If water gets behind your painted surface, it will cause the paint to lift regardless of the quality of the finish.
Always use a high-quality 100% silicone caulk to seal the gap between the countertop and the backsplash. This creates a waterproof barrier that protects the paint from standing water.
Do not try to paint over the caulk itself. Paint does not adhere well to silicone, and it will eventually crack and peel, creating a trap for moisture.
Apply your paint up to the edge of the backsplash, let it cure, and then apply a clean bead of silicone caulk. This two-step process ensures a professional look and a watertight seal that lasts for years.
Avoiding Common Painting Mistakes
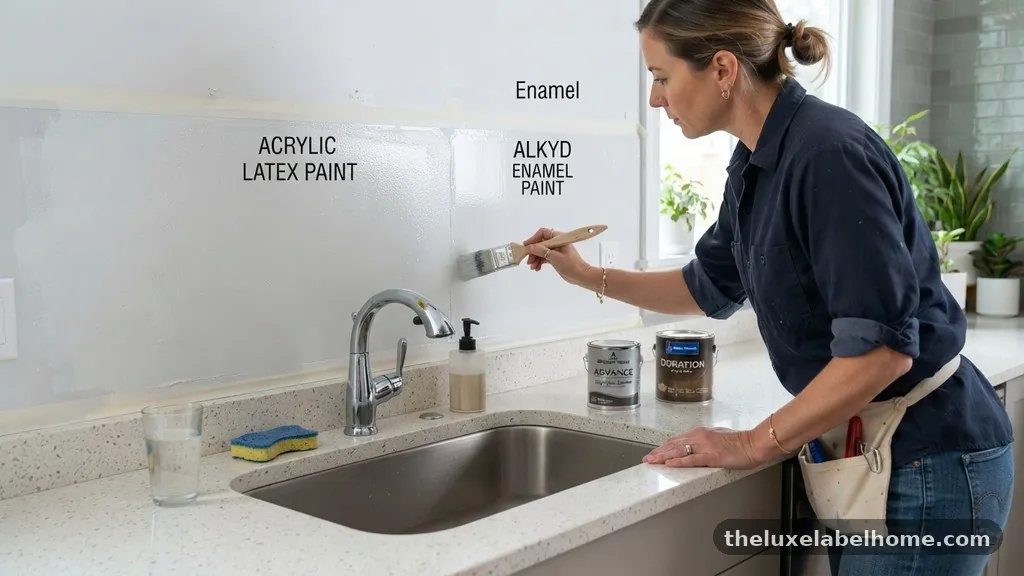
Many DIYers fail because they try to achieve a finished look in a single heavy coat. This usually leads to drips, sags, and an uneven finish that is prone to failure.
Instead, plan for at least two to three thin coats. Each coat should be allowed to dry completely according to the manufacturer’s instructions before the next is applied.
Another frequent error is ignoring the ambient temperature during the application process. If your kitchen is too cold, the paint will not flow or level properly, leaving brush marks.
If it is too hot, the paint will dry before it has a chance to settle. Try to keep the room temperature between 60 and 80 degrees Fahrenheit for the best results.
Pros and Cons of DIY Backsplash Painting
Deciding whether to paint your backsplash is a significant project that involves trade-offs.
- Pros: Significant cost savings compared to retiling, ability to customize color, and a relatively quick weekend project.
- Cons: Requires significant labor in cleaning and prep, risk of peeling if not done perfectly, and limited heat resistance compared to glass or tile.
- Tools Needed: High-quality synthetic brushes, foam rollers for a smooth finish, degreasing agents, and fine-grit sandpaper.
- Maintenance: Needs to be wiped down regularly, but avoid abrasive chemicals that can dull the enamel finish.
FAQ Section
Can I use standard wall paint for my kitchen backsplash?
No, standard wall paint is not formulated for the high-moisture environment of a kitchen sink. It lacks the scrubbability and moisture resistance required to withstand daily splashes and cleaning. You should always use a high-quality enamel or a specialized kitchen and bath paint for these areas.
How long does the paint need to cure before I can use the sink?
While you can usually use the sink carefully after 24 to 48 hours, the paint needs 14 to 30 days to fully cure. During this time, avoid heavy cleaning or letting water sit on the surface. If you must use the sink, be sure to wipe away any standing water immediately to prevent it from soaking into the new finish.
Do I really need to sand my tiles before painting?
Yes, sanding is non-negotiable if you want the paint to last. Tiles have a factory-applied glaze that is designed to repel moisture and dirt, which also repels paint. Sanding creates a rough surface that allows the bonding primer to anchor itself, preventing the paint from peeling off in sheets later on.
Is water-based enamel as good as oil-based paint?
In the past, oil-based enamels were the only choice for durability. Today, high-performance water-based enamels are just as hard and durable while offering easier cleanup and lower VOC levels. They are generally preferred for residential use because they don’t yellow over time like older oil-based formulas.
What is the best way to clean a painted backsplash?
Use a soft sponge or microfiber cloth with mild dish soap and warm water. Avoid abrasive scrubbers like steel wool or harsh chemical cleaners, as these will scratch the paint and break down the protective enamel layer. If you maintain the surface gently, the finish will stay bright and intact for much longer.
Conclusion
Choosing between acrylic latex vs enamel paint for kitchen backsplash areas behind sinks is ultimately a decision about durability. While acrylic latex might be easier to find, the superior performance of a water-based enamel is worth the extra effort. By prioritizing proper surface preparation, using a high-quality bonding primer, and choosing a semi-gloss or high-gloss enamel, you create a barrier that can withstand the daily rigors of a busy kitchen.
Remember that the curing phase is just as vital as the application; patience during these first few weeks will pay off with a finish that remains beautiful and functional for years. If you follow these steps, you can successfully update your kitchen backsplash with a professional, long-lasting look that resists the moisture and wear inherent to the area behind your sink.