How to Fix Paint Flashing Where Patches Look Shinier Than the Rest of the Wall
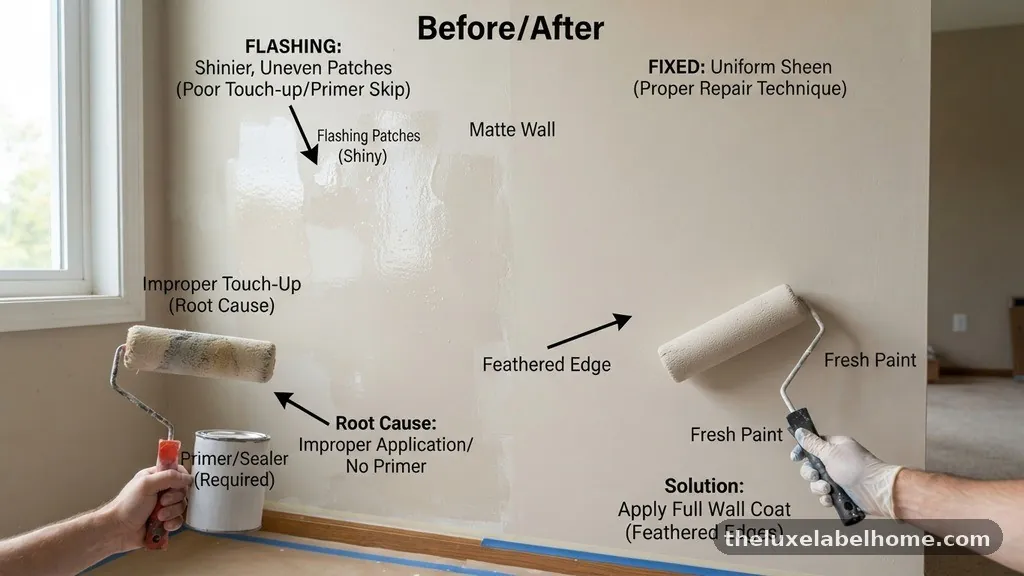
Dealing with the frustration of fixing Paint Flashing Where Patches Look Shinier Than the Rest of the Wall is a common hurdle for many homeowners after a fresh coat of paint. This phenomenon occurs when the repaired area has a different level of surface porosity compared to the surrounding wall, causing the light to reflect unevenly.
By understanding the interaction between joint compound and your chosen finish, you can achieve a uniform look. This article explores the specific techniques for leveling out sheen, from proper priming to selecting the right tools, ensuring you can successfully resolve the issue and restore your walls to a professional, consistent appearance.
The Root Cause of Flashing
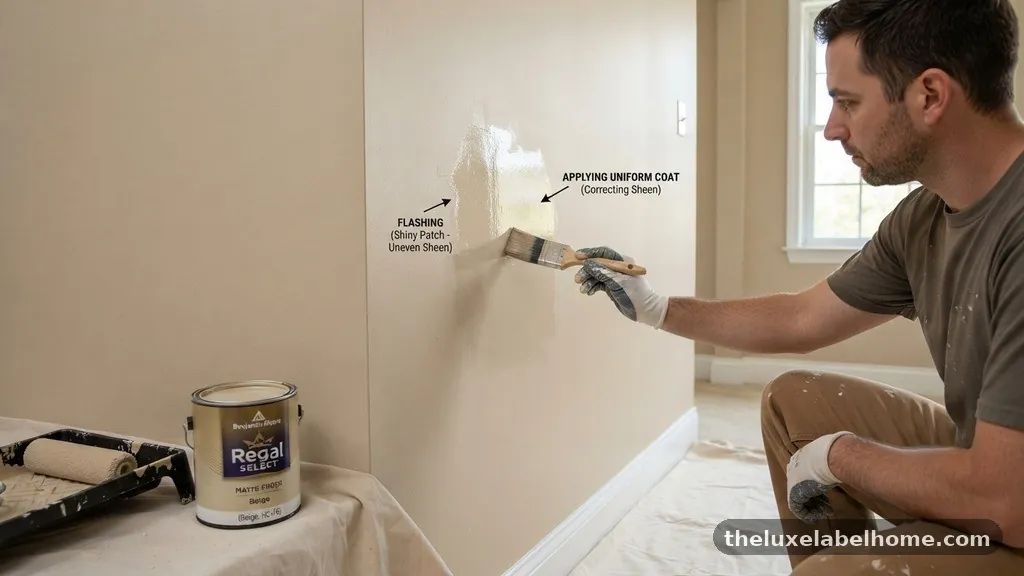
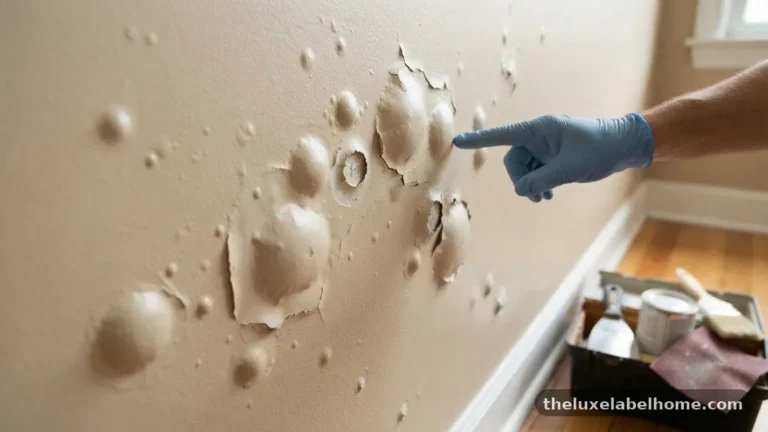
Paint flashing happens primarily because of inconsistent surface absorption. When you apply joint compound to a drywall patch, that area remains significantly more porous than the surrounding painted drywall. If you apply paint directly over this patch without proper sealing, the compound sucks the binder out of the paint.
This premature absorption leaves behind a higher concentration of pigment or a different film structure, which changes how the paint reflects light. Because the patch is often smoother than the surrounding wall, it creates a contrast in texture as well. Even if you use the same bucket of paint, the difference in the underlying surface porosity creates that dreaded shiny or dull halo.
You must view the patch not just as a hole to fill, but as a surface that requires its own preparation. If the patch is smoother than the surrounding wall, it will naturally catch light differently. This is why you often see the outline of a repair long after the paint has dried.
Why Primer Choice Matters
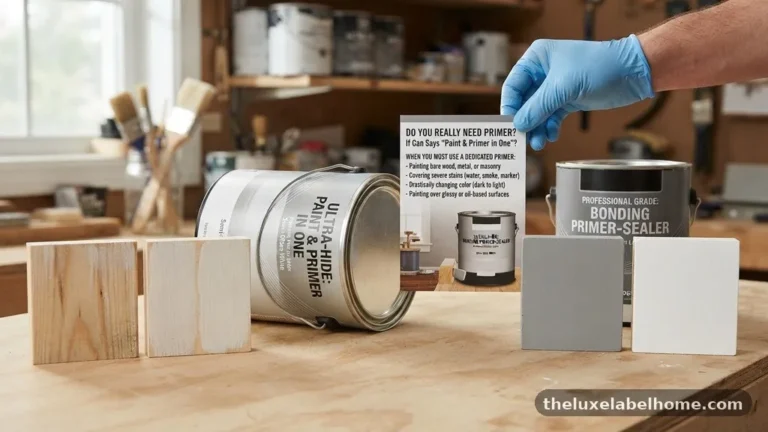
The most effective way to prevent or fix this issue is by using a high-quality drywall primer. A dedicated primer acts as a bridge between the porous joint compound and your topcoat. Without it, the paint’s resin penetrates the patch, leading to the flashing effect.
PVA primer is the industry standard for new drywall and patches because it is specifically formulated to seal the surface. It fills the microscopic pores in the spackle or compound, creating a uniform foundation for your topcoat. When the surface is sealed, the paint sits on top of the primer rather than soaking into the wall.
Avoid using “paint-and-primer-in-one” products for these specific repairs. While they are convenient for general painting, they lack the high-solids content required to effectively seal a highly porous patch. Always opt for a dedicated primer to ensure the surface porosity is neutralized before the final color goes on.
Surface Preparation and Sanding
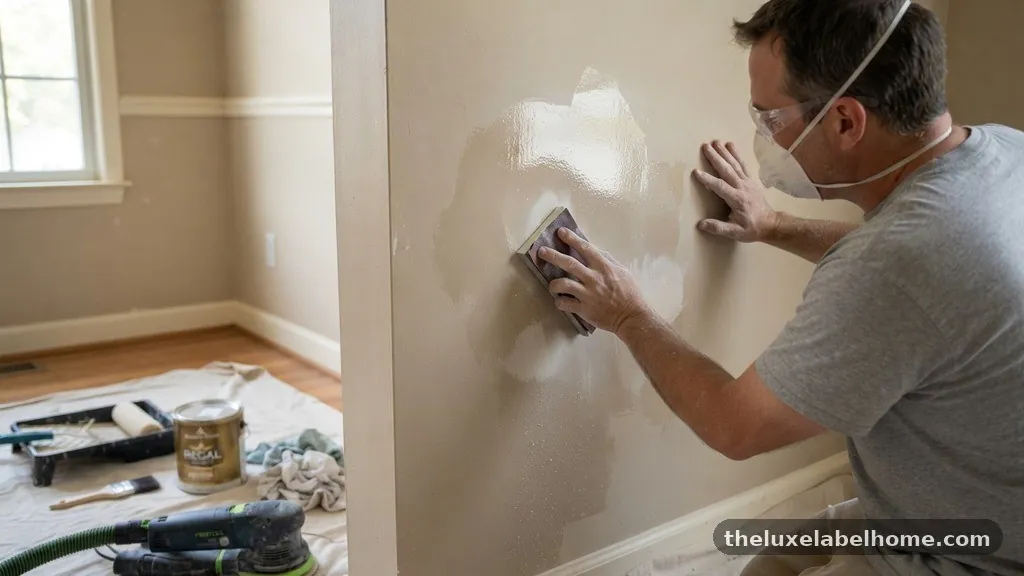
Before you even think about applying more paint, you need to ensure the physical texture of the patch matches the wall. If the patch is too smooth, it will stand out under raking light. Use a sanding sponge to gently feather the edges of your repair into the existing wall.
Feathering is the process of tapering the edges of the joint compound so there is no discernible ridge. If you leave a hard edge, no amount of paint will hide it. Use a fine-grit sandpaper—typically around 150 to 220 grit—to smooth the transition.
Check your work by shining a flashlight parallel to the wall. This technique, often called raking, reveals every dip, bump, or ridge that might otherwise stay hidden. If you see shadows or inconsistent light reflection, continue sanding until the transition is invisible to the touch.
The Two-Coat Sealer Method
When you are deep into the process of fixing Paint Flashing Where Patches Look Shinier Than the Rest of the Wall, the two-coat sealer method is your best defense. This involves applying two thin layers of primer, allowing each to dry completely before proceeding. The first coat seals the bulk of the porosity, while the second creates a uniform film.
This method is particularly useful if you are working with high-sheen paints, which are notorious for highlighting imperfections. By creating a consistent surface, you ensure that the topcoat dries at the same rate across the entire patch. If the paint dries at different speeds, you are almost guaranteed to see a variation in the final sheen.
Consider this standard approach to layering your materials:
- Apply a thin layer of drywall primer to the patch area.
- Sand lightly with a fine-grit block once dry to remove any raised fibers.
- Apply a second, slightly wider coat of primer to blend the edges.
- Check the surface for uniformity before applying the final topcoat.
Choosing the Right Paint Sheen
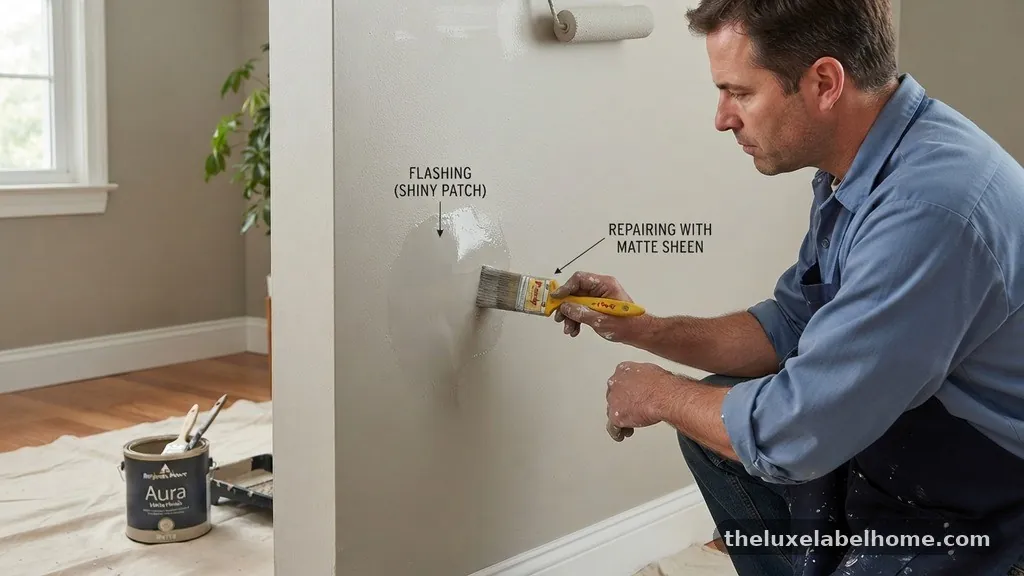
The sheen of your paint plays a massive role in how visible repairs appear. Glossier finishes, such as semi-gloss or satin, are unforgiving because they reflect light directly into the viewer’s eye. If you have a patch, these finishes will highlight even the slightest variation in texture or porosity.
Choosing a flat or matte paint is the easiest way to hide repairs. Matte paint absorbs light rather than reflecting it, which helps mask minor surface irregularities. If you are dealing with a wall that has seen multiple repairs, switching to a flatter finish can save you a significant amount of labor.
If you must use a higher sheen, you will need to be much more meticulous with your sanding and priming. Every imperfection becomes amplified under higher levels of light reflection. For high-traffic areas where you need durability, consider using a high-quality eggshell finish, which offers a balance between washability and light diffusion.
The Role of Roller Texture
Many people forget that the tool used to apply the paint contributes to the final look. A roller cover with a long nap creates a heavy texture, or stippling, on the wall. If your patch is perfectly smooth but the surrounding wall has a heavy stipple, the repair will stand out.
Match your roller nap to the existing wall texture. If the wall was painted with a 3/8-inch nap, you should use the same. This ensures that the paint distribution on the patch matches the surrounding area.
If you are struggling to match the texture, try “tipping off” the patch. This involves using a dry roller or a soft brush to gently touch the wet paint, mimicking the texture of the original surface. It requires a light touch, but it is a professional trick for blending a repair into an existing finish.
Addressing Burnished or Shiny Spots
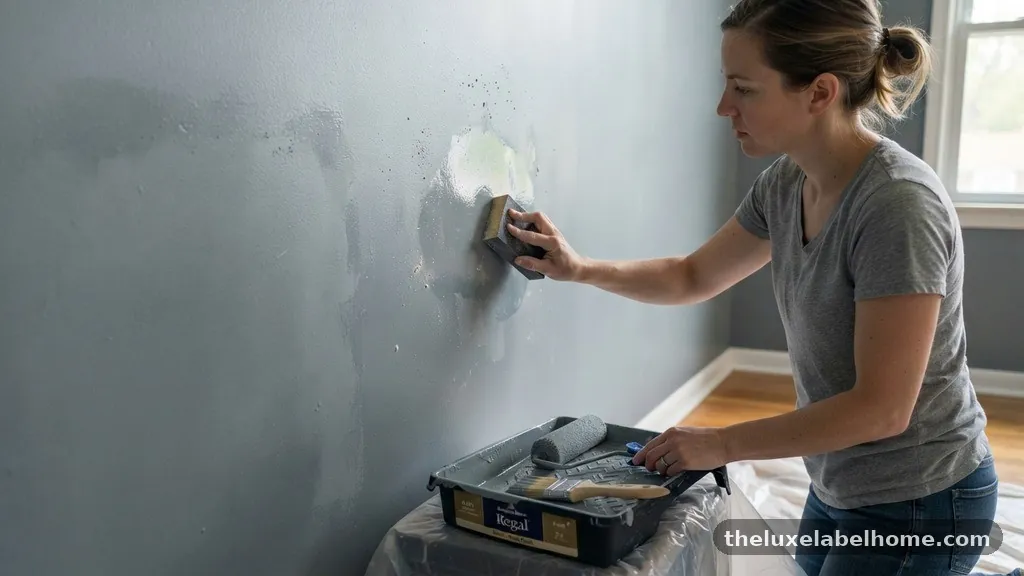
Burnished paint occurs when you scrub a matte or flat surface, causing the paint to flatten out and become shiny. This often happens if you try to clean a scuff mark before repainting. Once paint is burnished, it will not accept new paint in the same way as the rest of the wall.
To fix this, you must scuff-sand the area to restore its tooth. Use a fine-grit sandpaper to break the surface tension of the burnished paint. If you paint directly over a shiny, burnished spot, the new paint will often flake or show through as a different shade.
Properly abrading the surface gives the new primer and paint something to grip. After sanding, wipe the area clean with a damp cloth to remove any dust. Failing to remove sanding dust will create a rough, sandy finish that looks just as bad as the original flash.
Comparison of Repair Strategies
When deciding how to approach your wall repair, consider the following trade-offs between different methods of surface preparation.
| Method | Best For | Complexity |
|---|---|---|
| Spot Priming | Small, minor drywall patches | Low |
| Two-Coat Sealer | Large or highly porous patches | Medium |
| Full Wall Repaint | Extensive damage or color changes | High |
| Feathering & Sanding | Smoothing out texture differences | Medium |
Managing Light Reflection
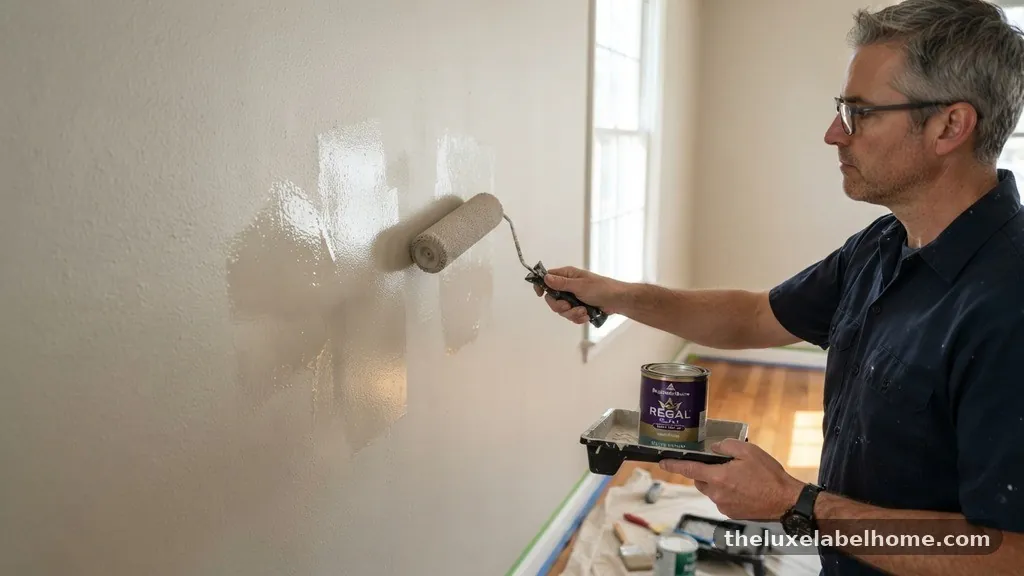
Understanding how light interacts with your walls is critical to the process of fixing Paint Flashing Where Patches Look Shinier Than the Rest of the Wall. If a wall is positioned directly across from a window, natural light will hit it at an angle for most of the day. This is where flashing is most visible.
If you have a repair on a wall that receives heavy side-lighting, you must be extremely thorough with your surface prep. You might consider adding a bit of wall texture or using a thicker primer to help diffuse the light. Sometimes, simply changing the artificial lighting in the room can make a world of difference.
For more information on how surface finishes impact light, you can refer to the National Park Service guide on interior painting, which covers the importance of surface preparation and material consistency. While focused on historic preservation, the principles of light reflection and surface integrity are universal for any home renovation project.
Common Mistakes to Avoid
One of the biggest mistakes is rushing the drying time. Joint compound needs to be bone-dry before you sand it, and primer needs to be fully cured before you paint. If you paint over damp compound, you trap moisture, which will eventually lead to peeling or an uneven finish.
Another error is using the wrong roller pressure. Applying too much pressure forces the paint into the roller’s nap, creating a different texture than what you get with a light, even stroke. Always use a consistent, light pressure to maintain a uniform appearance across the wall.
Finally, do not skip the cleaning step. Dust from sanding is the enemy of a smooth finish. If you leave dust behind, it will mix into your paint, creating a gritty, uneven surface that reflects light differently than the clean, painted areas around it.
Frequently Asked Questions
Can I just paint over the shiny spot again?
Painting over a shiny spot without preparation will rarely solve the problem. The underlying issue is usually a difference in porosity or a layer of burnished paint. You need to sand the area, prime it, and then repaint to ensure the sheen matches the rest of the wall.
How long should I wait between coats?
Always follow the manufacturer’s instructions on the paint can. Generally, you should wait at least two to four hours between coats of primer and paint. If the humidity is high, you should extend this time to ensure the material has fully cured before you apply the next layer.
Will the flashing disappear as the paint dries?
Often, paint flashing looks worse when it is wet. However, if you see a distinct difference in sheen once the paint is fully dry, it is unlikely to go away on its own. You will need to address the underlying surface porosity or texture to achieve a uniform look.
Is it better to paint the whole wall?
If your patch is large or if the paint on the wall is old, spot-painting will almost always leave a visible mark. Painting the entire wall from corner to corner is the only way to guarantee a perfectly consistent sheen. This eliminates the transition lines that cause flashing.
What if the patch is still visible after priming?
If the patch is still visible after one coat of primer, apply a second coat. Ensure the primer is spread evenly and extends slightly beyond the edges of the patch. If the texture is still off, you may need to sand again and re-apply a thin, feathered layer of compound.
Final Thoughts
Achieving a flawless wall finish requires patience and an understanding of how materials interact. By focusing on proper sanding, using a high-quality primer, and matching your roller technique, you can successfully resolve the issue of uneven sheen. Remember that the goal of fixing Paint Flashing Where Patches Look Shinier Than the Rest of the Wall is to create a surface that absorbs and reflects light exactly like the surrounding area.
If you find that spot-fixing is not yielding the results you want, do not be afraid to paint the entire wall. Sometimes the effort of cutting in and rolling a single surface is far less than the frustration of trying to blend a small repair. With these techniques in your toolkit, you are well-equipped to handle any drywall patch and achieve a professional, uniform finish on your walls.