Can You Paint Latex Paint Directly Over Old Glossy Oil-Based Trim Paint?
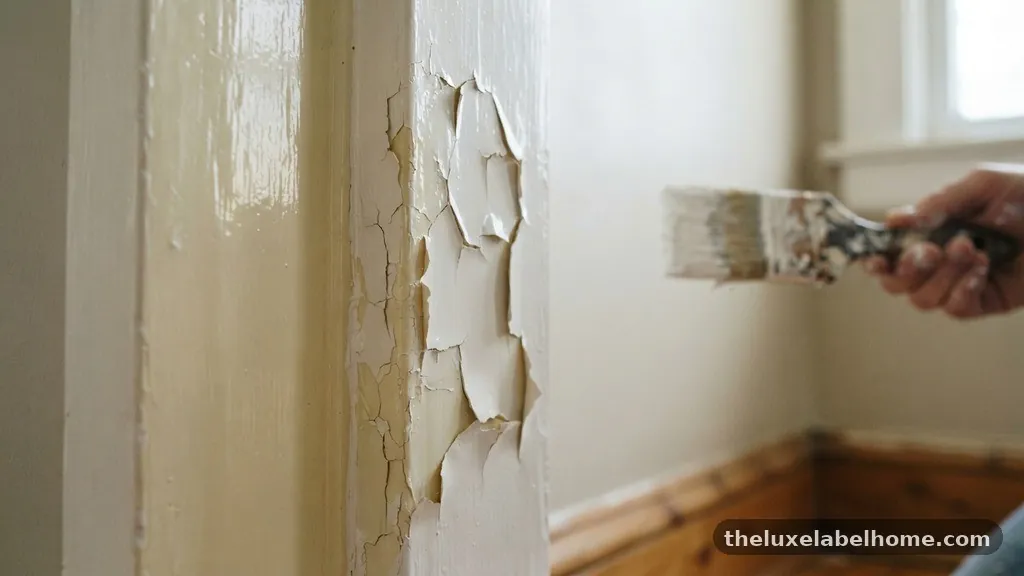
Many homeowners ask whether they can paint latex paint directly over old glossy oil-based trim paint, and the short answer is no, you cannot skip the preparation steps if you want a lasting finish. Applying water-based products directly onto a slick, non-porous oil surface will almost certainly lead to peeling, cracking, and poor adhesion. Because oil-based and latex-based paints have fundamentally different chemical compositions, they do not naturally bond to one another.
By understanding the surface requirements and the necessary chemical bridges, you can achieve a professional look that stands the test of time. This article covers the essential techniques for transitioning your trim without the frustration of future paint failure.
The Chemical Reality of Paint Incompatibility
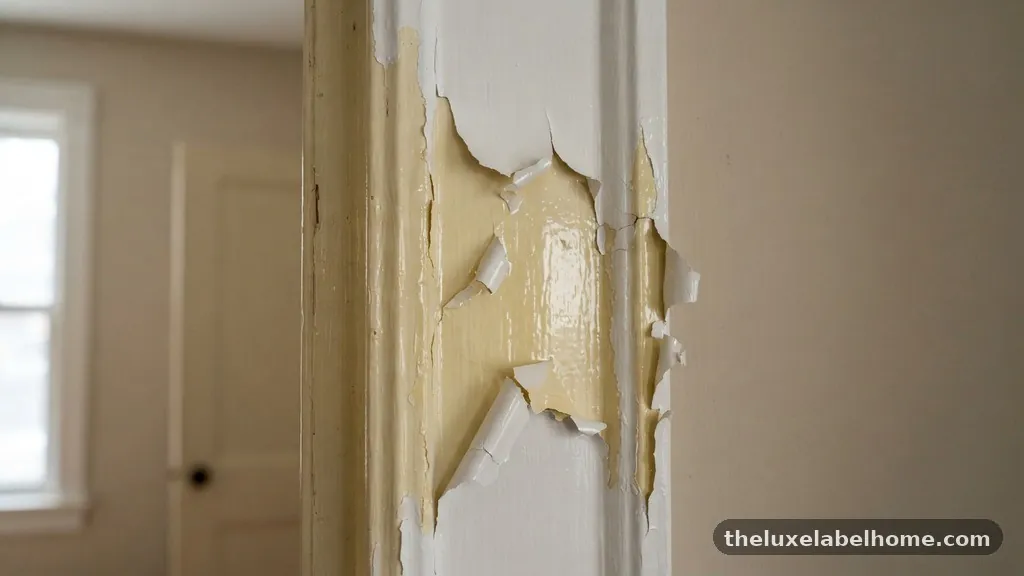
The core issue involves the molecular structure of the two paint types. Oil-based coatings cure through an oxidative process, creating a hard, moisture-resistant, and incredibly smooth surface.
Latex paint, by contrast, is a water-based emulsion that relies on evaporation to dry and form a film. When you attempt to apply latex over a glossy oil surface, the water in the new paint has no way to “bite” into the old finish.
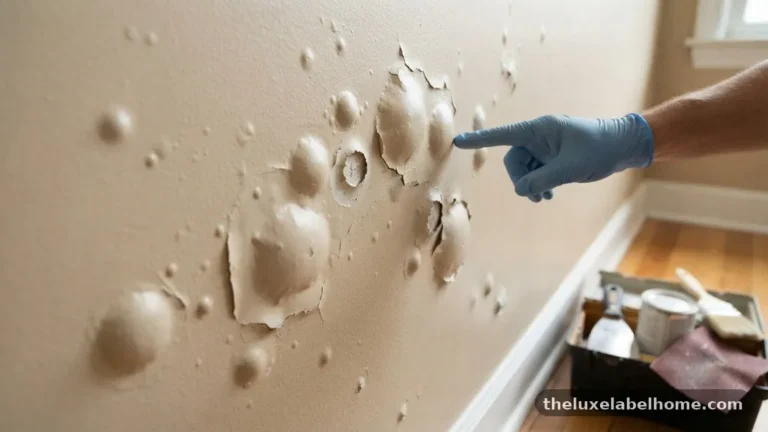
Without proper intervention, the latex film will simply sit on top of the oil-based layer like a sheet of plastic. As the house experiences normal temperature fluctuations or humidity changes, the two layers will expand and contract at different rates.
This movement quickly causes the top layer to lose its grip and peel away in large, unsightly sheets. You might succeed in getting the paint to look acceptable for a few weeks, but the bond remains inherently weak.
Identifying Your Existing Trim Finish
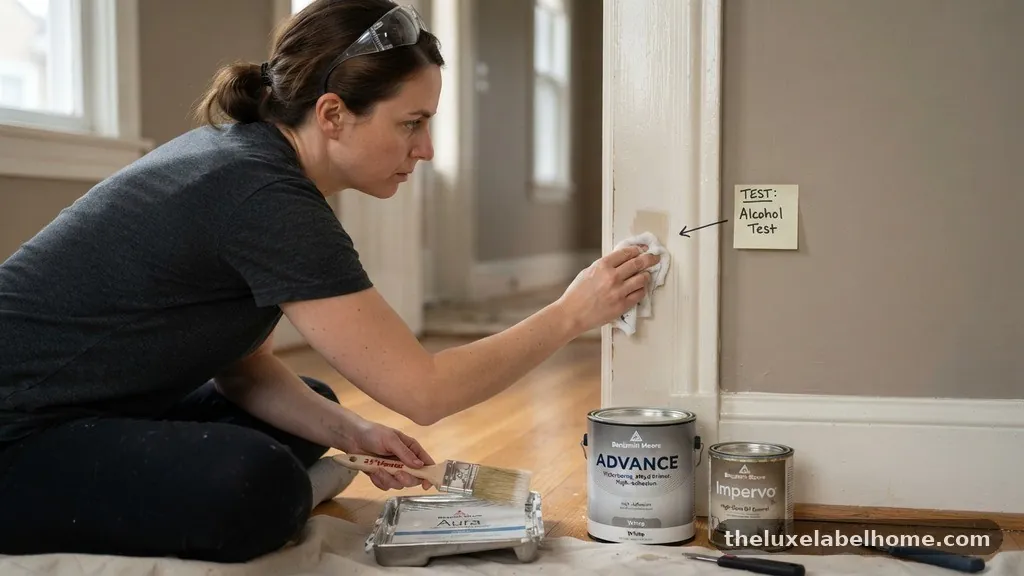
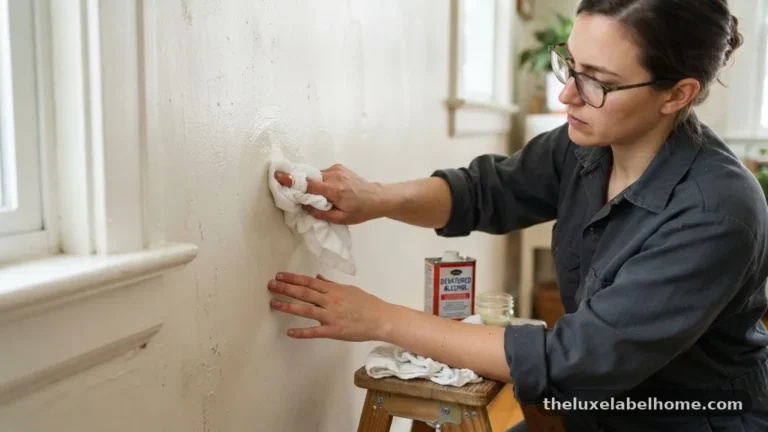
Before you commit to a specific painting strategy, you must confirm that your trim is actually finished with an oil-based product. Many older homes feature oil-based enamels that have yellowed slightly over the decades, while modern homes often use water-based alkyds that mimic the hardness of oil. You can test your surface with a simple denatured alcohol test.
Dampen a clean white cloth with a small amount of denatured alcohol and rub it firmly against a discreet section of the trim. If the paint color transfers to the rag, it is likely a water-based latex or a water-based alkyd.
If the cloth remains clean, you are almost certainly dealing with a traditional oil-based finish. This distinction is critical because it dictates whether you can proceed with standard preparation or if you need to strictly follow the oil-to-latex conversion process.
The Necessity of Mechanical Abrasion
Sanding is the most important step in the entire process. You are not trying to strip the paint down to the raw wood; you are trying to “de-gloss” the surface to provide a physical anchor for the new coat.
Oil-based paint is notoriously smooth, which is great for durability but terrible for adhesion. By scuff-sanding, you create a microscopic landscape of peaks and valleys that the primer can grab onto.
Use a fine-grit sandpaper, typically between 120 and 150 grit, to dull the sheen. You do not need to press hard, but you do need to ensure every square inch of the trim has been touched by the paper.
If you skip corners or intricate profiles, those areas will be the first to fail later. After sanding, always wipe the trim down with a tack cloth or a damp rag to remove all fine dust particles, as trapped dust will prevent proper bonding.
Choosing the Right Bonding Primer
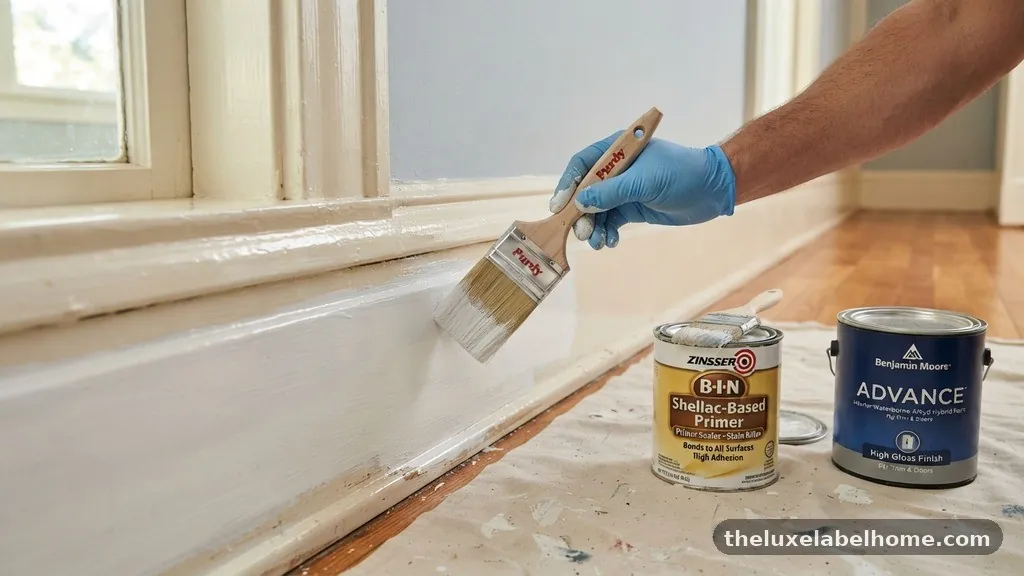
Once the surface is scuffed and cleaned, you cannot simply move to your topcoat. You need a specialized product to act as a bridge between the incompatible layers.
A high-quality bonding primer is designed to stick to “hard-to-stick” surfaces, including glossy oil-based paint. These primers contain advanced resins that chemically link the oil-based substrate to your new water-based latex.
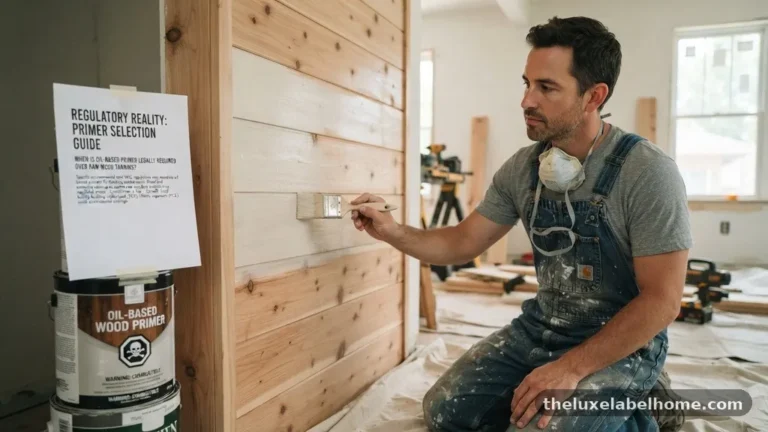
Look for products specifically labeled as “bonding” or “high-adhesion” primers. Many professionals prefer oil-based primers for this specific transition because they offer the best bite into the old oil paint, but high-quality water-based bonding primers have improved significantly in recent years.
If you choose a water-based primer, ensure it is formulated for use over oil. You can find more information on surface preparation standards through the American Coatings Association.
Comparing Preparation Methods
The following table highlights the common approaches to transitioning surfaces and their relative effectiveness.
| Method | Labor Intensity | Adhesion Quality | Risk of Failure |
|---|---|---|---|
| Direct Application | Very Low | Poor | Extremely High |
| Sanding Only | Moderate | Moderate | Moderate |
| Sanding + Bonding Primer | High | Excellent | Very Low |
Applying the Primer Effectively
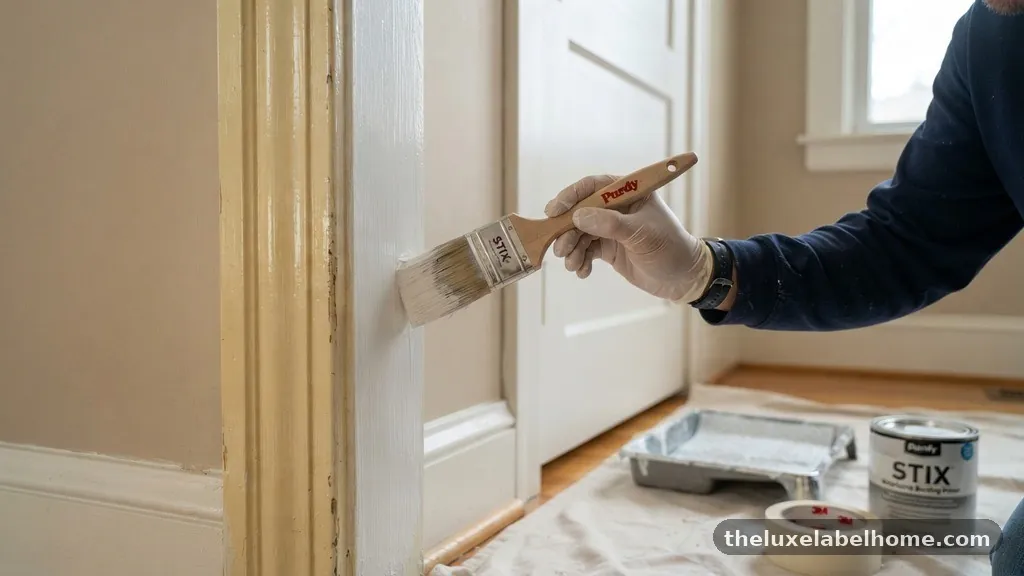
Consistency is key when applying your bonding primer. Use a high-quality synthetic brush or a small foam roller to ensure even coverage across the trim profile.
You don’t need a thick, gloppy coat; a thin, uniform application is actually more effective at creating a stable foundation. Allow the primer to dry fully according to the manufacturer’s instructions on the can.
Many DIYers make the mistake of rushing to the topcoat before the primer has reached its full cure time. Even if the primer feels dry to the touch in an hour, it may need several more hours to cross-link properly with the surface.
If you re-coat too soon, you risk pulling the wet primer off the trim with your brush. Patience during this stage is the difference between a project that lasts a decade and one that peels within a year.
Selecting a Durable Topcoat
Once your primer is dry and stable, your choice of topcoat becomes much less risky. You can use standard interior latex enamel for the finish.
Because the bonding primer has already solved the adhesion problem, the latex paint will perform exactly as it is designed to. Choose a finish that matches your desired aesthetic, such as semi-gloss or satin.
Semi-gloss is the industry standard for trim because it offers a nice balance of durability and cleanability. If your trim has significant imperfections, you might opt for a satin finish, which masks surface irregularities better than a high-gloss paint.
Regardless of the sheen, ensure you apply at least two thin coats of the topcoat. This ensures a consistent color and a tougher, more resilient final barrier.
Common Mistakes to Avoid
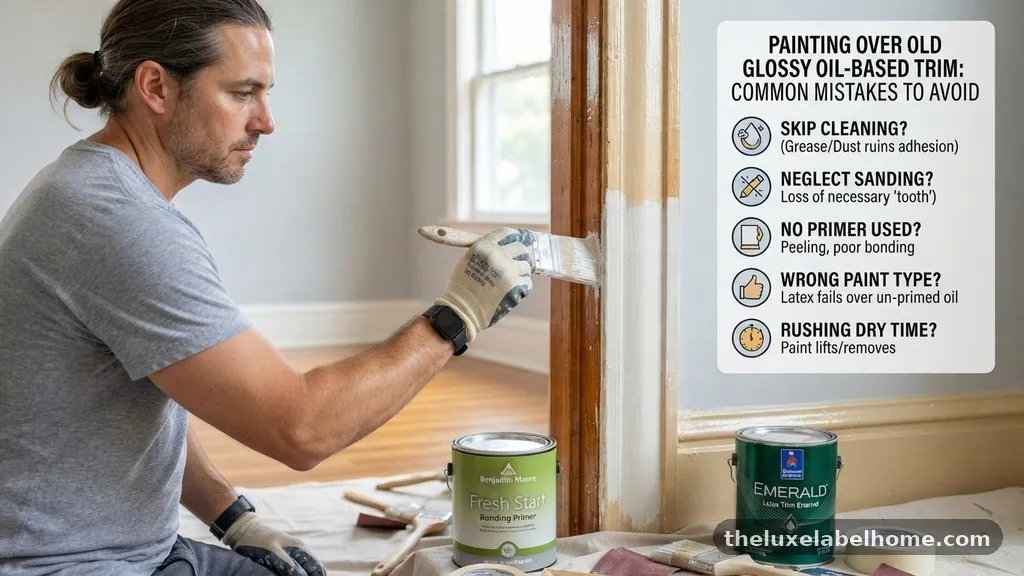
Many people look for shortcuts when they realize how much effort the sanding and priming process requires. One of the most common errors is using a “paint and primer in one” product directly over the oil-based trim. These products are excellent for drywall or previously painted latex surfaces, but they rarely have the chemical strength to adhere to cured oil enamel.
Another mistake is failing to clean the trim thoroughly before sanding. If the trim is in a kitchen or near a cooking area, it likely has a thin layer of grease or cooking oil on it.
If you sand over grease, you are merely embedding the contaminants deeper into the scuffed surface. Always wash the trim with a degreasing agent, such as trisodium phosphate (TSP) or a mild dish soap solution, before you even pick up a piece of sandpaper.
Tools You Will Need
Gathering the right equipment before you start will make the process much smoother. You want to avoid mid-project trips to the hardware store. Here is a list of essential items for a successful trim conversion:
- 120 to 150 grit sandpaper or sanding sponges for delicate profiles.
- High-quality degreaser to remove oils and fingerprints.
- Tack cloths to remove fine sanding dust.
- Premium synthetic paint brushes for a smooth finish.
- High-adhesion bonding primer.
- Painter’s tape to protect your walls and floors.
- Small foam rollers for flat trim sections.
Frequently Asked Questions
Do I really need to sand the trim if I use a strong bonding primer?
Yes, sanding is non-negotiable. While bonding primers are powerful, they cannot overcome a layer of surface contaminants or a surface that is so smooth that nothing can gain traction. Sanding ensures that the primer is bonding to the substrate, not just sitting on top of a layer of dust or grease.
How long should I wait between coats of primer and paint?
Always check the label on your specific can of paint, as drying times vary significantly by brand and humidity levels. As a general rule, wait at least four hours for the primer to dry before applying the first coat of latex. Waiting overnight is even better, as it allows the primer to fully harden and reach its maximum adhesion strength.
Can I use an oil-based primer under latex paint?
Yes, and many professionals prefer this method. An oil-based primer is chemically compatible with the old oil-based trim and provides an excellent surface for water-based latex to grip. If you go this route, ensure your workspace is well-ventilated, as oil-based products have stronger odors and higher volatile organic compound (VOC) levels.
What happens if I skip the primer and paint directly?
If you skip the primer, you are essentially setting yourself up for failure. The paint might look fine for a few days, but it will eventually lose its bond. You will likely find that the paint scratches off easily with a fingernail or peels away completely when you try to remove painter’s tape.
Is there any situation where I don’t need to prime?
No, not when moving from oil to latex. Because the two chemistries are fundamentally different, there is no way to bypass the need for a transition layer. If the existing finish was already latex, you might get away with just cleaning and sanding, but with oil-based trim, you must use a bridge.
Final Thoughts on Trim Transformation
Successfully navigating the transition from oil to latex requires respect for the chemistry involved. You now know that you cannot simply paint latex paint directly over old glossy oil-based trim paint without significant preparation. By dedicating time to scuff-sanding, thorough cleaning, and the application of a high-quality bonding primer, you create a robust surface that prevents peeling and ensures a clean, professional finish.
While the process is more labor-intensive than a single-coat refresh, the longevity of your work will far outweigh the initial effort. Take your time with the preparation, choose your materials carefully, and don’t rush the drying process between layers.
If you follow these steps, your trim will look beautiful and remain durable for years to come. Feel free to reach out if you run into specific issues during your project!