High-Hide Tinted Primers: How They Cut Red or Dark Blue Coats in Half
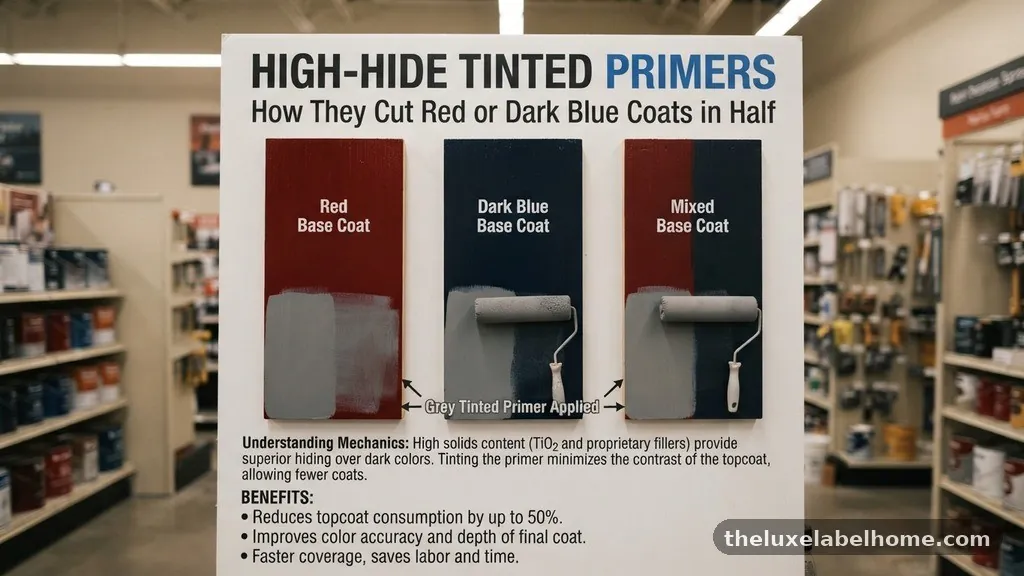
High-Hide Tinted Primers offer a strategic advantage when you are transitioning walls from bold, dark shades to lighter, neutral tones. By shifting the base color of the primer closer to the final topcoat, you effectively neutralize the intensity of deep reds or dark blues before the finish paint ever touches the drywall.
This process significantly reduces the number of applications required to achieve full opacity, saving both time and money. Understanding how to leverage these specialized coating products can transform a daunting, multi-day project into a manageable task, ensuring professional results with fewer layers of expensive finish paint.
Understanding the Mechanics of High-Hide Primers
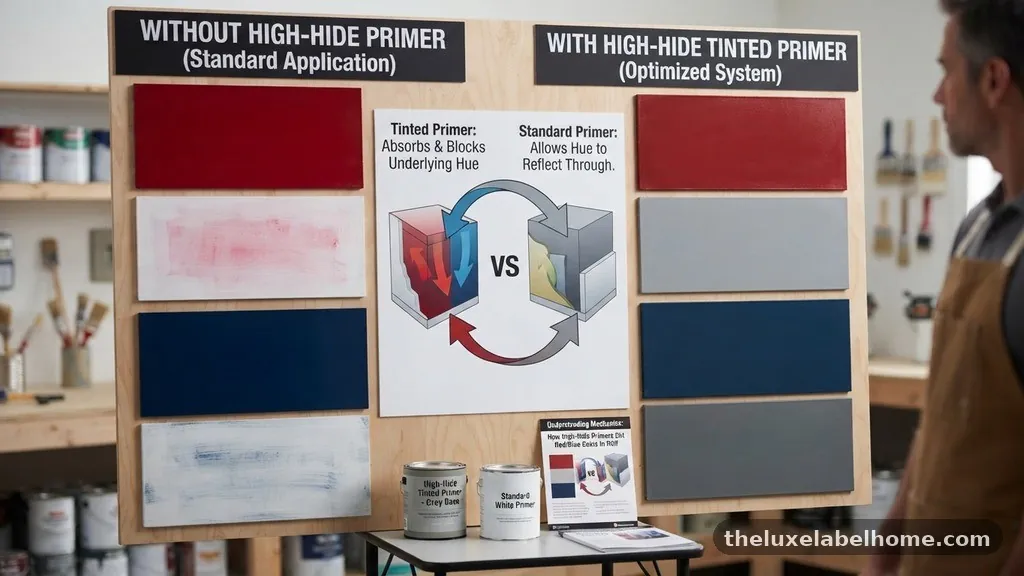
Standard white primer is often insufficient when you are attempting to cover a saturated color like fire-engine red or navy blue. These dark pigments have a high degree of light absorption, which causes them to bleed through traditional white coatings. High-hide primers are engineered with a higher concentration of titanium dioxide and other high-quality pigments that increase their opacity and blocking power.
When you use a high-hide formula, you are essentially creating a neutral, opaque foundation that masks the old color immediately. This prevents the “telegraphing” effect, where the underlying dark shade continues to show through even after multiple topcoats. By selecting a primer specifically formulated for high-hide performance, you cut down on the total volume of paint needed for the entire renovation.
Selecting the Right Tint for Your Project
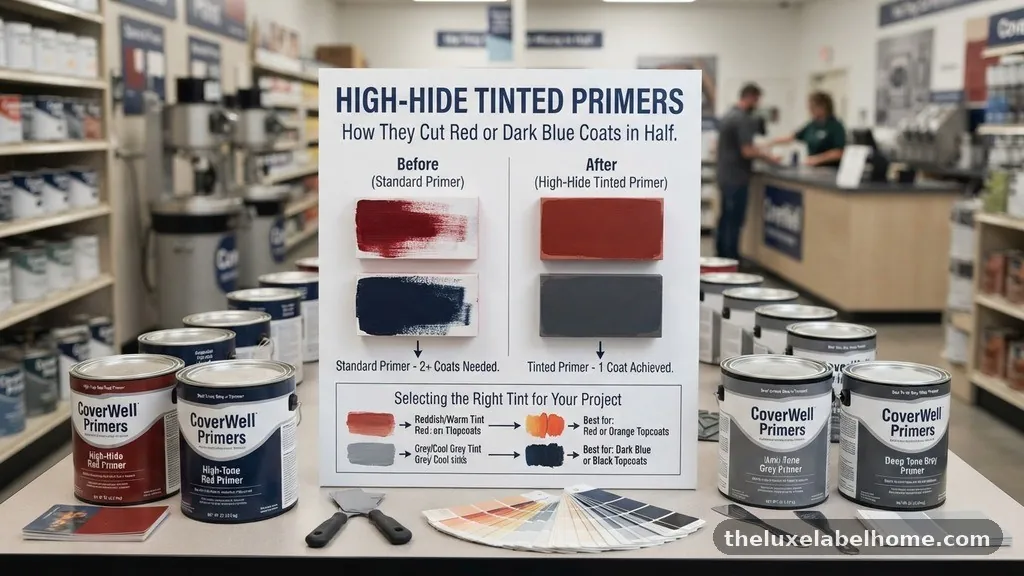
The secret to maximizing the effectiveness of high-hide primers lies in the tinting process. Most paint retailers use a gray scale to match the primer to the topcoat, which is vital for color changes. If you are painting over a dark color with a mid-tone or light gray, a gray-tinted primer is your best friend.
The Gray Scale Strategy
- Light Gray: Best for light blue, yellow, or soft white topcoats.
- Medium Gray: Ideal for deeper grays, navy blues, or muted greens.
- Dark Gray: Necessary when transitioning from deep red or black to a dark charcoal topcoat.
Using a gray base helps the finish paint achieve its true color faster because the primer isn’t fighting against the dark wall underneath. When you apply a light topcoat over a white primer on a red wall, the red pigment will often “warm up” the finish, leading to a pinkish or muddy appearance. Matching the primer shade to the final color’s depth ensures the topcoat looks exactly like the sample chip.
Comparing Traditional White vs. Tinted Primers
Choosing the right base layer is the most significant decision in your painting process. While white primer works for minor color shifts, it fails miserably when faced with high-contrast transitions. The following table illustrates the typical performance differences when covering a dark red wall.
| Feature | Standard White Primer | High-Hide Tinted Primer |
|---|---|---|
| Opacity Level | Low to Moderate | High |
| Bleed-Through Risk | High | Low |
| Coats Needed (Topcoat) | 3 to 4 | 1 to 2 |
| Cost Efficiency | Low (due to extra paint) | High (less finish paint used) |
As the data shows, the investment in a tinted primer pays for itself by reducing the volume of expensive finish paint. You are not just buying a product; you are buying a shortcut to a finished room. Most professionals at brands like Benjamin Moore recommend testing your primer tint against the final color to ensure the undertones align perfectly.
The Role of Pigmentation in Color Blocking
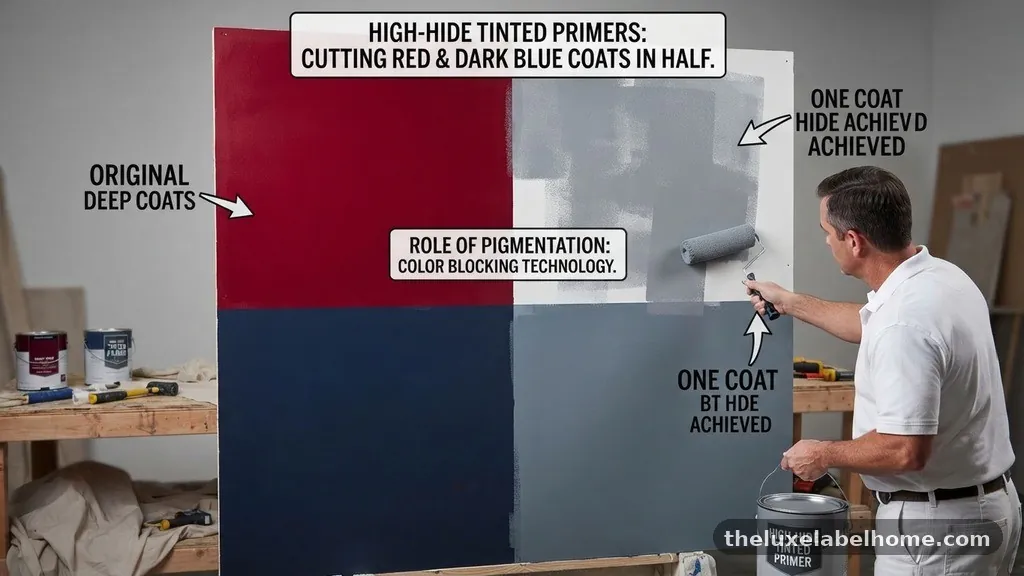
The chemistry behind high-hide primers relies on the size and density of the particles suspended in the liquid. High-quality primers utilize microscopic particles that reflect light rather than allowing it to penetrate through to the old paint. This is why a simple “white” primer often feels thin or watery compared to a high-hide version.
When you apply a high-hide primer, you are building a physical barrier that traps the old dark pigment. This is especially important for porous surfaces like new drywall or old, flat paint that has absorbed deep colors over the years. By sealing the surface properly, you prevent the old pigment from migrating into the new layers of paint.
Saving Time on Multi-Coat Projects
Time is the most valuable resource in any home improvement project. If you are painting a large living room, the difference between two coats and four coats of paint is substantial. High-hide tinted primers allow you to complete the job in a fraction of the time, often allowing you to finish the entire project in a single weekend.
The drying time for high-hide primers is typically consistent with standard latex primer, usually allowing for a recoat or topcoat within one to two hours. Because you are applying fewer layers of finish paint, the total “dry-to-touch” time for the room is reduced significantly. This efficiency is critical for homeowners who need to return to their living spaces quickly.
Preventing Bleed Through on Old Walls
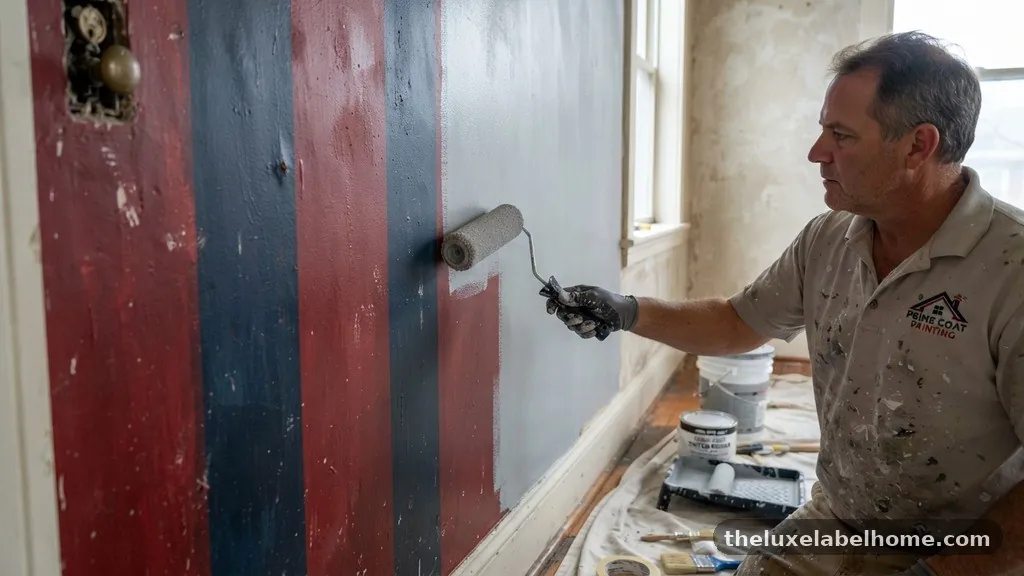
Bleed through is a common frustration where dark pigments from the old wall migrate into the fresh paint, creating blotchy or inconsistent spots. This happens because many common paints are porous, allowing the old dark pigment to “wick” upward into the new wet paint. High-hide primers act as a chemical sealer that stops this process in its tracks.
If you are dealing with particularly stubborn stains or extremely dark colors, you might need a primer with stain-blocking additives. These specialized formulas are designed to adhere to difficult surfaces while providing the necessary hide. Always check the label to ensure the primer is compatible with your chosen finish paint, especially when moving between oil-based and latex systems.
Calculating Your Paint Needs
Many people underestimate how much finish paint they need for a dark-to-light transition. Without a high-hide primer, you might end up buying double the amount of expensive topcoat. By using a tinted primer, you can accurately estimate your needs based on a two-coat coverage standard.
Start by measuring your square footage and accounting for the typical coverage rate of your finish paint, which is usually around 350 to 400 square feet per gallon. If you use a tinted primer, you can safely assume that two coats of finish paint will be more than enough. This prevents the common mistake of running out of paint midway through a wall, which often leads to visible lap marks and color inconsistencies.
Applying Primer for Maximum Coverage
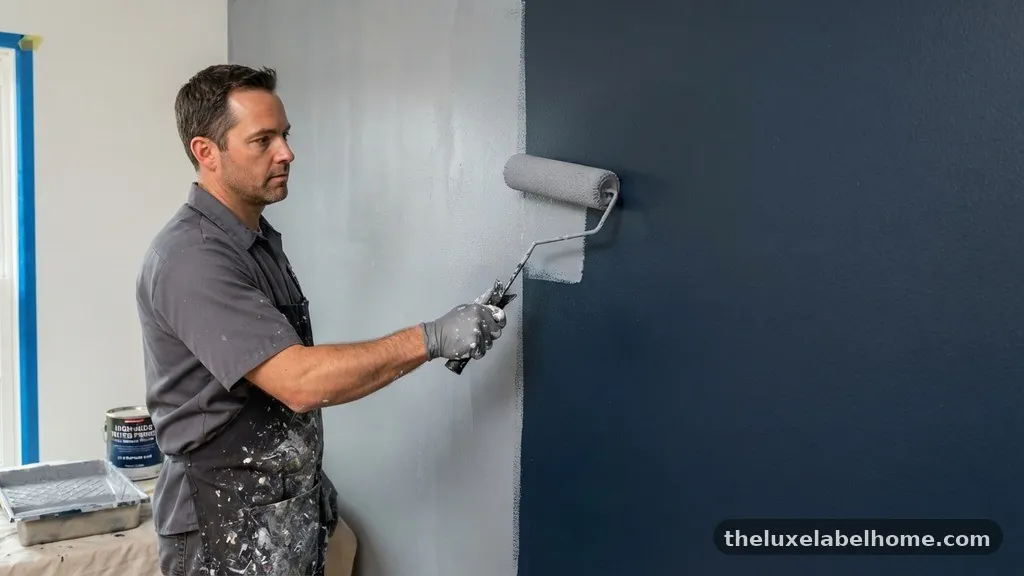
The application technique for high-hide primer is just as important as the product choice itself. Use a high-quality roller cover with a nap appropriate for your wall texture, such as a 3/8-inch nap for smooth drywall. This ensures an even, consistent thickness that maximizes the hiding power of the pigment.
Do not try to “stretch” the primer by over-rolling. Apply it in a thick, uniform layer to ensure the pigments are distributed evenly across the surface. If the old color is still slightly visible after the first coat of primer, a second coat of primer is usually cheaper and more effective than trying to cover it with expensive finish paint.
Troubleshooting Common Painting Issues
Even with the best preparation, you might encounter issues like flashing or uneven sheen. This often happens if the primer is not allowed to cure properly before the topcoat is applied. Give your primer sufficient time to dry, as indicated by the manufacturer’s instructions, to ensure it provides a stable base.
Another issue is “flashing,” where the sheen of the paint looks different in certain areas. This is often caused by poor surface preparation or uneven application of the primer. If you notice these issues, a light sanding after the primer has dried can help smooth out the surface and ensure a uniform appearance for the final coat.
Frequently Asked Questions
Is it always necessary to tint the primer?
While not strictly required for every project, tinting is highly recommended for drastic color changes. If you are moving from a very dark color to a very light one, skipping the tint will almost certainly result in the need for extra coats of finish paint.
Can I use a gray primer for all dark colors?
A gray primer is generally versatile, but you should match the depth of the gray to the depth of your topcoat. A light gray works for most medium-toned colors, while a deep gray is better suited for very dark or saturated topcoats.
What happens if I don’t use a high-hide primer?
If you skip the high-hide primer, you will likely encounter “bleed through” and poor coverage. You will find yourself applying three, four, or even five coats of finish paint, which is both expensive and time-consuming.
Can high-hide primer be used on all surfaces?
Most high-hide primers are designed for drywall and previously painted surfaces. If you are painting over wood, metal, or glossy surfaces, you may need a specialized bonding primer instead of a standard high-hide formula.
Does the quality of the primer matter?
The quality of the primer is critical. Cheaper primers often have less pigment and more “filler,” which provides poor coverage and requires more effort. Investing in a premium high-hide product will save you money on the finish paint.
Final Thoughts on Surface Preparation
Achieving a clean, professional finish when painting over bold or dark colors is entirely dependent on your foundation. High-Hide Tinted Primers serve as the bridge between your old, dark walls and your new, lighter color scheme. By neutralizing the undertones of the original paint and providing a uniform, opaque base, these specialized products allow you to achieve the desired look with fewer coats of finish paint.
Proper preparation, including selecting the right gray tint and applying an even layer, will streamline your project and protect your investment in high-quality paint. Whether you are a homeowner tackling a renovation or someone looking to refresh a space, using the right primer is the most effective way to ensure lasting, beautiful results. Take the time to prime correctly, and you will find that your painting projects become much more predictable and far less labor-intensive.