Why Satin Finish Highlights Drywall Flaws and Tape Seams?
When you notice that a satin finish highlights drywall flaws and tape seams, you are seeing a direct result of how light interacts with the surface of your walls. Many homeowners choose satin because it offers a durable, cleanable sheen, but this same reflectivity acts like a spotlight on any irregularities in the drywall mud or the taping process.
Understanding why this happens requires looking at how light reflects off different paint sheens and why even minor bumps or depressions become amplified under specific conditions. By identifying exactly why your walls look uneven after painting, you can better prepare your surfaces to achieve the professional, smooth look you originally envisioned for your home interior.
The professional, smooth look
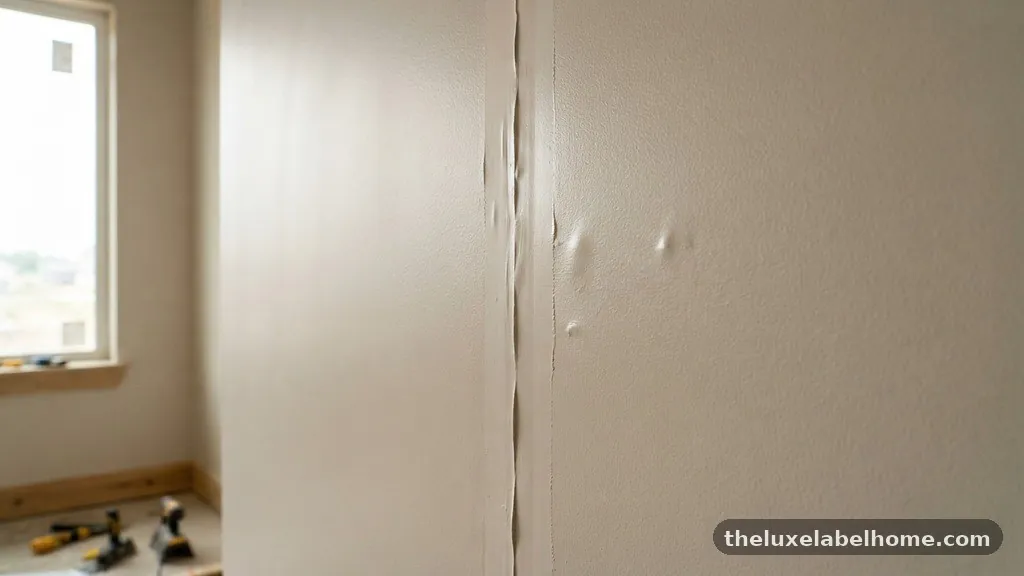
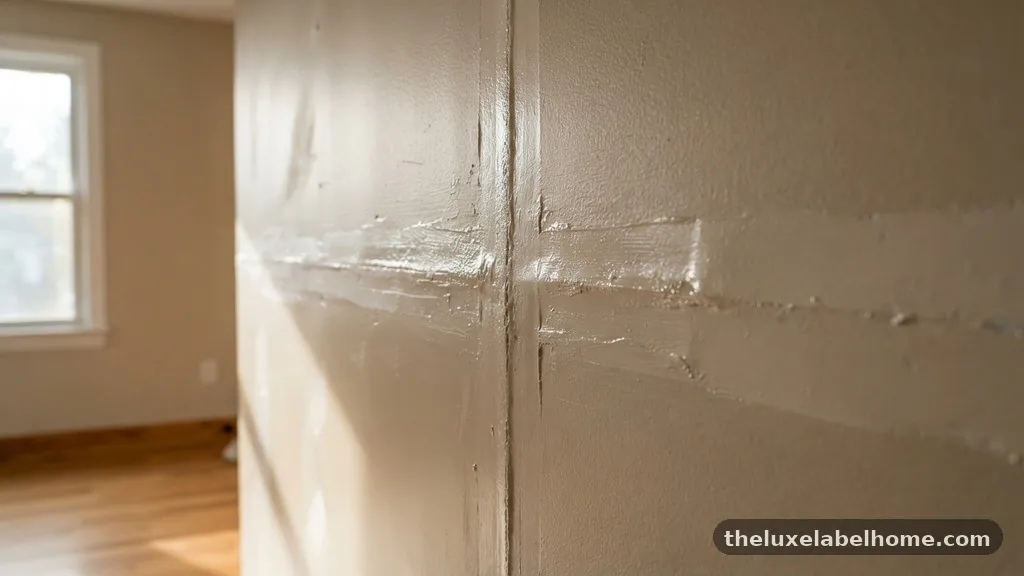
The primary reason a satin finish highlights drywall flaws and tape seams is its reflective nature. Unlike flat paint, which absorbs light and diffuses it in many directions, satin contains resin particles that create a smooth, slightly glossy surface. When light hits this surface, it bounces back toward the viewer’s eye in a focused way.
This focused reflection means that any deviation from a perfectly flat plane becomes immediately apparent. If your wall has a slight bump from excess joint compound or a depression where the tape was not feathered correctly, the paint reflects light at an angle different from the surrounding area. This creates a shadow or a highlight that draws the eye directly to the defect.
Because satin sits somewhere between flat and semi-gloss, it is often considered the “difficult middle ground” for wall finishes. It provides enough sheen to be washable, which makes it popular for kitchens and hallways, but it does not have the high gloss that would make a flaw look like a mirror. However, that subtle reflectivity is just enough to betray the quality of the drywall preparation underneath.
Why Drywall Taping Is the Foundation of Success
Drywall taping is the most critical step in creating a wall that looks good under any paint finish. If the tape is applied with too much mud or if the edges are not feathered out into the surrounding drywall, you are creating a raised ridge. Even if you sand that ridge down, the texture of the tape itself is often slightly different from the paper-faced drywall.
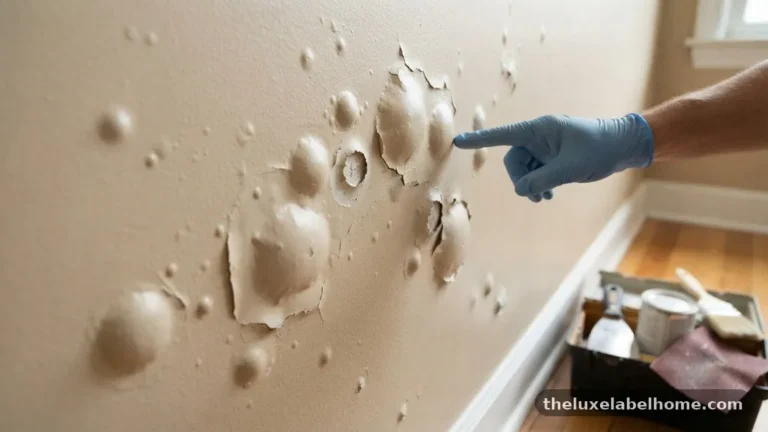
When you apply a coat of paint, the moisture can sometimes cause the paper tape to swell slightly or the joint compound to react. If the taping process was rushed, those transitions between the tape and the drywall board will remain visible. A satin finish will then pick up the subtle difference in texture between the paper tape and the drywall surface.
Proper taping involves using high-quality materials and ensuring that the joint compound is applied in thin, wide layers. The goal is to make the transition so gradual that the eye cannot detect where the tape ends and the drywall begins. If you fail to achieve this level of smoothness, the paint will only serve to magnify the error.
The Role of Sanding and Surface Preparation
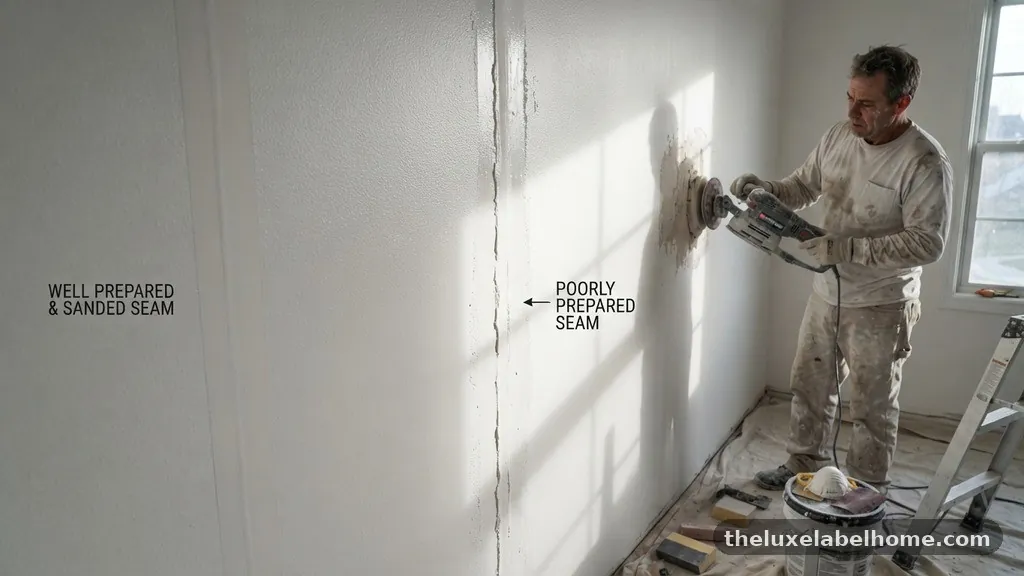
Sanding is the process that turns a rough, mud-covered wall into a smooth, paint-ready surface. Many DIY painters underestimate the amount of sanding required to achieve a truly flat wall. If you stop sanding as soon as the wall feels smooth to the touch, you might still have microscopic ridges that will appear clearly once the paint is dry.
You should always use a light source held at an angle to the wall while sanding. This technique, often called “raking light,” mimics the way sunlight or overhead bulbs will hit your wall once the project is finished. By identifying shadows during the sanding phase, you can fix the imperfections before you ever open a can of paint.
Using a sanding block or a pole sander with the correct grit is essential. Starting with a coarser grit like 120 and finishing with a finer grit like 180 or 220 helps remove scratches left by the initial sanding. If you skip these steps, the satin paint will act as a magnifying glass, showing every single scratch and gouge left behind by your sandpaper.
How Joint Compound Application Affects Final Appearance
Joint compound, often referred to as drywall mud, is the material used to fill gaps and cover seams. The way this material is applied determines the final contour of the wall.
If the mud is applied too thickly, it creates a “hump” that is very difficult to hide. If it is applied too thinly, the tape might show through or the seam might crack.
Applying mud correctly requires a series of thin coats rather than one thick application. After each coat, the compound must be allowed to dry completely before any sanding occurs. If you sand while the mud is still damp, you will tear the surface and create a rough texture that is impossible to hide with satin paint.
The following table summarizes how different paint finishes typically react to common drywall imperfections:
| Paint Finish | Visibility of Minor Flaws | Washability |
|---|---|---|
| Flat/Matte | Low | Low |
| Eggshell | Moderate | Moderate |
| Satin | High | High |
| Semi-Gloss | Very High | High |
Lighting Conditions and Their Impact on Walls
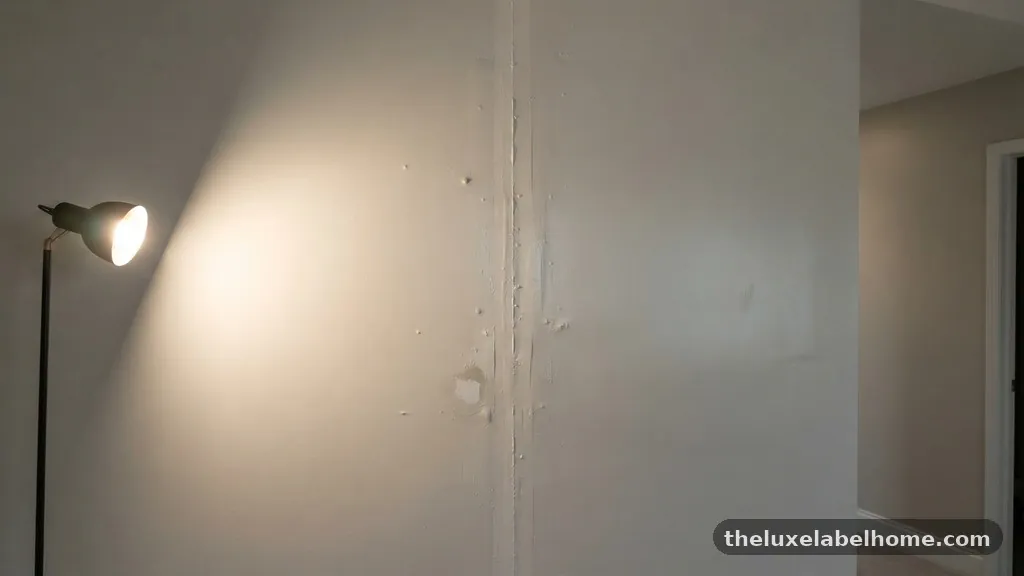
The way light strikes your walls has a massive influence on whether or not you notice imperfections. Natural light coming from a window at a low angle is the most revealing type of lighting. This side-lighting creates long shadows behind even the smallest bumps in the drywall.
If your room has recessed lighting or track lights, the positioning of these fixtures is crucial. If the light is aimed directly down the wall, it will highlight every texture inconsistency. When choosing where to place lighting, consider how the beams will interact with the wall surface, especially if you have opted for a satin finish.
You can often mitigate these issues by using diffuse lighting, such as lamps with shades or fixtures that bounce light off the ceiling. By softening the light, you reduce the harsh shadows that make drywall seams and flaws pop out. However, if the wall preparation was poor, no amount of clever lighting will completely hide the underlying issues.
Comparing Paint Sheens for Flaw Concealment
If you are struggling with visible seams, you might be tempted to switch to a flatter paint. Flat paint is the industry standard for hiding imperfections because it absorbs light rather than reflecting it. If you have a wall that has seen better days, flat paint will almost always provide a more uniform appearance.
However, flat paint is notoriously difficult to clean. If you have children or pets, or if the wall is in a high-traffic area, you might find that flat paint scuffs and marks very easily. Satin finish is chosen for its durability, so you are essentially trading aesthetic perfection for functional utility.
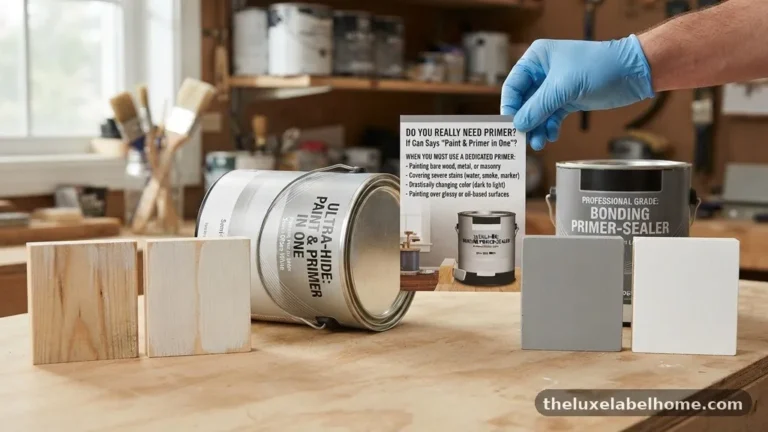
To get the best of both worlds, some professionals use a high-quality primer that is designed to hide surface imperfections. A high-build primer can fill in minor scratches and create a more uniform surface tension. This helps the topcoat of satin paint lay down more evenly, which can reduce the appearance of tape seams.
Common Mistakes During the Painting Process
One of the most common mistakes is using a roller with too much nap for the surface. A thick-napped roller creates a stippled texture, which can actually interact with the sheen of the paint to highlight flaws. For a smoother finish, use a roller with a shorter nap, such as 3/8 inch.
Another mistake is overworking the paint as it begins to dry. If you go back over a section that has already started to set, you will create brush marks or roller marks that catch the light. Satin paint is more prone to showing these “lap marks” than flat paint, so it requires a steady, consistent application technique.
You should also ensure that you are using a good quality paint that has sufficient pigment density. Cheap paint often requires more coats, and each additional layer increases the chance of creating uneven textures. A professional-grade paint will cover better and flow more smoothly, leading to a more consistent finish.
The Importance of Priming Before Painting
Priming is not an optional step if you want to achieve a flawless wall. A good primer seals the surface of the drywall paper and the joint compound, ensuring that the paint absorbs at the same rate across the entire wall. If you skip the primer, the drywall will soak up the paint unevenly, which creates “flashing” or dull spots where the seams are located.
When you use a high-quality primer, you create a neutral base that allows the satin paint to sit on top of the surface rather than soaking into it. This is particularly important over repaired areas where the texture of the mud is different from the surrounding wall. Visit the National Park Service’s maintenance resources for general insights into building surface care and material longevity.
If you are dealing with a significant amount of repair work, consider using a primer specifically formulated for drywall. These products are designed to bridge the gap between the porous paper and the non-porous joint compound. Using the right primer can often be the difference between a wall that looks like a patch job and one that looks like a professionally finished surface.
Techniques for Fixing Visible Seams
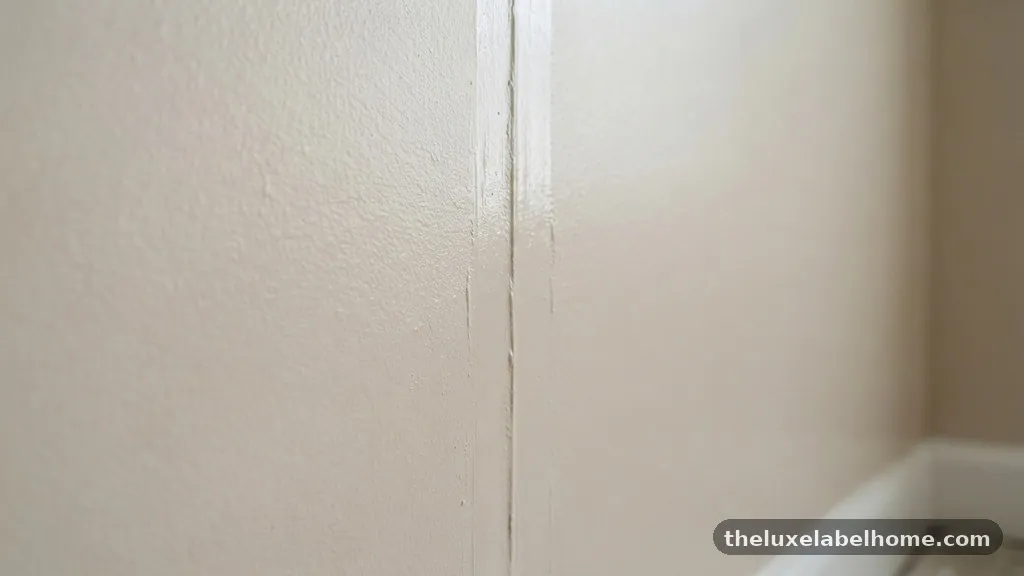
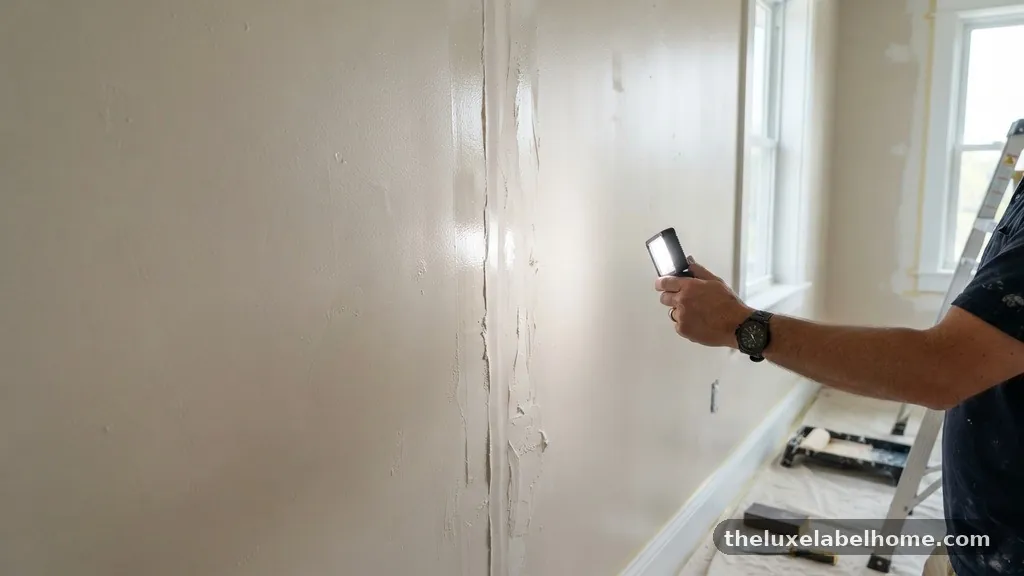
If you have already painted and are unhappy with the result, you can still fix the issue. You do not necessarily have to strip the paint entirely, but you will need to do some touch-up work. First, identify the exact location of the seams by using a flashlight held at an angle.
Once you have identified the problem, lightly sand the area to remove any high spots or paint drips. If the seam is depressed, you may need to apply a thin layer of setting-type joint compound to feather it out. After the compound dries, sand it smooth, prime the spot, and then repaint that area.
To blend the touch-up with the existing wall, you will need to “roll out” the paint beyond the repaired area. This technique, known as feathering the paint, involves thinning the paint slightly and rolling it out into the surrounding wall so there is no hard line where the new paint meets the old. It takes practice, but it is a standard way to fix minor flaws without repainting the entire room.
Checklist for a Flawless Finish
To ensure your next painting project goes smoothly, follow these essential steps to minimize the visibility of seams and imperfections:
- Use a high-quality, fine-grit sanding sponge to feather the edges of your joint compound.
- Always use a “raking light” to inspect your walls for ridges or depressions before applying any primer.
- Apply at least two thin coats of a high-quality drywall primer to ensure uniform surface absorption.
- Choose a roller with a 3/8-inch nap to reduce the texture of the paint application.
- Maintain a “wet edge” while painting to avoid lap marks and uneven sheen.
- Consider using a paint additive that slows drying time, allowing the paint to level out more effectively.
Frequently Asked Questions
Does satin finish always make drywall flaws look worse?
While satin finish is more reflective than flat paint, it does not create flaws; it simply reveals them. If your drywall work is perfectly smooth, a satin finish will look beautiful and professional. The issue only arises when the underlying surface preparation is not up to standard.
Can I use a different paint finish to hide seams?
Yes, switching to a flat or matte paint will significantly reduce the visibility of seams and drywall imperfections. Flat paint absorbs light, which masks the minor ridges and depressions that satin paint would otherwise highlight. This is often the preferred choice for walls that are not perfectly smooth.
How can I tell if my drywall seams are properly sanded?
The best way to check is to use a bright light, such as a work light or a strong flashlight, held parallel to the wall. This will cast shadows behind any high spots or into any low spots. If you can see a distinct shadow at the seam, it needs more sanding or another light coat of mud.
Is there a primer that helps hide drywall seams?
Yes, high-build primers or “drywall surfacers” are specifically designed to fill in minor surface imperfections. These products are thicker than standard primers and can help even out the texture between the paper tape and the surrounding drywall board, providing a better base for your topcoat.
Do I need to repaint the whole wall to fix one visible seam?
Not always, but it is often the most effective way to ensure a consistent appearance. While you can attempt to touch up a single spot, the sheen of the new paint might not perfectly match the aged paint on the rest of the wall. If you do touch up, be prepared to blend the paint well into the surrounding area.
Conclusion
Achieving a high-quality wall finish is a process that begins long before you open a bucket of paint. When a satin finish highlights drywall flaws and tape seams, it is acting as a signal that the surface preparation needs more attention. By focusing on the quality of your drywall taping, the thoroughness of your sanding, and the consistency of your priming, you can minimize the appearance of these common issues.
While satin paint offers excellent durability and washability, it demands a higher standard of craftsmanship than flat alternatives. Taking the time to properly prepare your walls will pay off in a smooth, professional result that stands up to any lighting condition, ensuring your home looks exactly the way you intended.