The “W” Pattern vs Vertical Columns: Which Roller Technique Covers Evenly?
{“title”:”The \”W\” Pattern vs Vertical Columns: Which Roller Technique Covers Evenly?”}
Choosing between the “W” pattern vs vertical columns when using a paint roller remains a foundational debate for anyone tackling a home renovation. Achieving a professional finish depends less on the brand of paint and more on how effectively you distribute it across a surface. While many DIY enthusiasts swear by the classic vertical stroke, others insist that creating geometric shapes provides better coverage.
Understanding the nuances of these techniques helps you avoid lap marks, streaks, and uneven texture. This article breaks down the mechanics of each method, helping you decide which approach suits your specific wall space and skill level for a flawless, uniform coat.
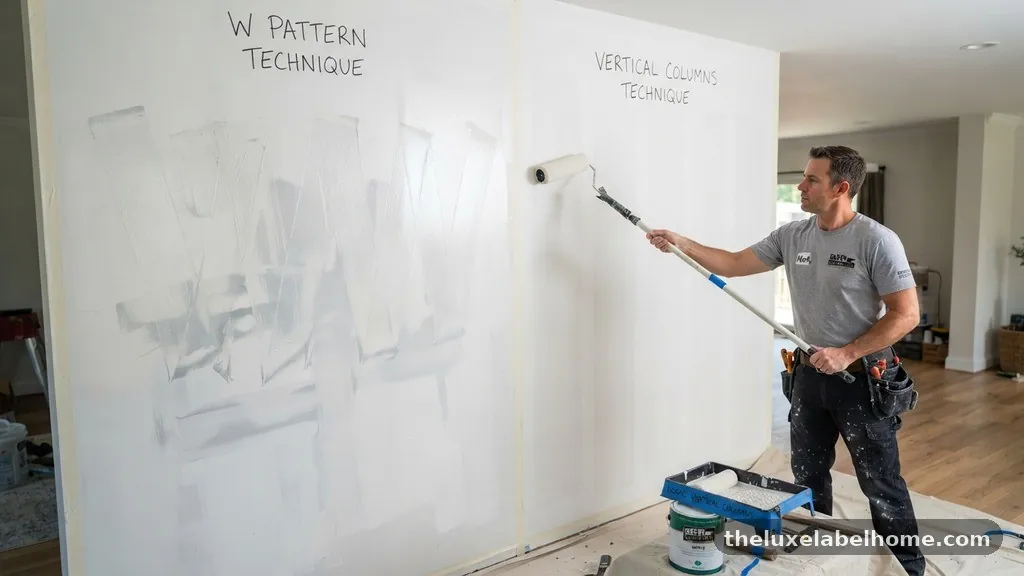
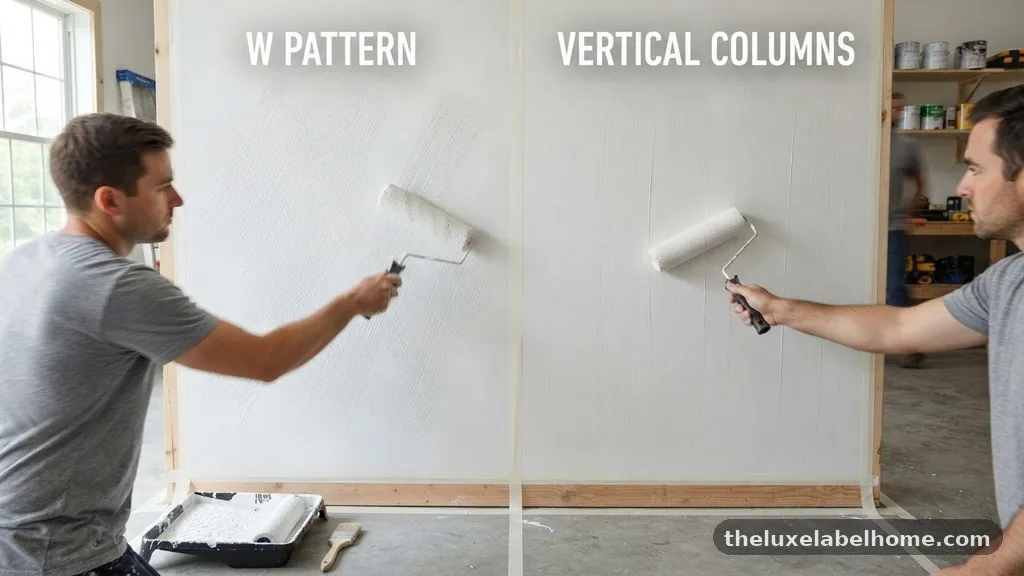
Deciding on the “W” pattern vs vertical columns comes down to how you manage paint distribution across a large surface area. If you want the most uniform coverage, the “W” pattern is generally superior because it forces the paint to disperse in multiple directions before you smooth it out. Vertical columns are easier to master for beginners but often lead to heavy buildup at the edges of each stroke.
When you roll in columns, you are essentially depositing paint in a single line, which makes it harder to blend the next section without leaving visible ridges. The “W” method breaks the surface into smaller, manageable zones that naturally distribute the load.
The “W” pattern involves rolling a large letter W onto the wall, followed by an N, to distribute paint across a roughly three-foot by three-foot section. You start by loading your roller cover with a generous amount of paint, ensuring it is saturated but not dripping. Instead of going straight up and down, you move the roller in a diagonal path to create the first leg of the letter.
This motion pushes the paint out from the center of the roller rather than trapping it in a single vertical path. By the time you complete the shape, you have effectively transferred a large volume of paint onto the wall without creating a thick, localized stripe.
Once the pattern is on the wall, the second phase of this technique is the “fill-in” process. You do not re-dip the roller; instead, you use the remaining paint on the cover to fill the gaps created by the W. You move the roller horizontally to spread the paint into the empty spaces, then finish with light vertical strokes.
This final step is crucial because it aligns the texture of the paint and removes any lingering roller marks. By working in these defined sections, you ensure that the paint stays wet enough to blend seamlessly into the next area.
The Logic of Vertical Columns
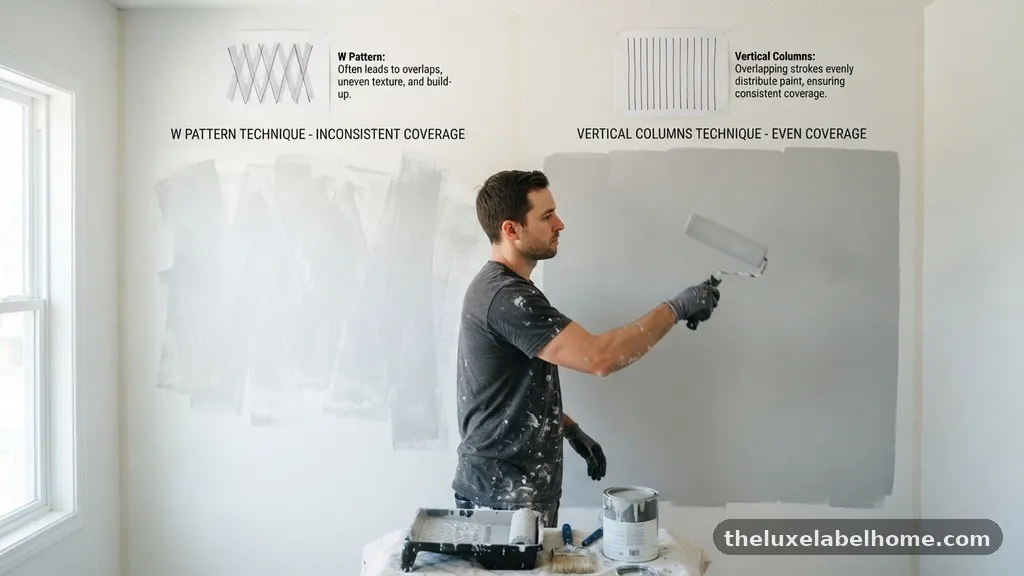
Rolling in vertical columns is the most intuitive method for most people, as it mimics the natural reach of the human arm. You start at the top of the wall and roll down to the baseboard, then lift the roller and repeat the process right next to the previous stripe.
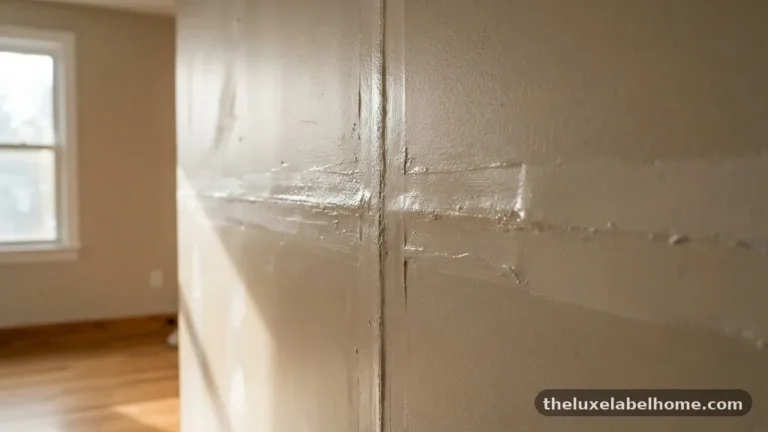
While this seems efficient, it often results in “roping,” where the edges of the roller leave a thick line of paint that dries faster than the center. These edges become visible once the paint starts to set, leading to an inconsistent finish that is difficult to correct once the wall is dry.
To make vertical columns work effectively, you must master the “lay-off” technique. This involves applying the paint in a column and then immediately going back over it with a very light, upward stroke to smooth out the texture. You must avoid pressing down hard on the roller, as heavy pressure creates the very ridges you are trying to avoid.
Many professionals use this method for smaller walls or tight spaces where a full W pattern would be physically awkward or impossible to execute. It requires a steady hand and a keen eye to ensure that each column overlaps the previous one just enough to blend without doubling the thickness.
Comparing Coverage Effectiveness
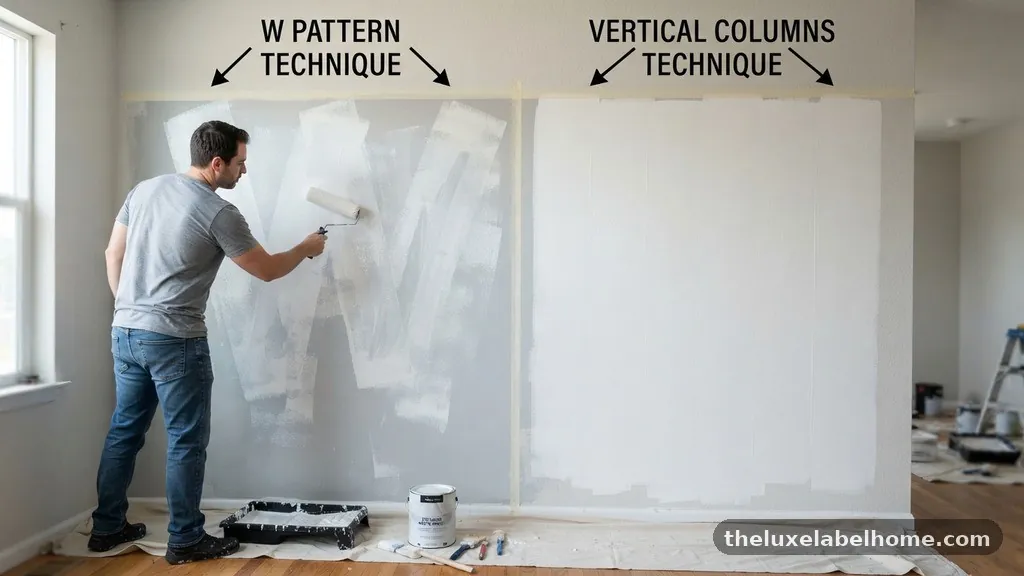
When comparing the “W” pattern vs vertical columns, the primary metric is the consistency of the film build. A uniform film build ensures that the color appears identical across the entire surface and that the sheen remains constant.
Paint that is applied too thickly in one area and too thinly in another will reflect light differently, making the wall look patchy. The table below highlights how these two common techniques differ in terms of application speed, finish quality, and the likelihood of leaving lap marks.
| Feature | W Pattern | Vertical Columns |
|---|---|---|
| Coverage Uniformity | High | Moderate |
| Speed of Application | Moderate | |
| Risk of Lap Marks | Low | |
| Skill Requirement | Intermediate |
The W pattern creates a more randomized distribution, which is naturally more forgiving. Because you are crossing your own paths, any minor errors in pressure are smoothed out as you work through the section. Vertical columns are highly predictable, which means that if your technique is flawed, that flaw is repeated perfectly across the entire room.
If you are using a high-sheen paint, such as semi-gloss or satin, the differences between these methods become even more pronounced. High-sheen products highlight every imperfection, making the superior distribution of the W pattern a significant advantage for those finishes.
The Importance of Proper Tooling
Regardless of the technique you choose, the quality of your roller cover dictates the outcome. A high-quality roller cover holds more paint and releases it more evenly than a cheap, synthetic alternative.
You should select a nap length that matches the texture of your wall; a smooth wall requires a shorter nap, like 3/8 inch, while a textured wall needs a longer nap, such as 1/2 inch or 3/4 inch. If you use the wrong nap, you will struggle to get the paint into the surface depressions, no matter which pattern you use.
Before you begin, it is essential to “prime” your roller cover. Many people skip this step, but dipping a dry roller directly into paint leads to uneven saturation. You should dampen the roller cover slightly with water (if using latex paint) and roll it out on a screen or a piece of cardboard to ensure the fibers are uniformly loaded.
This preparation step is a common practice found in guidelines for professional interior painting. A well-prepared roller acts as a reservoir, allowing you to maintain a consistent flow of paint throughout the entire section you are working on.
Managing Edges and Corners
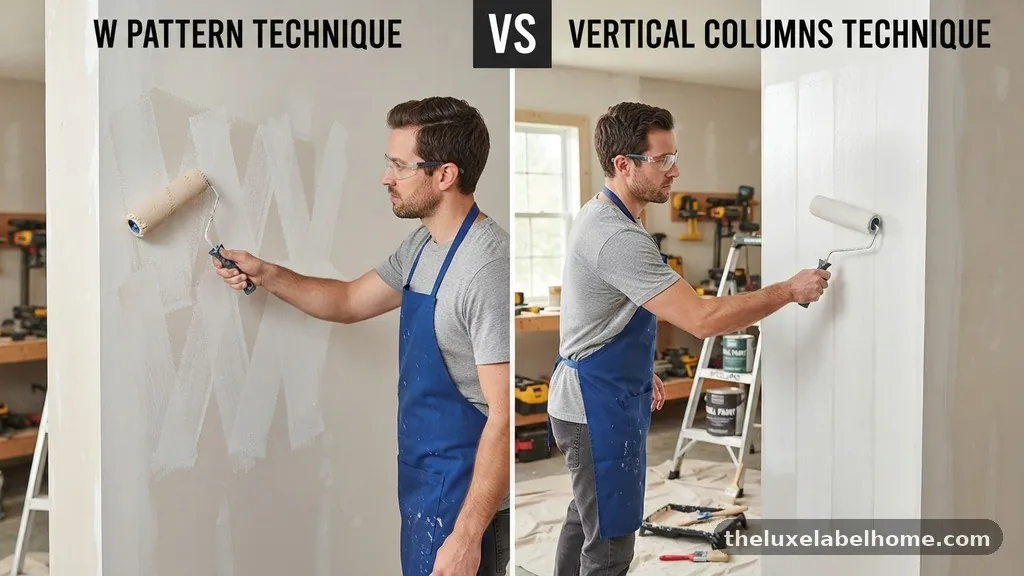
Cutting in is the process of painting the edges, corners, and areas around trim before you start rolling the main wall. This is a critical prerequisite to both the W pattern and vertical columns. You must ensure that the paint you use for cutting in is still wet when you bring the roller up to the edge.
If the cut-in paint dries, you will end up with a “picture frame” effect, where the border of the wall looks different from the center. This is often caused by the paint having a different texture or thickness because it was applied with a brush rather than a roller.
To avoid this, work in small sections rather than cutting in the entire room at once. Paint one wall, then immediately roll it before moving to the next. This keeps the wet edge alive and allows the roller to blend the paint from the brush work into the main body of the wall.
When using the W pattern, ensure your roller gets close to the cut-in area without bumping into the trim, which can cause paint to squeeze out and create a messy drip. If you are using vertical columns, be sure to overlap the brush marks with your first vertical stroke to hide the transition point.
Common Mistakes to Avoid
One of the most frequent errors is overloading the roller, which leads to drips and heavy texture. When you dip the roller, you should roll it back and forth on the screen of the paint tray until it is evenly coated. If the roller is dripping, you have too much paint, and you will eventually have to deal with unsightly runs.
Another common mistake is pushing too hard on the roller handle. You want the paint to transfer from the cover to the wall, not to be ground into the surface by excessive force.
Using a roller that is too dry is just as problematic as one that is too wet. If you hear a “tearing” or “sticky” sound as you roll, your roller cover is starved for paint. This causes the roller to pull up the paint you just applied, leaving thin spots and uneven patches.
You should aim for a smooth, gliding motion. If you feel resistance, stop and reload the roller. Regularly checking the progress of your work by looking at the wall from an angle will help you spot these dry patches before the paint sets.
Environmental Factors and Drying Time
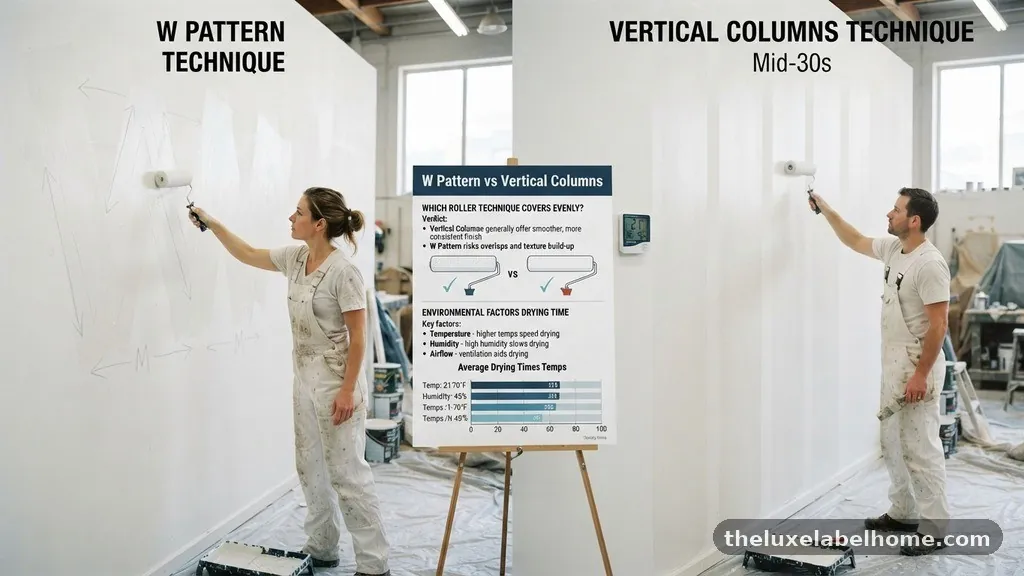
The temperature and humidity of the room affect how paint behaves on the wall. In hot, dry conditions, paint dries very quickly, which makes it harder to blend your W pattern or vertical columns.
You may need to add a small amount of an extender to your paint to increase the “open time,” which is the window during which you can work the paint. In cooler, humid conditions, paint stays wet longer, which is generally better for achieving a smooth finish but requires more patience.
Always keep an eye on the drying time, especially if you are working on a large wall. If you are using the W pattern, you must complete the entire section before moving on. If you stop halfway through to take a break, the paint will begin to dry, and you will be unable to blend the next section into the first.
This creates a “lap mark” that will be visible regardless of how good your technique is. Plan your work so that you can finish one full wall in a single session without significant interruptions.
Choosing the Right Technique for Your Wall
The size and shape of your wall should influence your choice of technique. For tall, narrow walls, the W pattern can feel cramped, and vertical columns might be more efficient.
For wide, expansive walls, the W pattern is almost always the better choice because it prevents you from having to carry a single vertical line across a massive distance. You can also mix techniques, using the W pattern for the main body of the wall and vertical strokes for the final smoothing pass.
You should consider the following factors when selecting your approach:
The Role of Roller Pressure
The amount of pressure you apply to the roller is the invisible factor that separates a DIY job from a professional one. When you apply the paint, your pressure should be firm enough to release the pigment but light enough to keep the roller spinning.
If the roller is skidding rather than rolling, you are applying too much pressure or using too little paint. This skidding motion creates streaks and uneven texture that are difficult to fix once the paint begins to dry.
As you finish a section, your final strokes should be extremely light. Think of it as “kissing” the surface of the wall with the roller. These final passes are meant to align the stipple, which is the texture left behind by the roller nap.
If you press too hard during this stage, you will leave distinct roller marks that will be visible when the light hits the wall. Mastering this light touch is the key to achieving that perfectly flat, uniform look that everyone wants.
Final Finishing and Inspection
After you have covered the wall, perform a final inspection while the paint is still wet. Use a bright light held at an angle to the wall to illuminate any missed spots or uneven areas.
If you find a patch that is thin, you can lightly touch it up with a small amount of paint, but do so carefully. The goal is to avoid creating a new, thicker spot that will stand out once the paint dries.
If you find that you have made a mistake, it is often better to leave it alone until the first coat is completely dry. Trying to “fix” a half-dry wall usually results in more damage than the original mistake.
You can address any remaining issues during the second coat. When applying the second coat, you can use the same technique you used for the first, which will naturally fill in any thin areas or inconsistencies from the initial application.
Frequently Asked Questions
Do I really need to use the W pattern for every wall?
No, the W pattern is most beneficial for large, open wall spaces where maintaining a wet edge is difficult. For small walls or rooms with lots of corners and trim, simple vertical strokes are often perfectly adequate and much easier to manage.
How do I stop my roller from leaving thick lines at the edges?
These lines are usually caused by applying too much pressure on the roller handle. Try to use a lighter touch, especially on the final pass, and ensure your roller cover is high-quality with a nap that matches your wall surface.
Is it better to paint vertically or horizontally?
You should always focus on the distribution of the paint rather than a specific direction. The W pattern uses both diagonal and horizontal movements to distribute the paint, while vertical columns focus on a single direction, but the goal is always to achieve a uniform film build.
Why does my paint look streaky after it dries?
Streaks are typically caused by uneven paint application or failing to “lay off” the paint correctly. If you don’t go back over your work with a final, light stroke, the roller marks from the initial application will remain visible in the finished surface.
How much paint should I load on the roller?
The roller should be fully saturated but not dripping. If you see paint running down the roller handle or dripping onto the floor, you have loaded too much. Use the screen in your paint tray to remove the excess before you start rolling.
Conclusion
Mastering the balance between the W pattern vs vertical columns is a skill that improves with every project. While the W pattern is technically superior for achieving a uniform film build on large surfaces, the vertical column method remains a reliable choice for smaller areas when performed with a light touch. The key to success is not just the pattern you choose, but your consistency in pressure, the quality of your roller cover, and the care you take in blending your edges.
By focusing on these fundamentals, you ensure that your paint job looks professional and lasts for years to come. Practice on a small area or a piece of drywall to see which motion feels most natural for your painting style.