Why Is Water Dripping Down Yellow Droplets on Painted Bathroom Walls?
When you notice water dripping down yellow droplets on painted bathroom walls, it can be startling. You might mistake these marks for a plumbing leak or a sign of severe mold growth. In reality, this phenomenon is a common chemical reaction known as surfactant leaching.
It occurs when moisture interacts with the ingredients in your wall paint. Understanding why this happens will help you address the issue effectively and protect your bathroom surfaces from future damage.
The Science of Surfactant Leaching
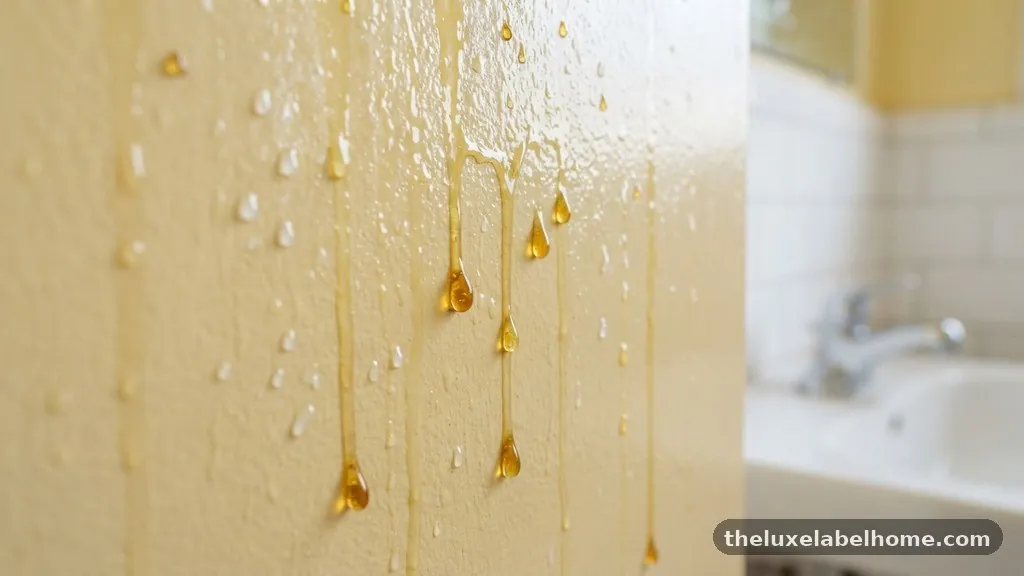
Surfactant leaching happens when the additives in water-based paints migrate to the surface. These surfactants are essential for keeping the paint stable in the can and ensuring it flows smoothly during application.
When the paint cures, these chemicals are supposed to evaporate or become locked into the film. However, high humidity levels in a bathroom can disrupt this process.
When you take a hot shower, the steam creates a humid environment that settles on your walls. This moisture acts as a solvent, drawing the unevaporated surfactants out of the paint film.
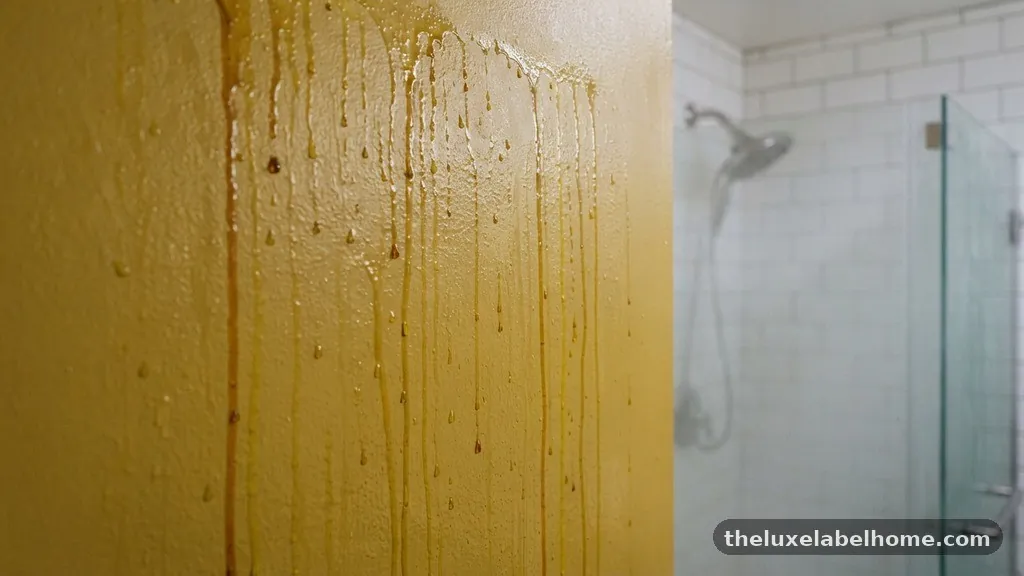
As these chemicals collect on the surface, they mix with the water to form droplets. Because these surfactants often have a yellowish or brownish tint, the resulting streaks look like honey or oil running down your walls.
This process is most common in rooms with poor ventilation. If the steam cannot escape, it remains on the walls for an extended period, allowing the leaching to intensify.
While it looks concerning, it is usually a cosmetic issue rather than a structural one. The paint isn’t necessarily failing; it is simply reacting to its environment.
Why High Humidity Triggers Yellowing
High humidity is the primary catalyst for this chemical reaction. Bathrooms are naturally prone to moisture, but if your ventilation system is inadequate, the air stays saturated for too long.
Paints are designed to dry and cure within a certain timeframe. If the ambient air is too wet, the drying process slows down significantly.
During this extended drying period, the surfactants remain mobile within the paint film. They have more time to travel to the surface rather than staying bound within the pigment.
This is why you often notice these yellow droplets appearing shortly after a fresh coat of paint has been applied. The paint may look dry to the touch, but the internal chemistry is still settling.
Even in older paint jobs, humidity can trigger a delayed reaction. If the paint was applied in less-than-ideal conditions, some surfactants might remain dormant for months.
A particularly long, hot shower or a period of high outdoor humidity can provide the final push needed to draw those chemicals out. You can learn more about how indoor air quality and moisture management impact home surfaces through resources like the Environmental Protection Agency’s guidance on indoor air quality.
Common Indicators of Surfactant Leaching
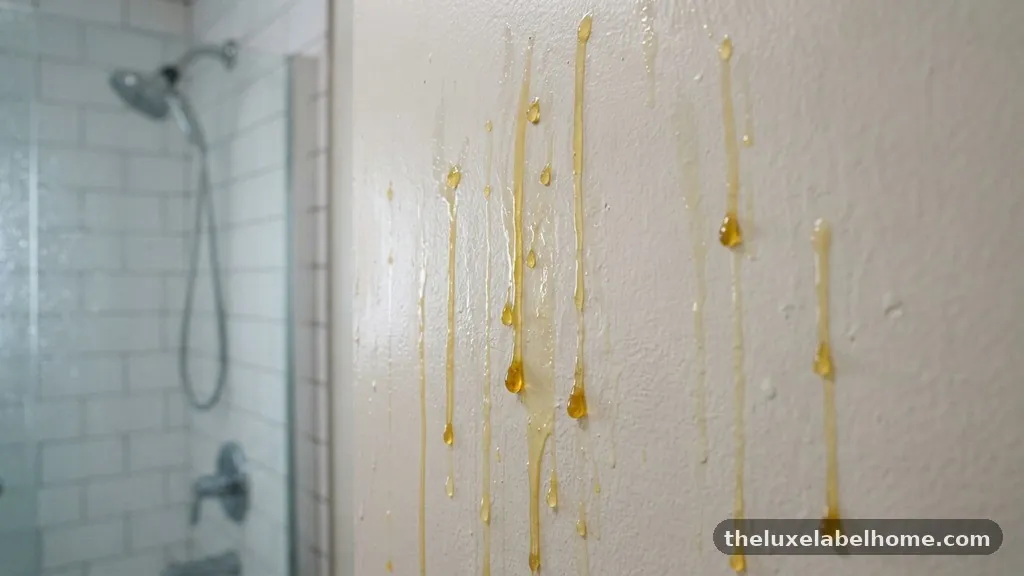
Identifying this issue is usually straightforward if you know what to look for. The droplets typically appear as irregular, vertical streaks that look like tea or amber-colored oil.
They are often sticky to the touch, which helps distinguish them from simple water condensation or dust. Unlike mold, which usually presents as fuzzy spots, these drips are liquid-based and uniform in their flow.
The streaks are most prominent in areas where steam collects, such as near the shower stall or above the vanity mirror. Because the droplets are water-soluble, they can be wiped away with a damp cloth.
If the marks return in the same spot after cleaning, it confirms that the leaching is still occurring from within the paint layer. This is a clear indicator that the paint was not allowed to cure properly or that the environment is consistently too damp.
| Feature | Surfactant Leaching | Mildew/Mold |
|---|---|---|
| Appearance | Yellow/Brown streaks | Black/Green fuzzy spots |
| Texture | Sticky or tacky | Dry or powdery |
| Removal | Wipes off with water | Requires specialized cleaner |
| Cause | Chemical migration | Fungal growth |
Steps to Remove Yellow Droplets
Removing these drips is relatively easy because they are water-soluble. You do not need harsh chemicals or abrasive scrubbing to get rid of them.
A simple cleaning routine is usually enough to restore the look of your walls. Start by using a soft, lint-free cloth dampened with warm water to gently wipe the area.
If the yellow residue is stubborn, you can use a mild solution of dish soap and water. Ensure you do not scrub too hard, as you do not want to damage the paint finish itself.
After cleaning, dry the wall thoroughly with a clean towel to ensure no moisture remains. If you leave the area wet, you are simply inviting the leaching process to start over immediately.
In some cases, the droplets might leave a faint shadow even after cleaning. This is common if the surfactants have been sitting on the wall for a long time.
If this happens, a light touch-up with the original paint may be necessary. However, wait until the wall is completely dry and the humidity is under control before applying any new layers.
Preventing Future Leaching Issues
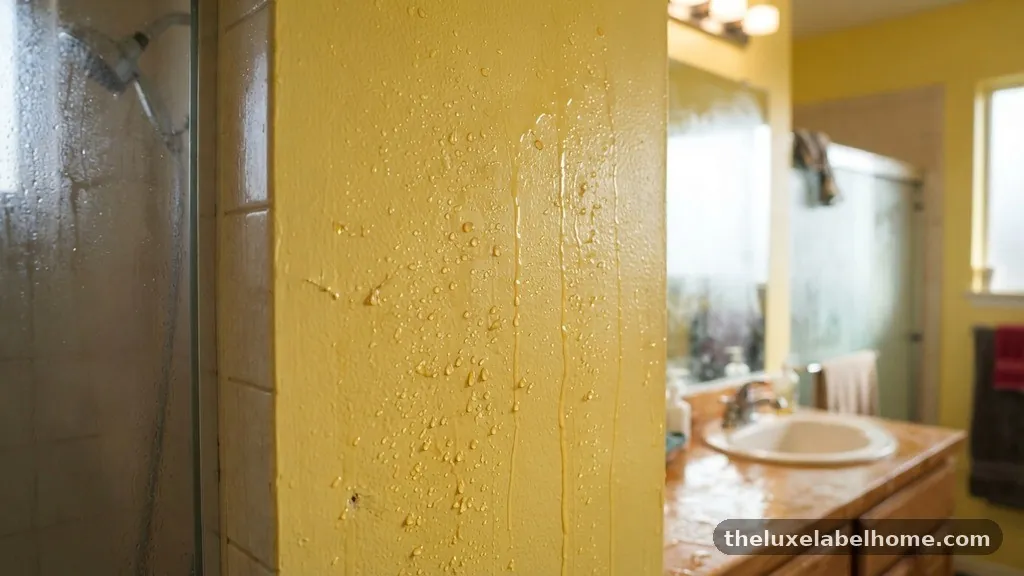
To prevent water dripping down yellow droplets on painted bathroom walls, you must control the environment. The most effective way to do this is by improving your bathroom’s ventilation.
Always run your exhaust fan during showers and leave it on for at least 20 to 30 minutes afterward. This ensures that the moisture is pulled out of the air before it can settle on your walls.
If you don’t have an exhaust fan, consider opening a window or using a dehumidifier. These tools help maintain a lower moisture level, which keeps the surfactants trapped within the paint film where they belong.
Another proactive step is to ensure that your paint is fully cured before you subject it to high-heat, high-humidity conditions. Most high-quality interior paints need at least two weeks to reach their full cure hardness.
Choosing the right paint for the bathroom is also critical. Look for products that are specifically labeled for high-humidity areas.
These paints are formulated with different binders and surfactant packages that are more resistant to moisture. Investing in a high-quality, moisture-resistant finish can save you a significant amount of cleaning and maintenance time in the long run.
The Role of Paint Quality
Not all paints are created equal when it comes to moisture resistance. Budget-friendly paints often contain higher concentrations of surfactants to compensate for lower-quality pigments and binders.
These paints are more susceptible to leaching because the chemical balance is less stable. When you choose a premium interior paint for your bathroom, you are paying for a more robust chemical structure.
Manufacturers design high-end bathroom paints to resist the migration of these additives. They use more durable resins that lock the components in place once the paint dries.
While these paints might cost more per gallon, they significantly reduce the likelihood of seeing yellow drips on your walls. If you are painting a bathroom, avoid standard flat paints that lack moisture resistance.
Instead, opt for a semi-gloss or high-gloss finish. These sheens have a tighter, less porous structure that makes it harder for moisture to penetrate the surface.
A smoother finish also makes it easier to wipe away any droplets that do manage to form. This combination of better chemistry and a tighter finish provides the best defense against surfactant issues.
When to Consider Repainting
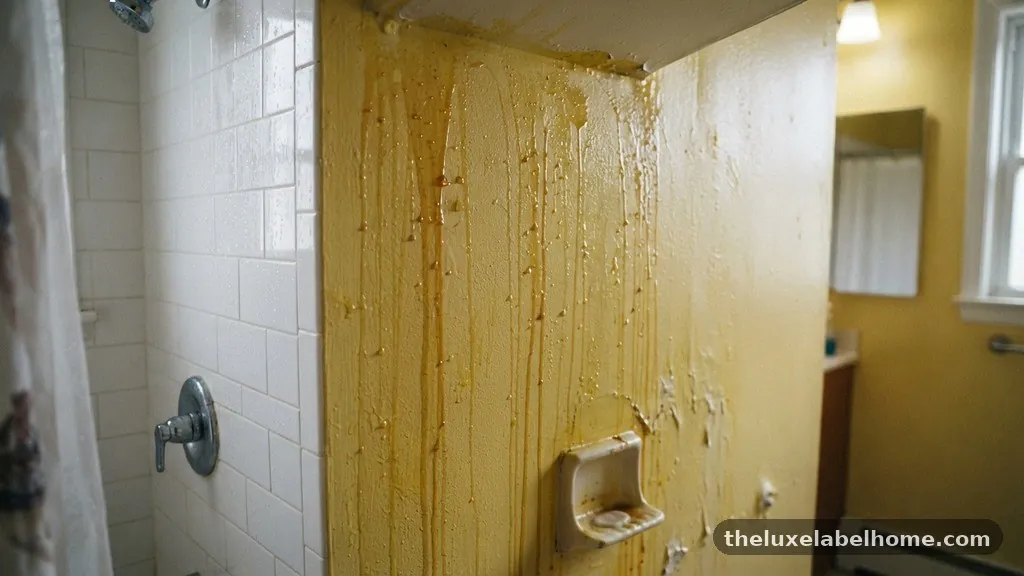
If you find that your walls are constantly covered in yellow streaks, it may be time to repaint. Constant leaching can eventually degrade the integrity of the paint film.
Once the surfactants have migrated out, the paint may become brittle or develop a chalky texture. At this point, no amount of cleaning will fix the underlying issue.
Before you repaint, you must ensure the wall is perfectly clean and dry. Use a mild detergent to remove any residual surfactants, as they can prevent new paint from adhering properly.
You may also want to apply a high-quality, moisture-resistant primer before putting on the final coat. A good primer acts as a barrier, sealing the surface and providing a solid base for the topcoat to bond.
Choosing the right time of year to paint is also important. Aim to paint during a period of low humidity, such as late spring or early autumn.
This allows the paint to cure in optimal conditions, which significantly reduces the risk of future leaching. If you must paint during a humid season, use a dehumidifier in the room to control the drying environment.
The Impact of Poor Ventilation
Poor ventilation is the silent culprit behind many bathroom wall problems. If steam lingers in the air, it creates a cycle of condensation that wears down your paint over time.
This isn’t just about yellow droplets; it is also about preventing mold and peeling paint. A properly ventilated bathroom should feel dry within an hour of your shower usage.
If your current exhaust fan is loud or ineffective, it might be time for an upgrade. Modern fans are much quieter and more efficient than older models.
Look for a unit with a high CFM (cubic feet per minute) rating that matches the square footage of your bathroom. Installing a humidity-sensing switch can also help by automatically turning the fan on when it detects moisture.
Remember that ventilation is not just about the fan; it is about airflow. Ensure that your bathroom door has a gap at the bottom to allow air to be pulled in from the rest of the house.
If the door is sealed too tightly, the fan will struggle to pull air through the room. This simple adjustment can significantly improve the performance of your ventilation system.
Common Misconceptions About Drips
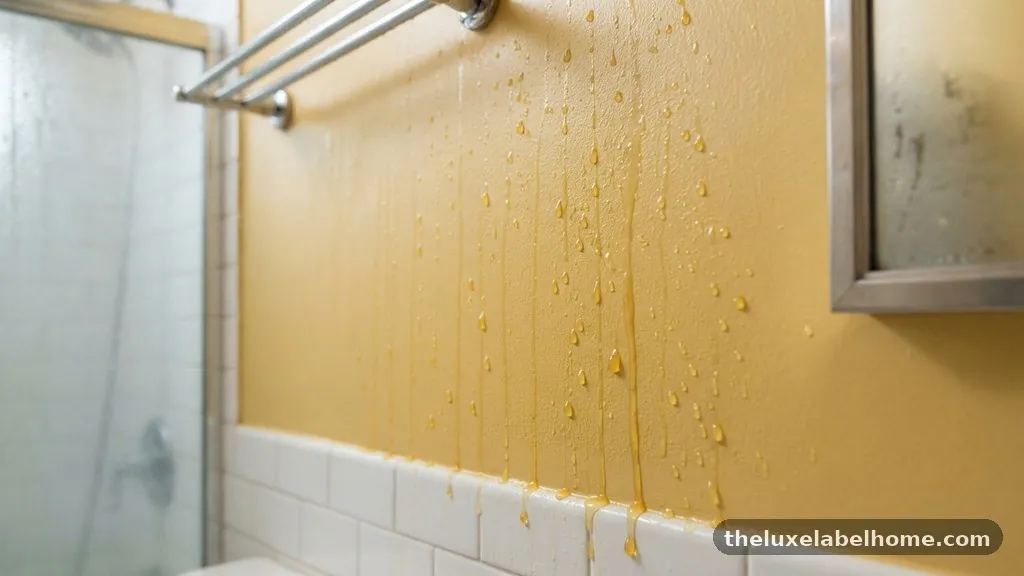
Many homeowners panic when they see these yellow stains, assuming they have a major plumbing leak behind the drywall. While you should always rule out leaks, surfactant leaching is a very distinct phenomenon.
Plumbing leaks usually occur near pipes or fixtures and are often accompanied by bubbling or soft drywall. Leaching, by contrast, is usually surface-level and appears across wide areas of the wall.
Another common misconception is that these droplets are toxic or dangerous. While you should avoid ingesting them or getting them in your eyes, they are generally not considered hazardous in a residential setting.
They are simply chemical additives that have migrated to the surface. Once you wipe them away and address the humidity, the issue is resolved.
You should also be aware that using harsh cleaners can make the problem worse. Bleach or heavy chemical cleaners can break down the paint film even further, making it easier for more surfactants to leak out in the future.
Stick to gentle soap and water for your regular cleaning routine. If the stains persist, it is a sign that the paint itself needs attention, not that you need a stronger cleaner.
Key Maintenance Strategies
Maintaining your bathroom walls requires a proactive approach. Beyond cleaning, you should periodically inspect your walls for signs of wear.
If you notice any areas where the paint is starting to peel or bubble, address them immediately. These spots are often where moisture is penetrating the surface and starting the leaching process.
Keep a list of simple tasks to perform every few months to keep your bathroom in top shape.
Regular maintenance prevents minor issues from becoming major repairs. By keeping the surfaces clean and the humidity levels managed, you extend the life of your paint job.
This also ensures that your bathroom remains a clean and inviting space. Do not wait for the yellow droplets to become a permanent stain before you take action.
FAQ Section
Are these yellow drips a sign of a roof leak?
It is unlikely, although you should always check. Roof leaks typically cause water to pool and create dark, water-stained rings on the ceiling. Surfactant leaching is usually a streaky, sticky, and yellow-colored substance that appears on walls after high-humidity events like hot showers.
Can I just paint over the yellow droplets?
No, you should never paint over them directly. If you don’t clean the surface first, the new paint will not adhere, and the surfactants will likely bleed through the new layer. Clean the wall thoroughly with mild soap and water, let it dry completely, and then apply a primer before repainting.
Why do these droplets only appear in my master bathroom?
This usually happens because your master bathroom is likely used more frequently and for longer periods. Higher usage leads to more steam, which increases the humidity levels and triggers the leaching process. Your other bathrooms may not experience this because they don’t see the same volume of hot water usage.
Does the color of the paint affect the likelihood of leaching?
While all water-based paints contain surfactants, the yellow streaks are much more noticeable on white or light-colored walls. On darker paints, the streaks may appear as a glossy or tacky patch rather than a distinct yellow line. Regardless of color, the underlying chemical reaction remains the same.
Is there any way to stop the leaching without repainting?
If the leaching is minor, you can often stop it by simply managing the humidity better. By consistently using an exhaust fan and keeping the room dry, you may prevent further surfactants from migrating to the surface. Once the initial batch is cleaned off and the environment is controlled, the problem often stops on its own.
Conclusion
Dealing with water dripping down yellow droplets on painted bathroom walls is a common hurdle for many homeowners. By recognizing that this is a result of surfactant leaching rather than a structural failure, you can approach the problem with confidence. Improving your bathroom’s ventilation and choosing high-quality, moisture-resistant paint are the most effective ways to stop these marks from appearing.
If you find yourself cleaning these streaks frequently, remember to prioritize moisture control and allow your paint time to cure. With these steps, you can keep your bathroom walls clean and maintain the integrity of your home’s finish. If you have any further concerns about the state of your walls, a professional painter can offer specific advice based on the condition of your home’s interior surfaces.