Why Is Your Fresh Wall Paint Bubbling and Blistering (Causes & Fixes)?
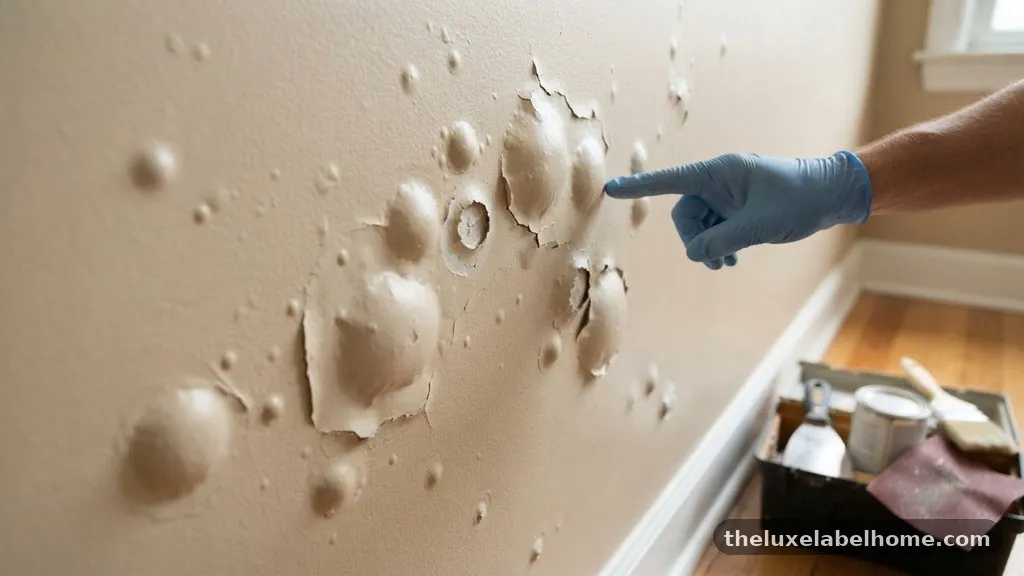
Dealing with your fresh wall paint bubbling and blistering (causes & fixes) is a common frustration for homeowners who expected a smooth, professional finish. Whether you are tackling a DIY project or managing a professional crew, seeing those small pockets of air or liquid trapped under the surface can be disheartening. These defects usually stem from environmental factors, poor surface preparation, or issues with the product itself.
Understanding why this happens is the first step toward correcting the damage and preventing it from recurring. This article provides the technical insight you need to diagnose the root cause and apply the correct repair techniques to achieve a long-lasting, durable finish on your walls.
Identifying the Core Causes of Paint Failure
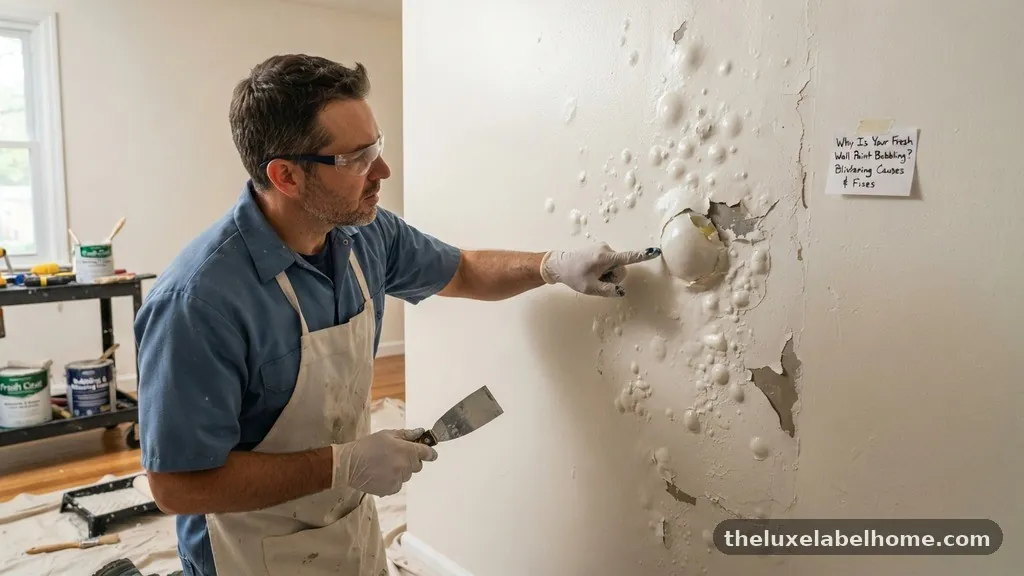
The primary reason you encounter your fresh wall paint bubbling and blistering (causes & fixes) is the loss of adhesion between the paint film and the substrate. When the bond breaks, the gas or liquid trapped underneath pushes the paint outward, creating a blister. This failure often occurs because the surface was not properly cleaned or primed before application.
Dust, grease, and microscopic contaminants act as a barrier that prevents the paint from anchoring to the wall. If you paint over a dirty surface, the finish will inevitably fail as the environment changes.
Moisture is perhaps the most frequent culprit behind paint blisters in both interior and exterior settings. When water vapor gets trapped behind the paint film, it exerts pressure, causing the coating to lift. This is common in rooms with high humidity like bathrooms or kitchens where steam is prevalent.
In exterior applications, sunlight can heat up the trapped moisture, causing it to expand rapidly and force the paint off the wall. Recognizing these environmental stressors is essential for any successful painting project.
The Role of Surface Preparation
Proper preparation is the single most significant factor in preventing paint bubbles. Many people skip the cleaning phase, assuming a quick wipe is sufficient, but professional results require a thorough approach. You must ensure the wall is free of all oils, soap residues, and loose debris before applying any primer.
If you are painting over glossy surfaces, you must sand the area to create a “tooth” that allows the new layer to grip firmly. Without this mechanical bond, the paint is essentially sitting on top of the surface rather than becoming part of it.
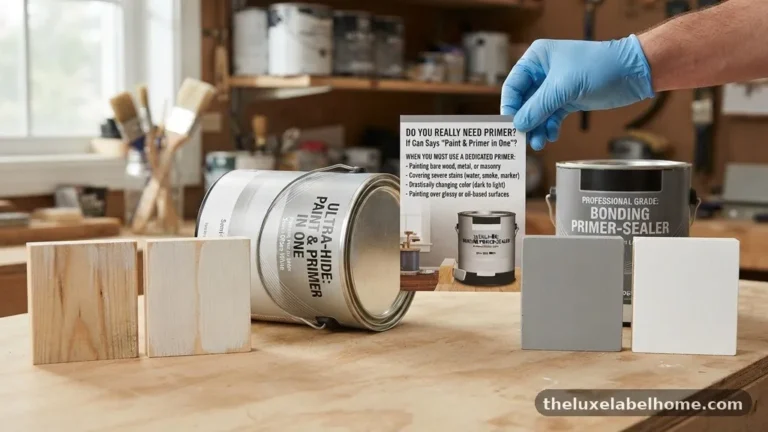
Using a high-quality primer is non-negotiable when dealing with porous or problematic surfaces. A good primer acts as a bridge between the substrate and the topcoat, sealing the surface and preventing moisture migration. If you skip this step, the paint may absorb unevenly or fail to adhere to patches of drywall compound.
Always check the manufacturer’s recommendations for the specific type of wall you are painting. Taking the extra time to prime correctly will save you hours of corrective work later.
Environmental Factors and Heat Exposure
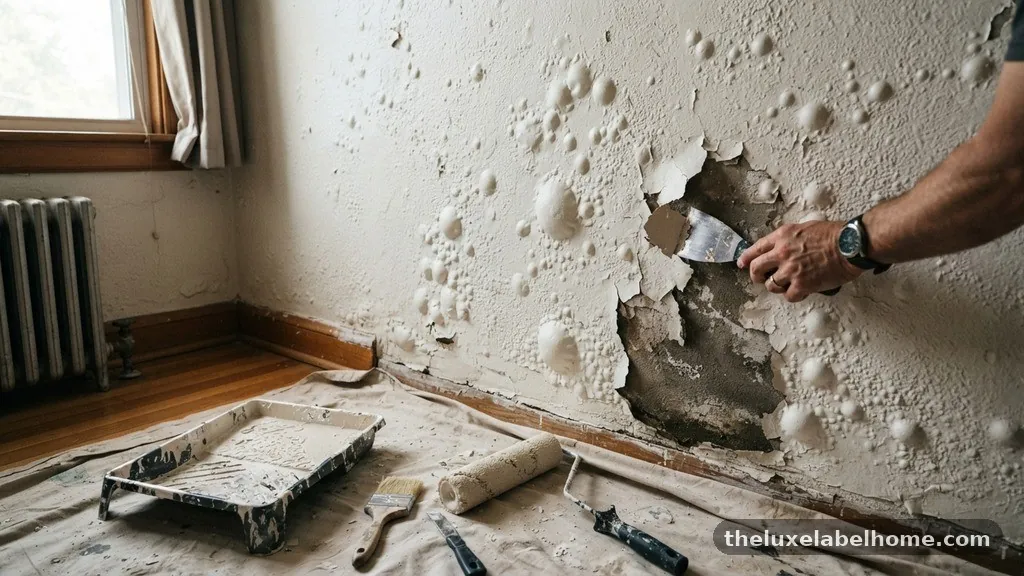
Temperature fluctuations play a massive role in why your fresh wall paint bubbling and blistering (causes & fixes) occurs. Applying paint in direct, intense sunlight can cause the exterior surface to dry far too quickly while the underlying layers remain wet. This “skinning over” traps solvents or moisture inside, which eventually leads to the formation of blisters.
It is vital to monitor the surface temperature before you begin your project. Most manufacturers recommend painting when the surface is between 50 and 90 degrees Fahrenheit.
Humidity levels also dictate the success of your paint job. High humidity slows down the evaporation process, which can lead to a soft, unstable film that is prone to bubbling. Conversely, if the air is too dry, the paint may dry before it has a chance to level out properly.
If you are working in a space where you cannot control the ambient environment, consider using a dehumidifier or a fan to circulate air. Controlling the environment is just as important as choosing the right paint product.
Choosing the Right Paint and Application Tools
Not all paints are created equal, and using a low-quality product can lead to premature failure. Budget-friendly paints often have a lower ratio of binders and pigments, which makes the resulting film less flexible and more susceptible to environmental stress. When the paint film lacks the necessary elasticity, it cannot expand and contract with the wall as temperatures change.
Investing in a higher-grade, 100% acrylic latex paint provides better durability and resistance to moisture. These products are engineered to withstand the natural movement of building materials.
The tools you use for application also impact the integrity of the finish. Using a low-quality roller cover can introduce air bubbles into the paint as you apply it, which may not settle out before the paint begins to dry. Always use the nap size recommended by the paint manufacturer for the specific texture of your wall.
Additionally, ensure you are not over-brushing or over-rolling the paint. Excessive manipulation of the paint as it starts to dry can create air pockets that manifest as blisters once the surface hardens.
Moisture Management in the Home
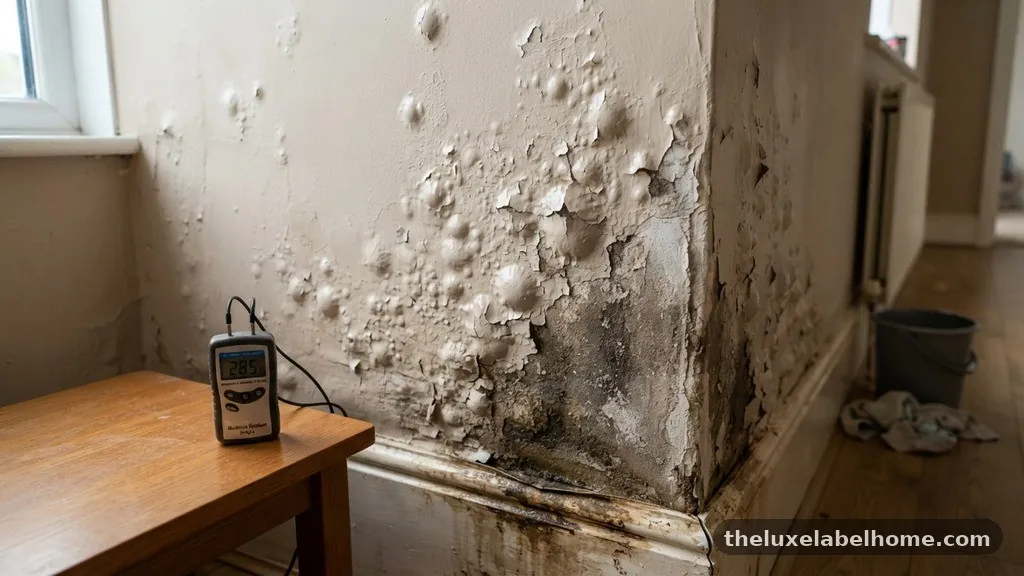
If you find your fresh wall paint bubbling and blistering (causes & fixes) recurring in the same room, you likely have a moisture management issue. Bathrooms and kitchens are high-risk zones that require specific types of paint and ventilation. Installing or upgrading exhaust fans is one of the most effective ways to reduce humidity levels.
These fans pull moisture-laden air out of the room before it has a chance to settle on your walls. If you do not have proper ventilation, even the best paint job will struggle to stay attached.
Check for hidden leaks behind your walls if you notice persistent bubbling. Sometimes, the source of the moisture is not condensation, but a slow leak in a pipe or a breach in the building’s exterior envelope. If the wall feels soft or damp to the touch, you must address the leak before you even think about repainting.
Painting over a leak is merely a cosmetic bandage that will fail as soon as the moisture builds up again. Always investigate the underlying cause of dampness to ensure a permanent solution.
Repairing Existing Blisters
When you encounter bubbles, you must remove them entirely to fix the issue. Start by using a sharp putty knife to scrape away the loose, bubbling paint until you reach a stable, well-adhered edge. If the blisters are extensive, you may need to use a heat gun, but be cautious not to scorch the underlying surface.
Once the loose material is removed, sand the edges of the remaining paint to create a smooth transition. This feathering process prevents the ridge of the old paint from showing through your new topcoat.
After sanding, clean the area thoroughly to remove all dust and debris. If you have exposed bare drywall or plaster, you must prime these areas with a stain-blocking or moisture-resistant primer. Allow the primer to dry completely according to the manufacturer’s instructions before applying your finish paint.
For the best results, use the same paint brand and color you used for the original application to ensure a seamless color match. If you have to patch a deep gouge, use a high-quality spackle or drywall compound, and prime it before painting.
Comparing Common Paint Failures
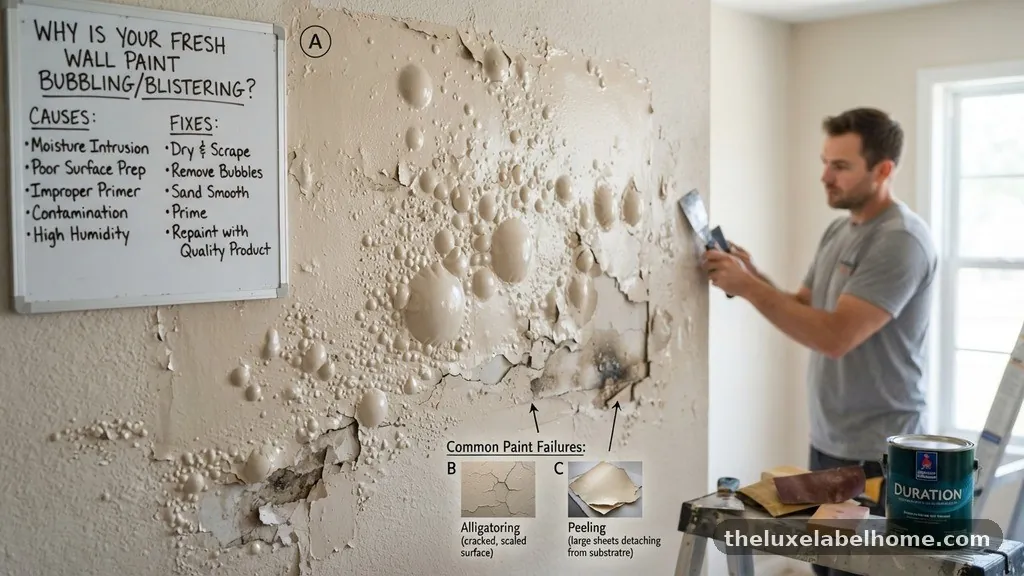
Understanding the difference between bubbling and other types of paint failure can help you decide on the correct repair strategy. While blistering is specifically related to trapped air or moisture, other issues like peeling or cracking may require different approaches. Use the table below to compare common paint problems and their primary triggers to ensure you are treating the right issue.
| Failure Type | Visual Indicator | Primary Cause |
|---|---|---|
| Blistering | Raised, rounded pockets | Moisture or trapped gas |
| Peeling | Large strips falling off | Poor adhesion or dirty surface |
| Cracking | Spiderweb-like fissures | Paint is too old or brittle |
| Chalking | Powdery residue on surface | UV degradation of binders |
Safety Considerations During Repairs
When you are scraping or sanding old paint, you must be aware of potential hazards, especially in older homes. If your home was built before 1978, there is a significant risk that the paint contains lead. Inhaling lead dust during the sanding process can be dangerous, so you should test the paint before you begin any removal.
Use a lead test kit, which is readily available at most hardware stores. If the test comes back positive, do not attempt to sand or scrape the paint yourself.
Instead, contact a professional who is certified in lead-safe work practices. These professionals have the specialized equipment and containment procedures necessary to protect your family from toxic dust. Even if the paint is lead-free, you should always wear an N95 respirator mask and safety goggles when sanding.
Protecting your lungs and eyes from fine particulate matter is just as important as achieving a smooth finish. Always prioritize safety over the speed of your project.
Preventing Future Damage
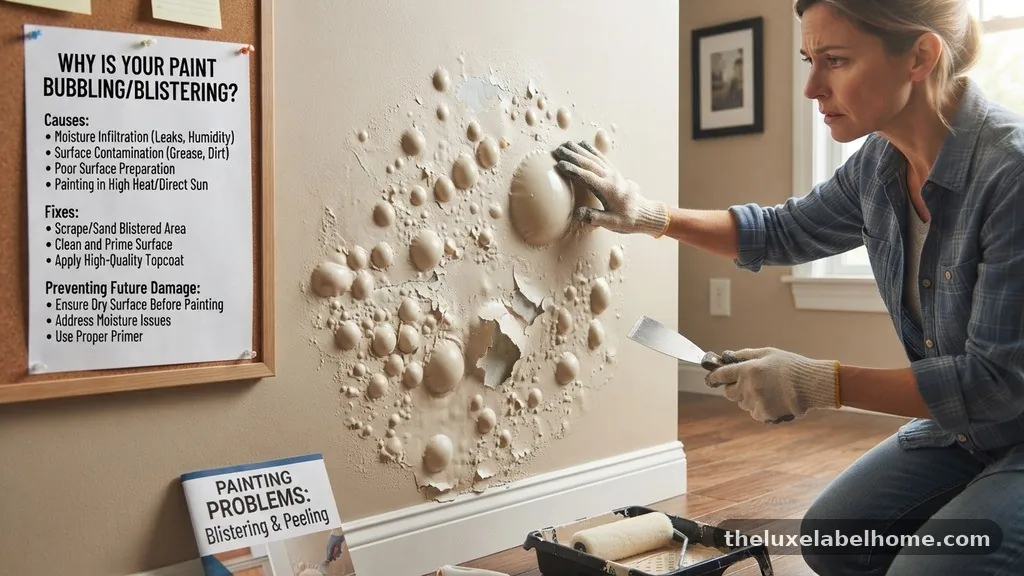
The best way to avoid having to deal with your fresh wall paint bubbling and blistering (causes & fixes) is to take preventative measures during the initial application. Always ensure the walls are completely dry before you start.
If you have recently performed drywall repairs, give the joint compound at least 24 hours to cure before priming. Using a moisture-meter can give you a concrete reading of the wall’s moisture content, ensuring it is ready for paint.
Consider the climate when planning your painting schedule. If you live in an area with high seasonal humidity, try to schedule your painting during the driest part of the year. During the application, maintain consistent airflow in the room to help the paint cure evenly.
If you are painting a bathroom, use a paint specifically formulated for high-moisture environments, often labeled as “bath paint” or containing mildewcides. These small, deliberate choices during the planning phase are the keys to a long-lasting, professional-grade result.
Frequently Asked Questions
Can I paint over existing blisters?
No, you should never paint over blisters. The paint will not adhere to the loose material, and the bubbles will simply reappear or grow larger as the new paint dries, leading to a textured, unsightly finish.
How long should I wait for the primer to dry before painting?
Most high-quality primers require at least two to four hours to dry, but it is best to check the manufacturer’s label. In humid or cool conditions, you should allow for extra time to ensure the primer is fully cured and ready for the topcoat.
Why does my paint bubble only in certain spots?
Localized bubbling usually points to a specific issue in that area, such as a localized moisture leak, a patch of unprimed drywall, or a spot where there was grease or wax on the wall. Investigate the specific area for external triggers before repainting.
Does the type of roller cover really matter?
Yes, the roller cover determines the amount of paint applied and the texture of the finish. Using a low-quality cover can cause aeration, where air is whipped into the paint, leading to thousands of tiny bubbles that appear as the paint dries.
Can cold weather cause paint to bubble?
Yes, temperatures below the manufacturer’s recommended range can prevent the paint from forming a proper film. If the paint is applied in cold weather, it may remain soft and unstable, eventually leading to bubbling or peeling once the temperature rises.
Maintaining Your Walls
Managing your fresh wall paint bubbling and blistering (causes & fixes) is ultimately about maintaining the integrity of the paint film over time. Regularly inspect your walls for signs of moisture, especially in areas near plumbing or exterior windows. If you spot a small bubble early, address it immediately rather than waiting for the problem to spread.
By keeping your surfaces clean and monitoring the humidity levels in your home, you can protect your investment for years to come. If you follow the steps outlined here, you will be well-equipped to handle any surface issues that arise.
We hope this information helps you achieve the smooth, durable results you expect from your home improvement efforts. Feel free to reach out if you encounter specific challenges during your next project.